Procedure: How to Create a New Data Target With a Variable Name
When creating a new target table, the name of the synonym that describes that table is normally entered as text and saved with the flow. This procedure should be used when you desire to specify the name of the target table dynamically when the flow is run.
-
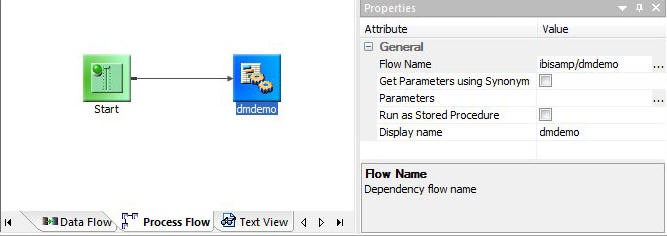
Right-click in the space to the right of the SQL Object, select Add
Target and then New.
A target object appears in the workspace.
-
Right-click the new target and select Properties.
The attributes of the target open in a new pane.
-
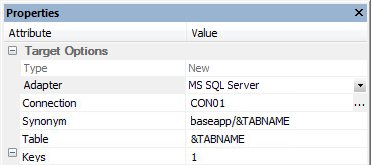
Select an Adapter from the drop-down menu to specify the target
type.
Note: Only data targets types that are configured on the server and supported by DataMigrator will appear.
-
For the synonym name, enter a name starting with an ampersand
(&) to indicate that it is a variable.
MS SQL Server table target:
Delimited Flat File target:
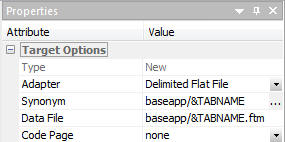
- By default, the variable name you entered is automatically used as the name for the Table (relational database target) or Data File (flat file, delimited file, xml target). If needed, another name can be used.
-
To test the data flow, click the Run
 button
and select Run.
button
and select Run.
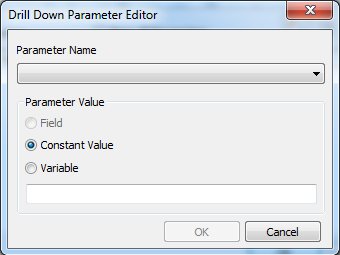
A dialog box opens requesting a value for the variable.
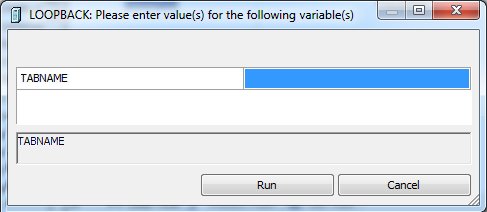
- Click Run to run the flow.