- Download the WebFOCUS Client installation file, as described in the WebFOCUS 8.0 download email for the WebFOCUS Client.
-
To start
the WebFOCUS Client installation, double-click the installWebFOCUS8002.exe file.
The InstallAnywhere window opens, as shown in the following image.

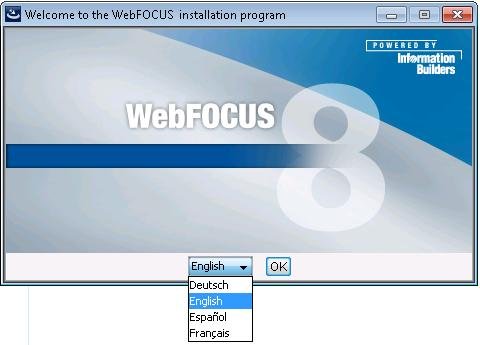
After InstallAnywhere initializes, the following window opens.
-
Choose the
appropriate language from the drop-down list and click OK.
The Welcome to WebFOCUS 80 window opens, recommending that you quit all programs before continuing with the installation, as shown in the following image.
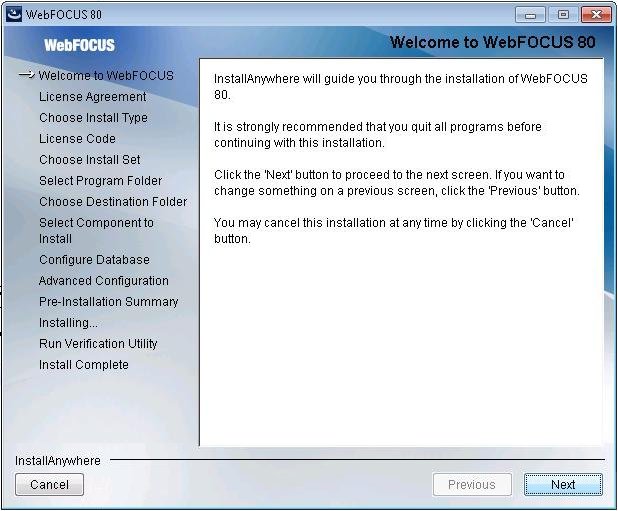
-
Click Next to
continue the installation.
The License Agreement dialog box opens, as shown in the following image.
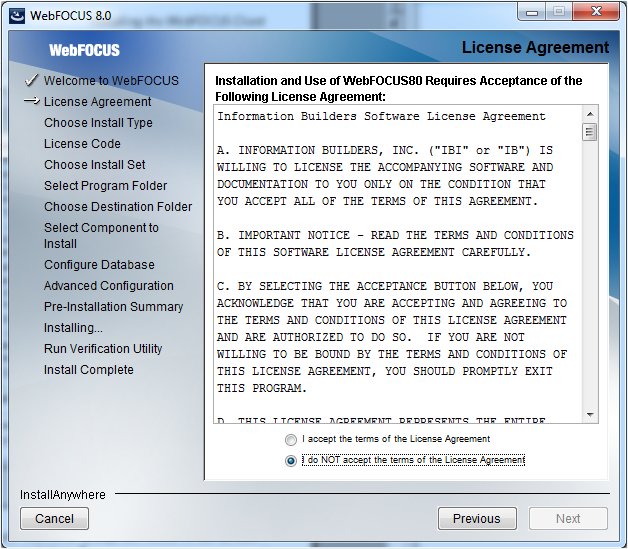
-
Read the
license agreement, select the radio button to accept the terms of
the license agreement, and click Next to
continue the installation.
The License Code dialog box opens, as shown in the following image.

-
Enter the
License Code and Site Code that were delivered with your WebFOCUS
software, and click Next to continue the installation.
The Choose Install Set dialog box opens, as shown in the following image.
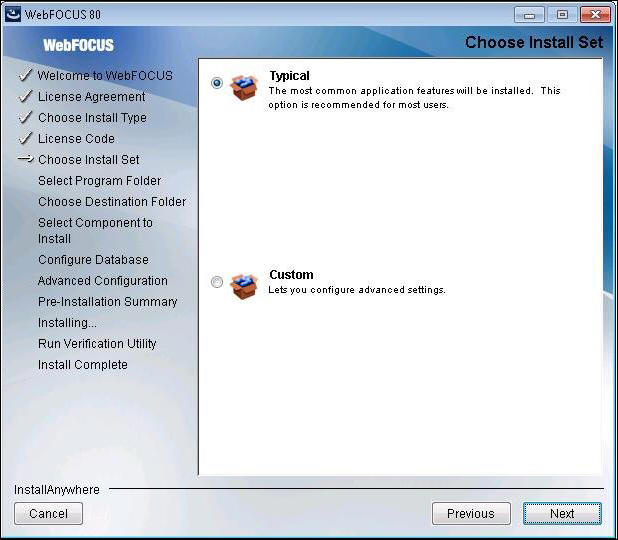
-
Select Typical and
click Next to continue the installation.
The Select Program Folder dialog box opens, as shown in the following image.
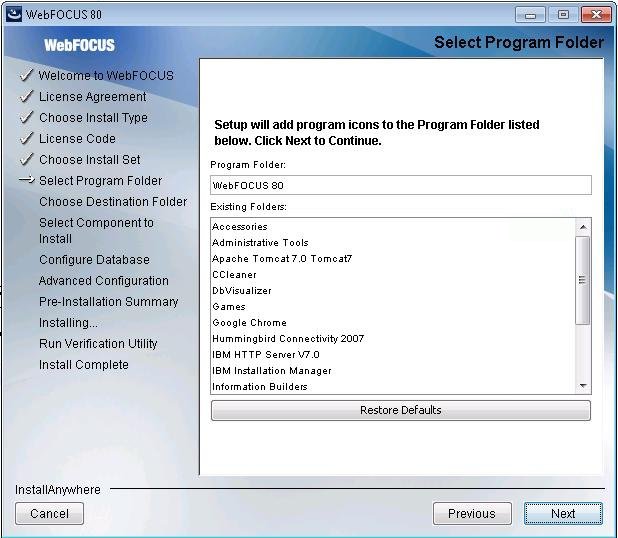
-
Click Next to
accept the default Program Folder, WebFOCUS 80.
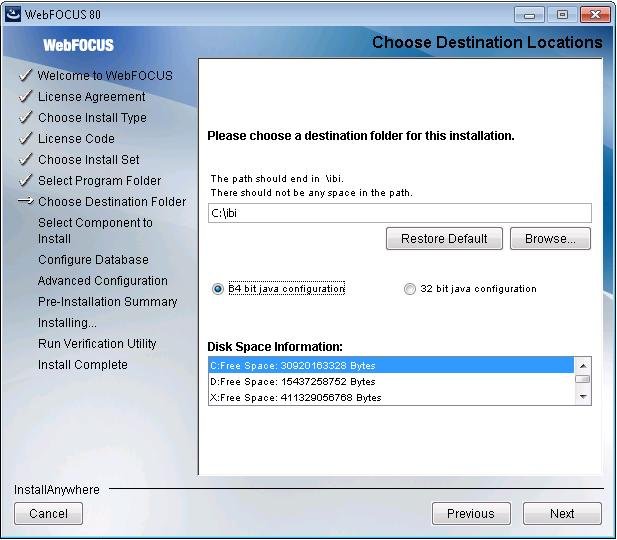
The Choose Destination Locations dialog box opens, as shown in the following image.
-
Perform the following steps:
-
Specify a path for the WebFOCUS application folder.
Note: You can specify any path on the local machine or use a Universal Naming Convention (UNC) path.
- Specify whether the system on which you are installing WebFOCUS uses a 32-bit or 64-bit Java configuration.
- Choose the appropriate disk from the Disk Space Information drop-down list and click Next.
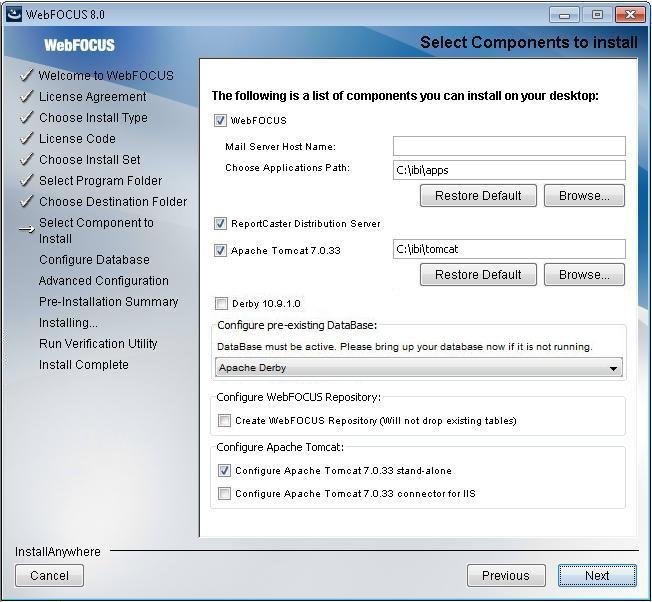
The Select Components to install dialog box opens, as shown in the following image.
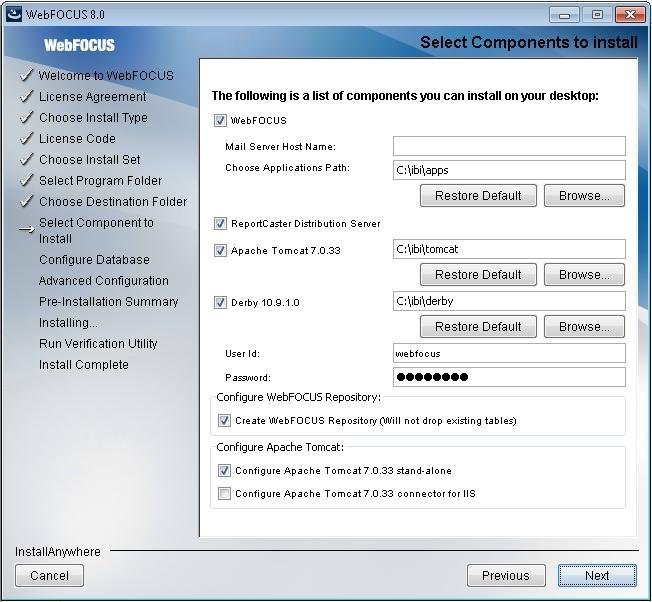
Note: If you specified a UNC path for the WebFOCUS application folder, then the ReportCaster Distribution Server must be installed separately. In the Select Components to install dialog box, the ReportCaster Distribution Server check box will be disabled. In the Advanced Configuration dialog box, you must provide the ReportCaster Distribution Server host and port values that correspond to the system where you are going to install the ReportCaster Distribution Server.
-
Specify a path for the WebFOCUS application folder.
-
On the Select Components to install
dialog box:
- Type the host name or IP address for your mail server.
- Click Next to accept the default installation components.
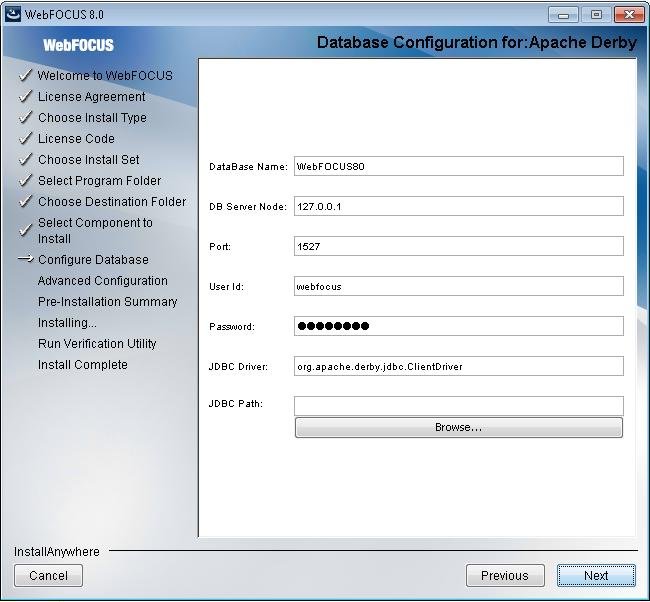
The Database Configuration for Apache Derby dialog box opens, as shown in the following image.
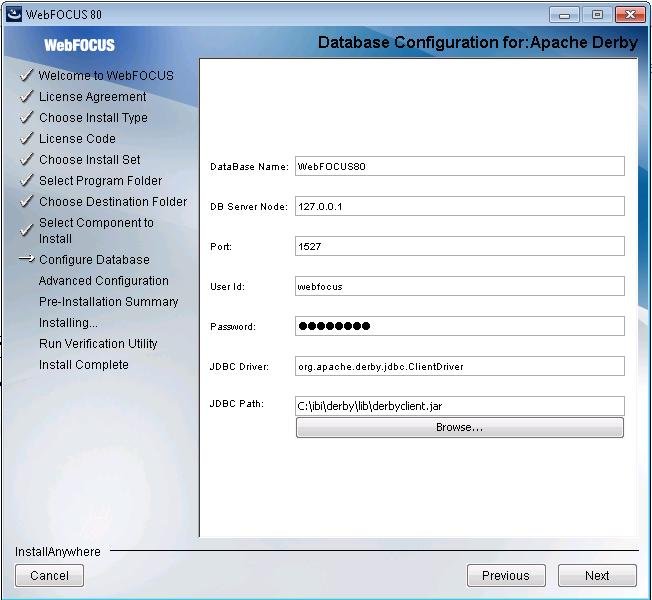
Note:
- The Database
Configuration for Apache Derby dialog box opens if you have an existing
version of Derby installed on your system. In this case, the Derby
10.9.1.0 check box will be disabled in the Select Components to
install dialog box. The Database Configuration for Apache Derby
dialog box also opens if you uncheck the Derby 10.9.1.0 check box
and select the option to use an existing Derby installation.
If the installation detects an existing Derby installation on the machine, the JDBC Path will be populated automatically. Otherwise, the JDBC Path text box will be blank, and the user will have to enter the full path to the jar files.
- For security reasons, the DB Server Node is set to 127.0.0.1. If you are running on multiple environments and want to access this Derby from another location, change 127.0.0.1 to the machine name.
-
Click Next to
continue the installation.
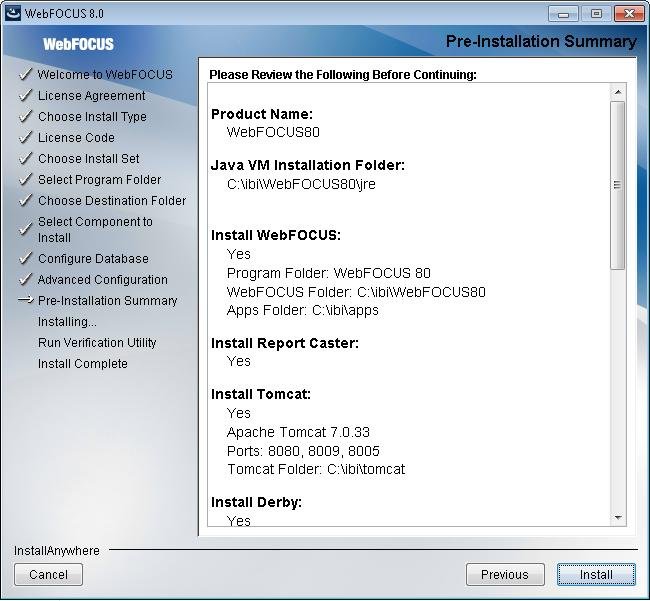
The Pre-Installation Summary window opens, as shown in the following image.
-
Verify that
all of the information is correct and click Install to
continue with the configuration and installation.
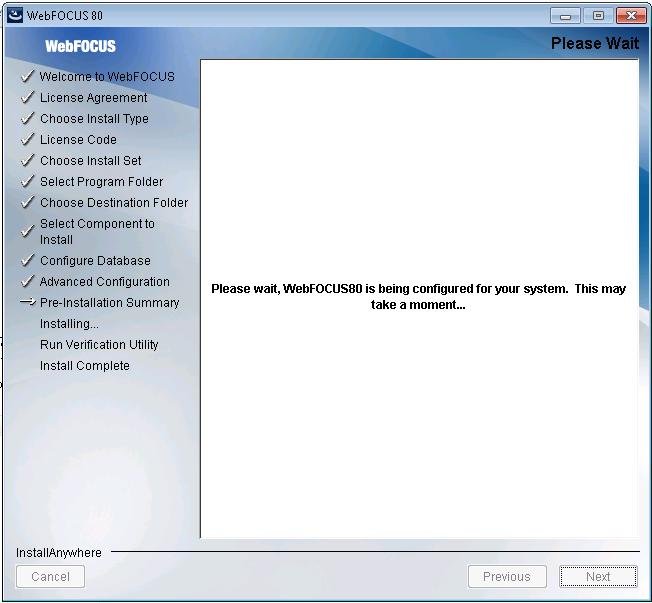
As WebFOCUS is being configured on your system, the Please Wait window is displayed.
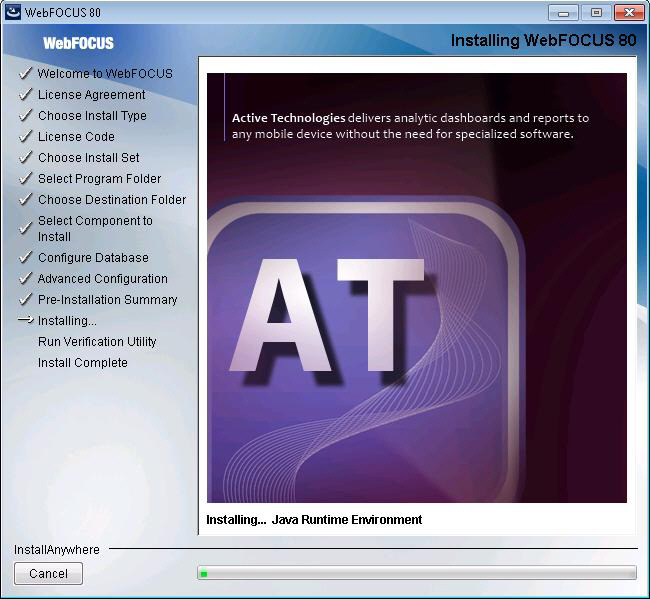
After WebFOCUS is configured, the Installing WebFOCUS 80 window opens. As WebFOCUS is being installed, the Installing WebFOCUS 80 window informs you about which installation tasks are being performed.
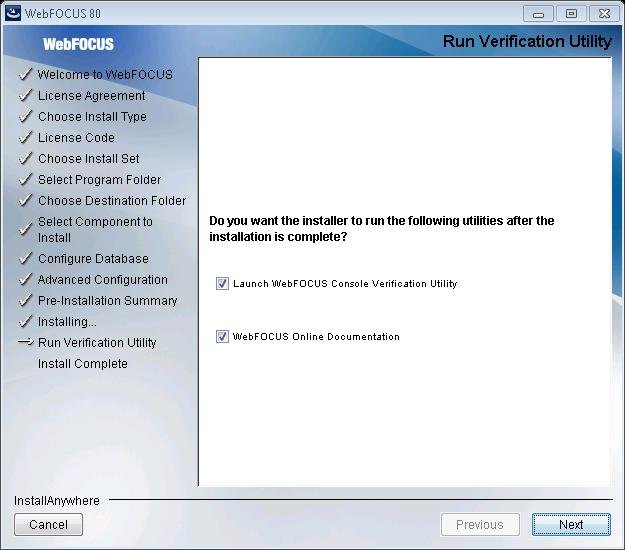
After the installation is complete, you can run the Console Verification Utility or review the WebFOCUS Online Documentation, as shown in the following image.
-
Click Next to
continue the installation.
The Install Complete window opens, confirming that the installation is complete.
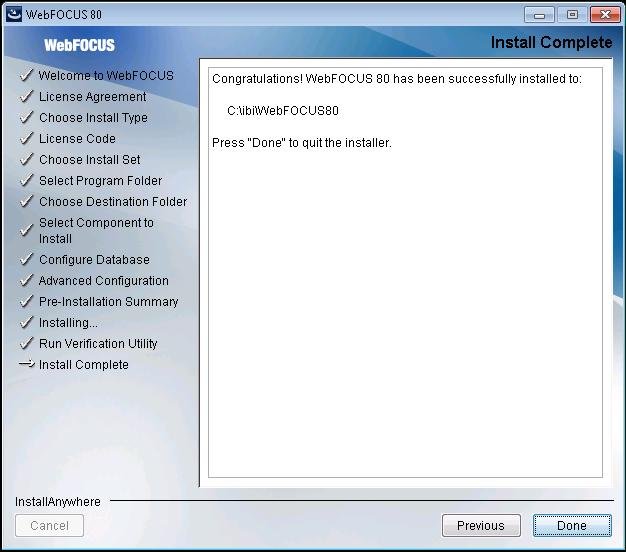
- Click Done to exit the installation.