Understanding the Layout and User Interface
The user interface and layout of the ESRI Configuration
Utility provides you with the tools and functionality required to
create and manage your XML definition file. It enables you to maintain
high-level and detailed aspects of your file in a user-friendly environment.
xNavigating the Main Window
After you have successfully logged in to the WebFOCUS
BI Portal and opened the ESRI Configuration Utility, the main window
is displayed, as shown in the following image.
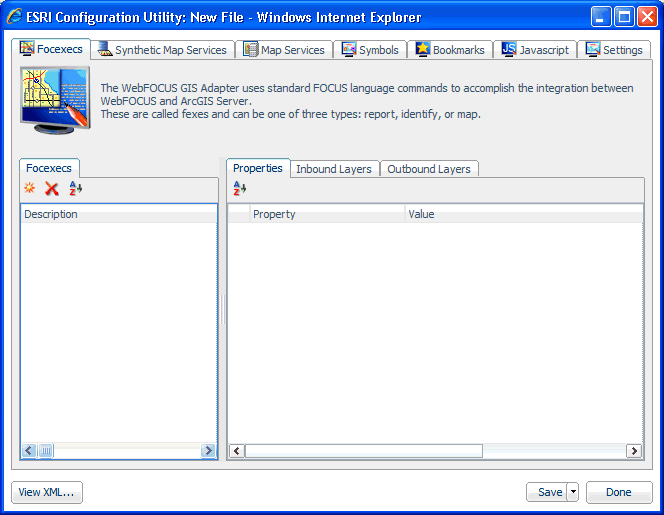
The ESRI Configuration Utility is divided by tabs into the following
areas depending on the type of functionality you are configuring:
- Focexecs
- Synthetic Map Services
- Map Services
- Symbols
- Bookmarks
- Javascript
- Settings
Each area can be accessed by clicking on the corresponding tab,
which is located along the top of the window.

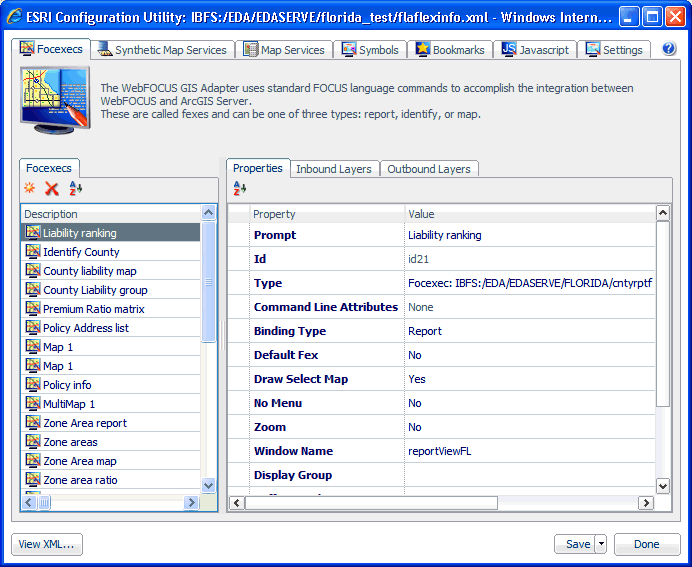
The Focexecs tab is selected by default when the ESRI Configuration
Utility is opened. The following image shows the Focexecs tab populated
with configured entries for an existing application.
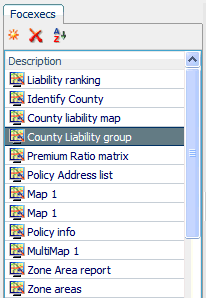
The left pane displays the list of components that have been
added for a particular area (for example, FOCEXECs).
The right pane of the ESRI Configuration Utility displays the
properties for the selected component.
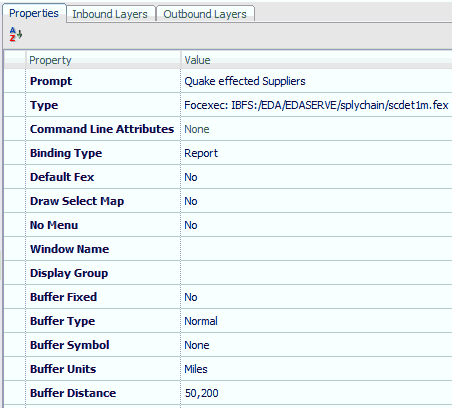
To change a property value, click on the corresponding field
in the Value column. Depending on the type of property, the field
may display a drop-down list with existing values to choose from
or allow you to type your value directly within the field (for example,
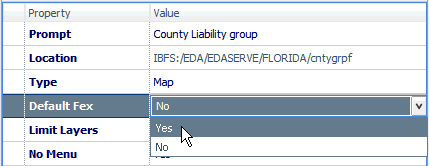
when entering a name). In the following image, the Default Fex property
provides a drop-down list with Yes or No values when selected.
In the following image, the Window Name property provides a field
where you can type in your value when selected.

xViewing the XML Definition File
As you configure components and add property values
using the ESRI Configuration Utility, the XML definition file is
being updated in real-time in the back end. To view the contents
of the XML definition file at any time, click the View XML button,
which is located in the lower-left corner of the ESRI Configuration Utility.

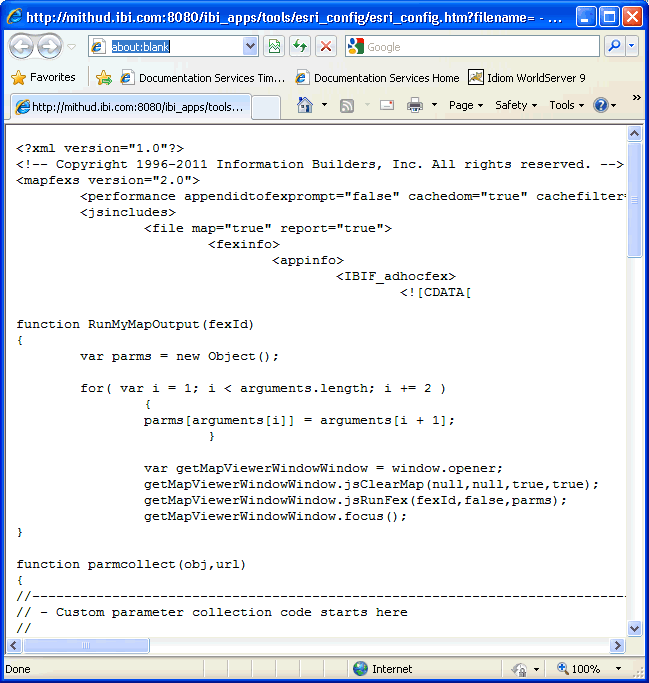
The XML definition file opens in a new web browser window, as
shown in the following image.
For example, when you create a new XML definition file and select
an application folder on the WebFOCUS Reporting Server where the
file will be located from the Browse Path dialog, this information
is added to the XML definition file:
<appinfo>
    <default IBIAPP_app="florida_test" IBIC_server="EDASERVE"/>
    <fixed/>
</appinfo>
xSaving the XML Definition File
To save your XML definition file, click the Save button,
which is located in the lower-right corner of the ESRI Configuration
Utility.

If you are saving a new XML definition file for the first time,
the Save As dialog is displayed by default, as shown in the following
image.
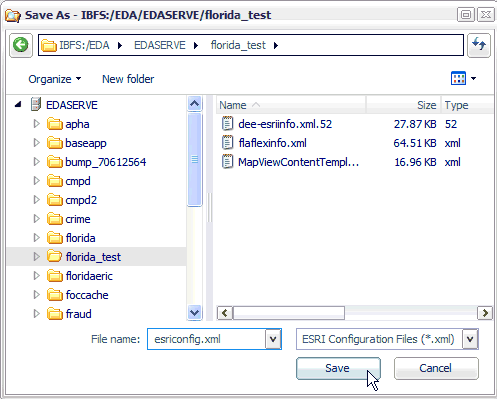
The default Save As location is the application folder on the
WebFOCUS Reporting Server that you selected from the Browse Path
dialog when you opened the ESRI Configuration Utility.
In the File name field, enter a name for the XML definition file.
By default, the esriconfig.xml file name is provided. Click Save when
you are finished.
To create another instance of an XML definition file using a
different name, click the small arrow next to the Save button and
select Save As, as shown in the following
image.

As you use the ESRI Configuration Utility to configure the various
mapping components, it is a good practice to save your work frequently.
Click Save at any time to ensure that your
latest version of the XML definition file is saved on the server.
xExiting From the ESRI Configuration Utility
To exit from the XML definition file at any point, click
the Done button, which is located in the
lower-right corner of the ESRI Configuration Utility.

If you have not saved your last changes in the XML definition
file, the following message is displayed:
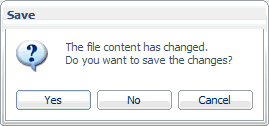
Click Yes to save your recent changes, No to
discard your recent changes, or Cancel to
return to the ESRI Configuration Utility.


