How to: |
You can dock floating panels within the canvas to ease accessibility. When you drag a panel across the App Studio canvas, a set of handles appears. These handles guide the placement of the panel, and automatically dock the panel to the edge of the canvas upon which you rest the mouse.
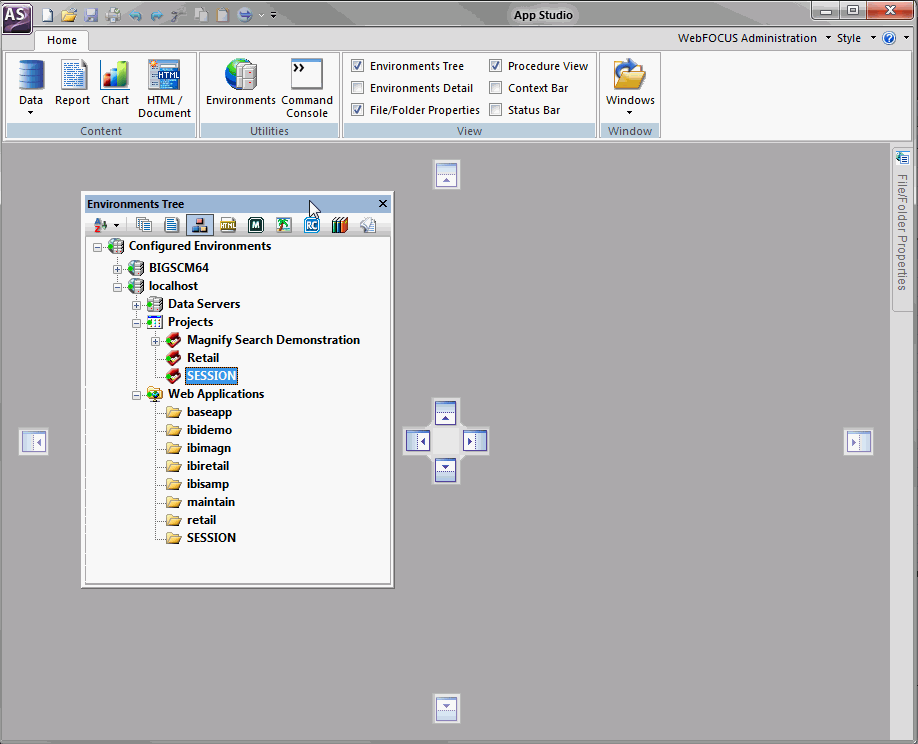
The following image shows an example of the handles that appear when you drag the Environments Tree panel across the canvas.
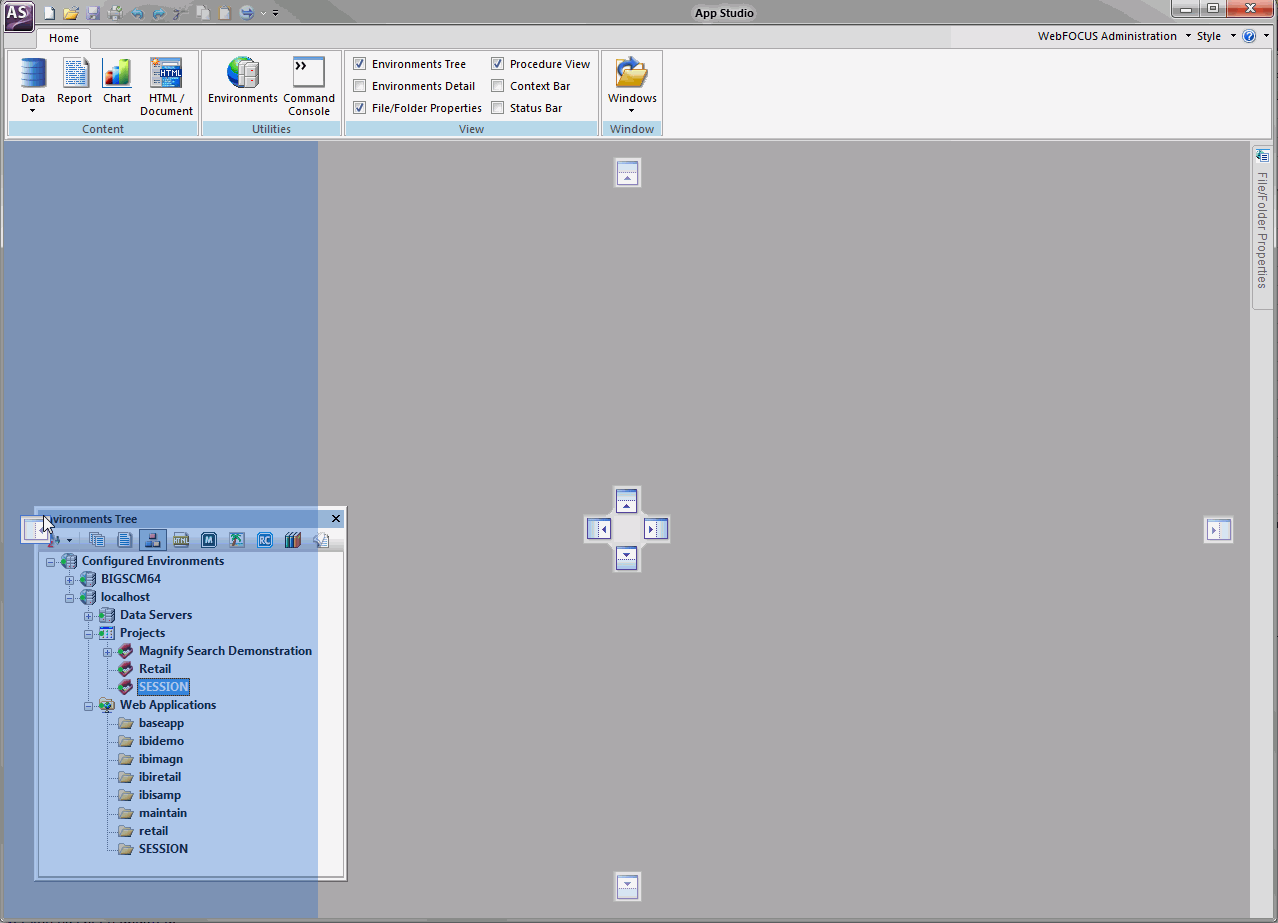
When you rest the mouse over a handle, a shaded area appears. This shaded area provides a preview of where the panel will dock if you release the mouse, as shown in the following image.
The panel automatically docks to the edge of the canvas.
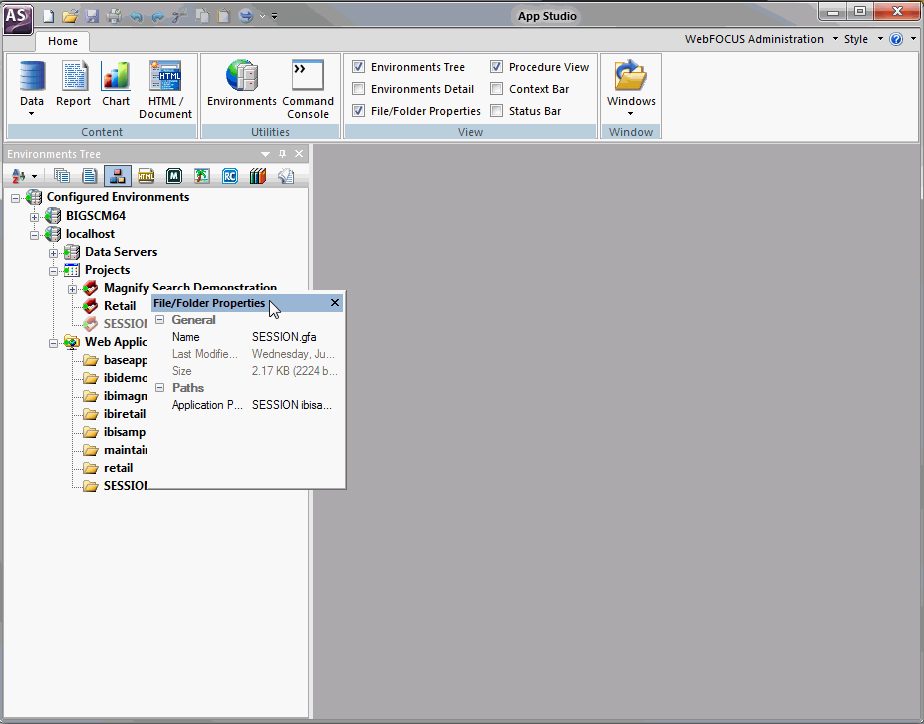
Additional panels open as you develop applications throughout the product. To conserve space around the canvas, you can combine these panels. When you mouse over a docked panel, a tabbed handle option appears, as shown in the following image.
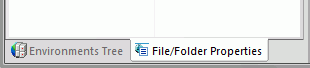
This handle option combines the panels into a single container with tabs. You can switch between the panels by clicking the appropriate tab at the bottom of the container. An example of the Environments Tree tab and File/Folder Properties tab, in a combined panel container, are shown in the following image.
| WebFOCUS |