In this section: How to: |
You can control the page properties of a report using the functionality available on the Layout Tab. You can change the margin size, page layout, type of material the report will be printed on, what unit of measurement the report uses, page numbering, cell padding, and whether to autofit columns. The Layout tab is located at the top of the App Studio interface. It is available only when you are creating a report. The Layout tab is shown in the following image.
You can change the margins, orientation, paper type, unit of measurement, and page numbering of a report. The Page Setup group is shown in the following image.
The commands are:
Changes the margin dimensions. You can change the margin dimensions using the Custom option or use one of the other four preset margin types, Normal, Narrow, Moderate, or Wide. Selecting Custom opens the Margins dialog box, where you can set each margin value.
Changes the orientation of the report page. You can select Landscape or accept the default, Portrait.
Displays a list of paper types and media outlets for the report output.
Displays the unit of measurement in inches, centimeters, or points.
Adds page numbering or removes lead space. You can select On, Off, or OFF without lead space. Select On to turn page numbering on. Select Off to turn page numbering off. Select OFF without lead space to turn off page numbering and the two leading blank lines on each page.
You can change the way that columns are shown. The Report group is shown in the following image.

The commands are:
Edits the space between the gap values in the cascading style sheet. The cell Padding displays values that indicate the top, left, bottom, and right margins. The values increment by 1/100 of an inch. For more information, see How to Access the Cell Padding Dialog Box.
The Cell Padding dialog box displays, as shown in the following image.
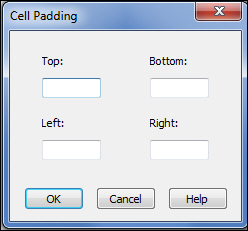
Note: Values increment by 1/100 of an inch.
| WebFOCUS |