WebFOCUS App Studio enables you to create structured ad hoc forms using the HTML canvas.
- Launch WebFOCUS App Studio.
-
In the Environments Tree panel, expand the environment
that you are working with. In this example, we use localhost.
If this is a new work session or if you are required to sign in on every attempt to access the server, the local host sign in dialog box opens. Enter the User ID and Password for the WebFOCUS server.
-
Expand content.
If this is a new work session or if you are required to sign in on every attempt to access the Reporting Server, the Reporting Server sign in dialog box opens. Enter the required User ID and Password.
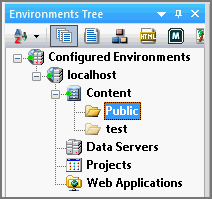
The Environments Tree pane resembles the following image.
-
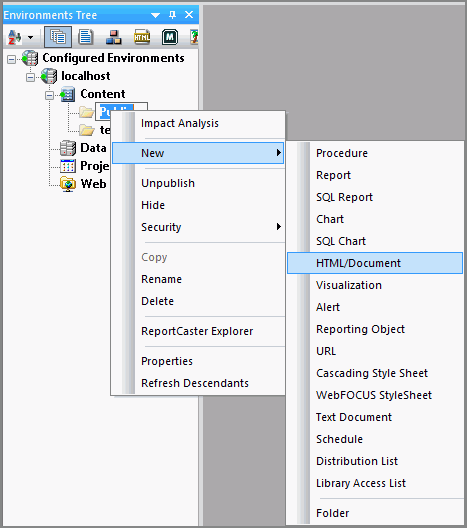
Right-click the Public folder, or any other folder you
want to use, point to New, and then click HTML/Document, as
shown in the following image.
-
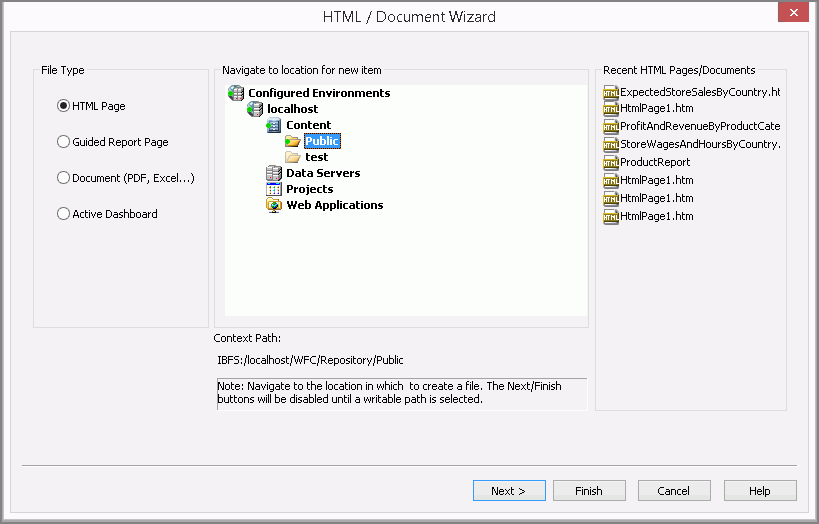
When the first page of the HTML/Document Wizard opens,
click Next to accept the default location
for the HTML page, as shown in the following image.
-
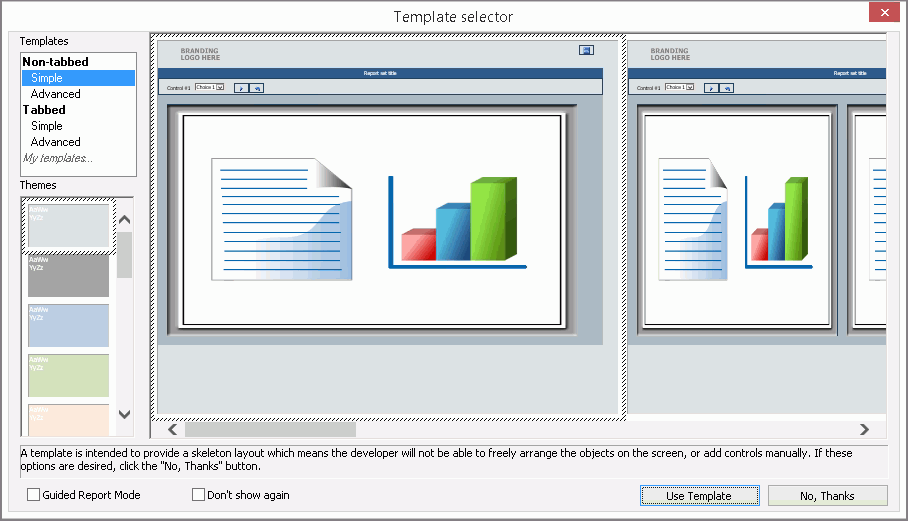
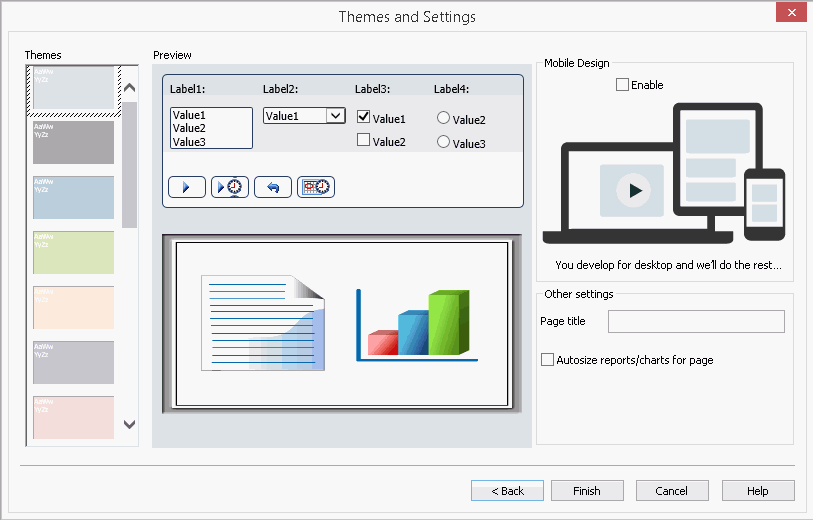
When the second page of the HTML/Document Wizard opens,
keep the default background theme for the HTML/Document, or select
an alternative from the Themes list, and then click Finish,
as shown in the following image.
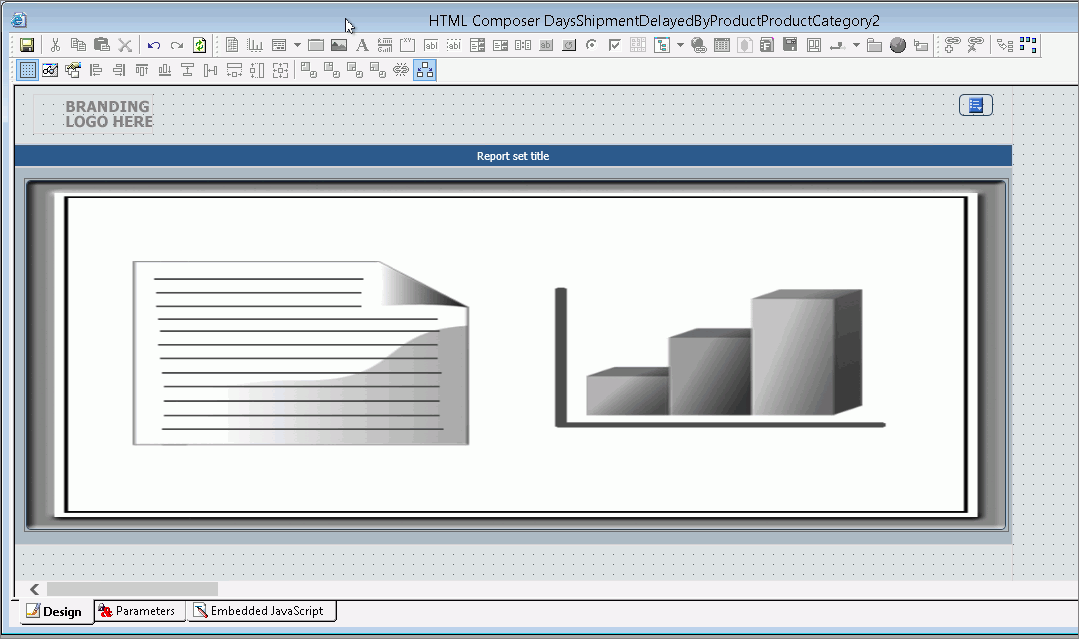
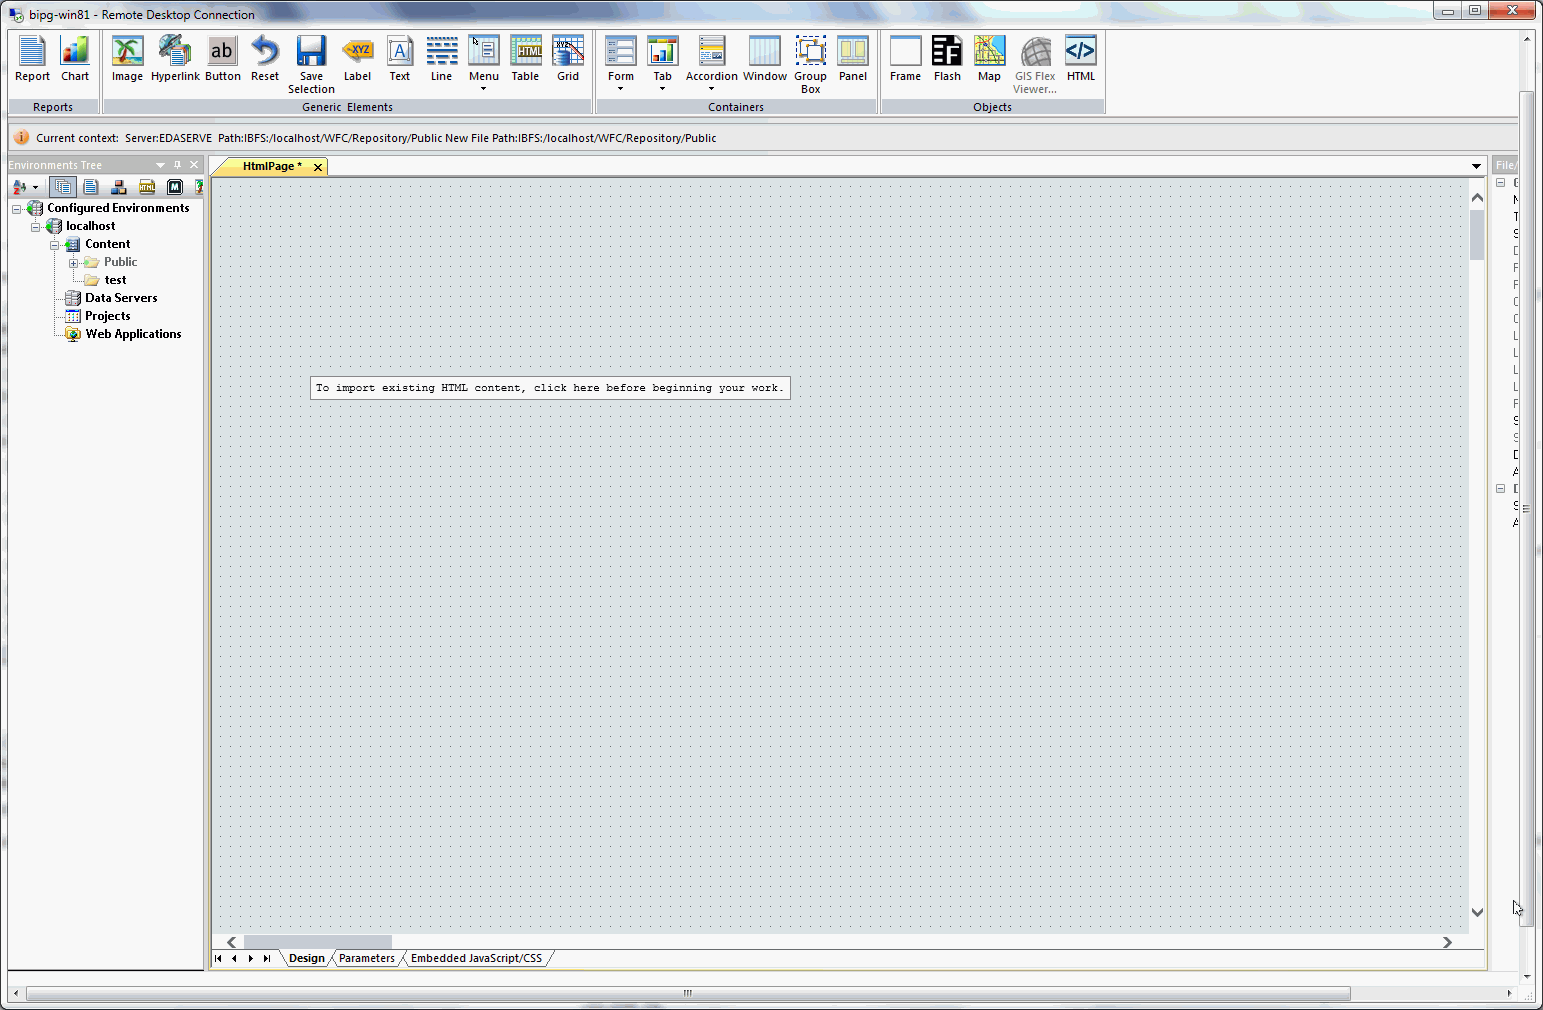
The wizard closes, and HTML canvas opens, as shown in the following image.
-
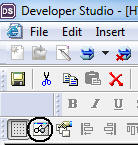
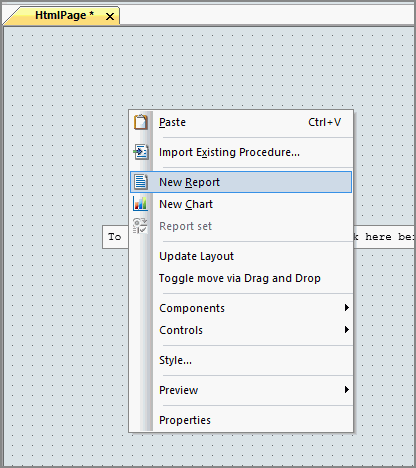
Right-click the HTML canvas and click New Report,
as shown in the following image.
-
Draw a rectangle with the crosshair, right-click the
report container, and then click Import Existing Report,
as shown in the following image.

-
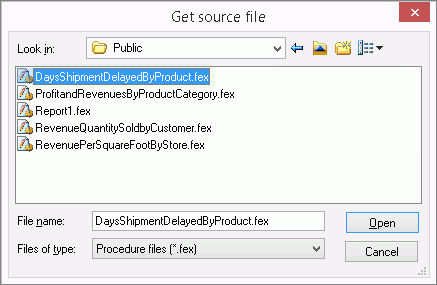
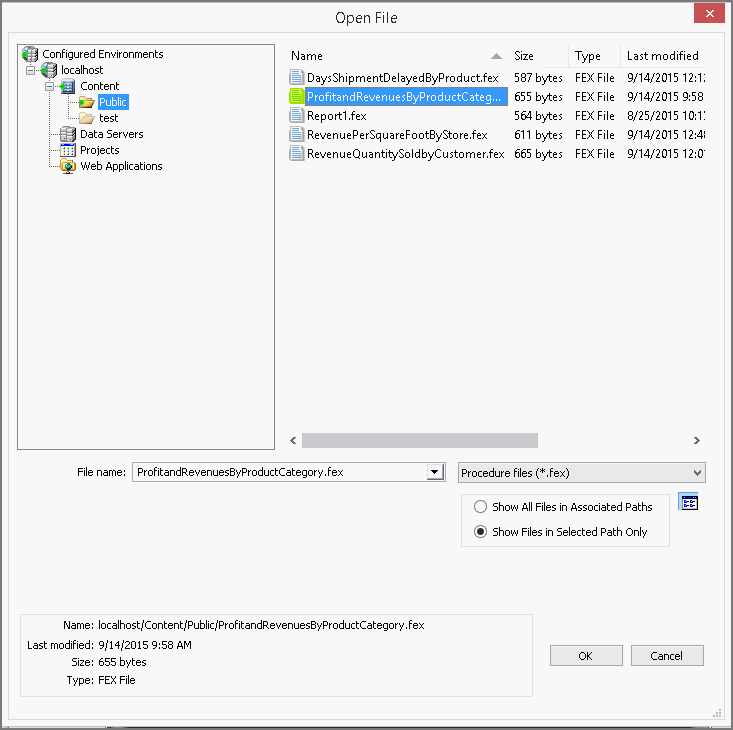
Select the name of the report to insert in the container,
and then click OK, as shown in the following
image.
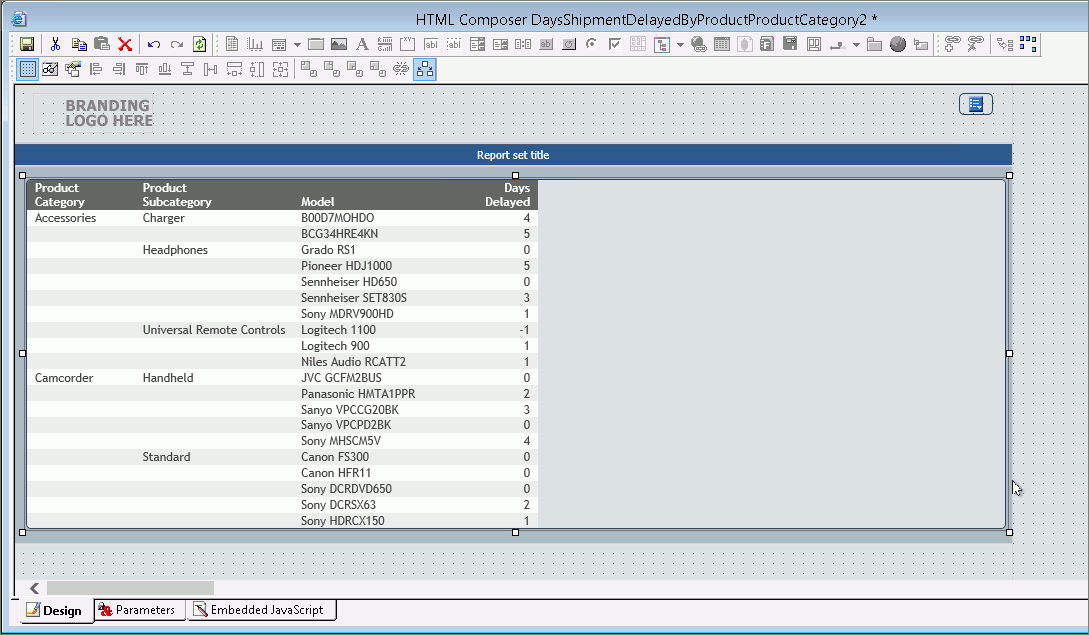
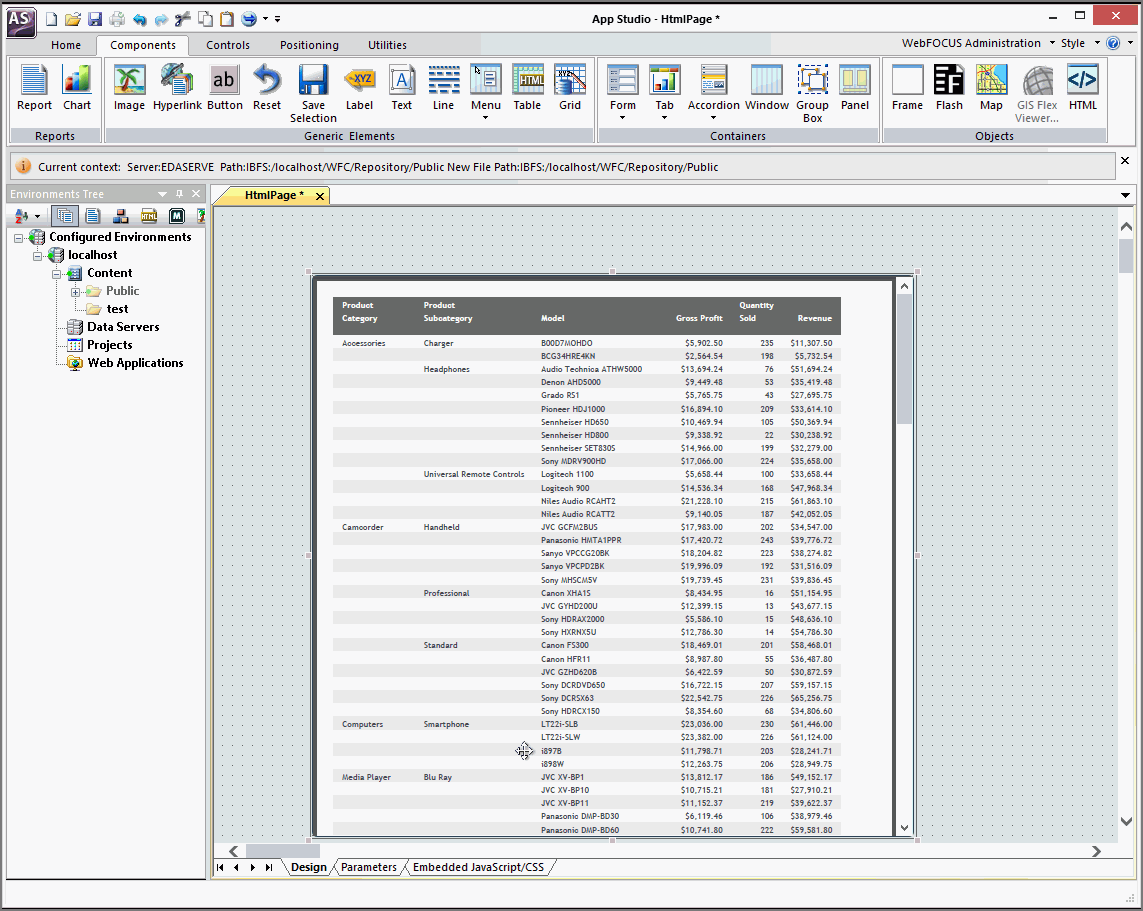
Your report appears in the container on the HTML canvas, as shown in the following image.
For more information on how to create reports, see Creating Report Queries With InfoAssist.
-
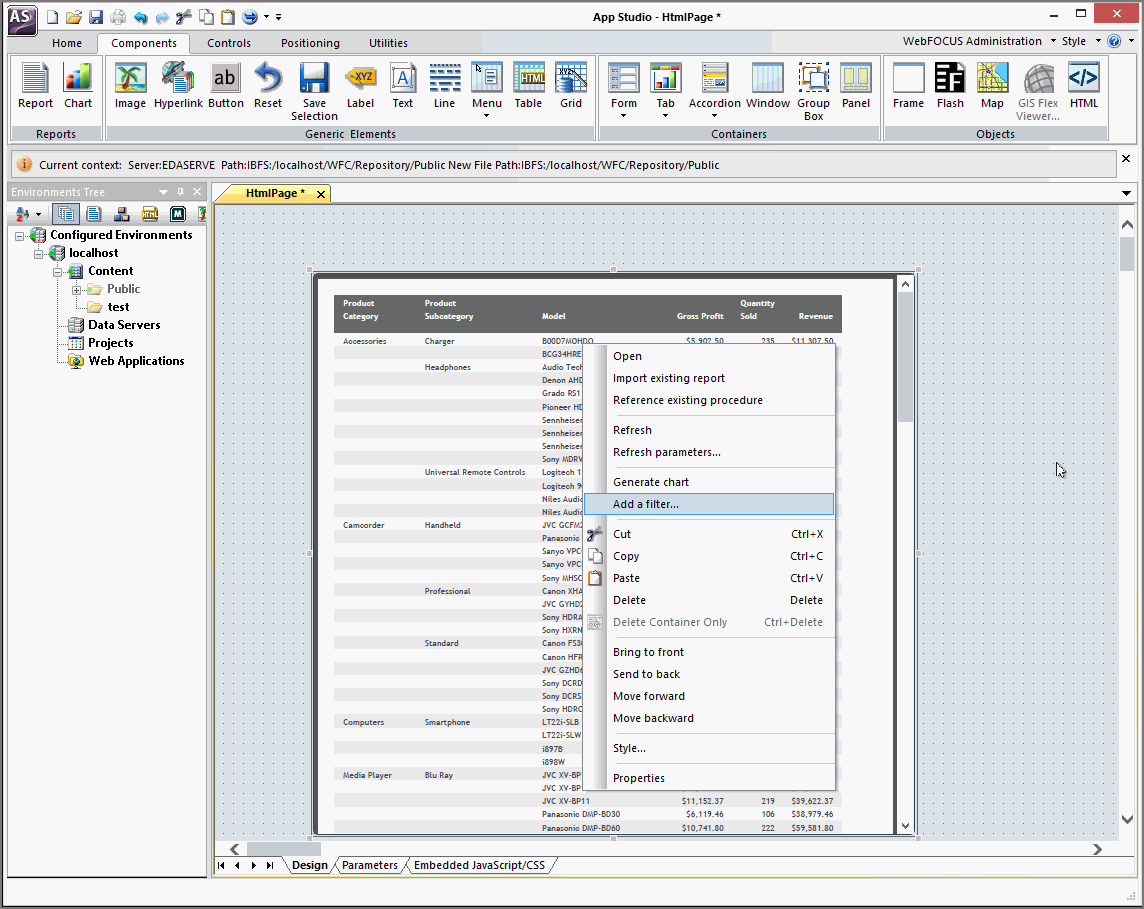
Right-click the report, and then click Add
a filter to create a parameter, as shown in the following
image.
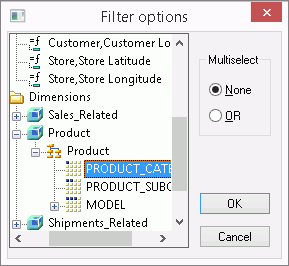
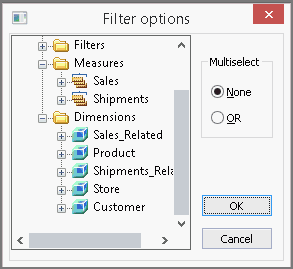
The Filter Options dialog box opens, as shown in the following image.
-
Select the value for the parameter and click OK,
as shown in the following image.

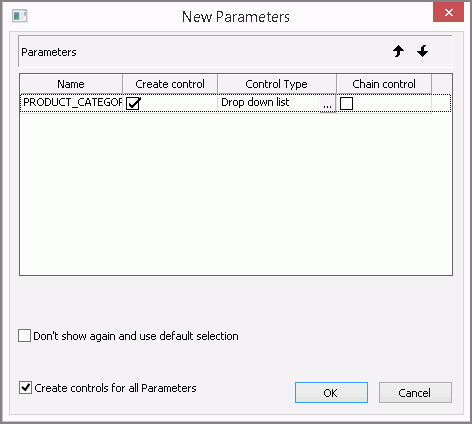
The New Parameters dialog box opens, as shown in the following image.
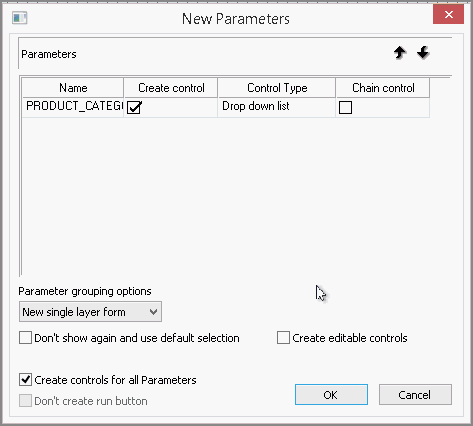
- In the Control Type column, click Drop down list.
- Ensure that the Create controls for all Parameters check box is selected.
-
Click OK.
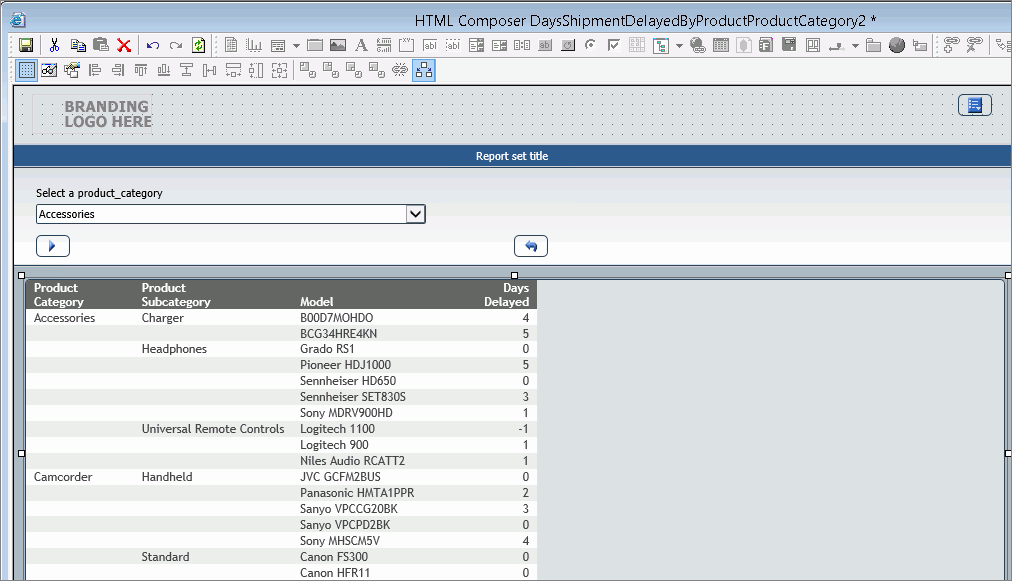
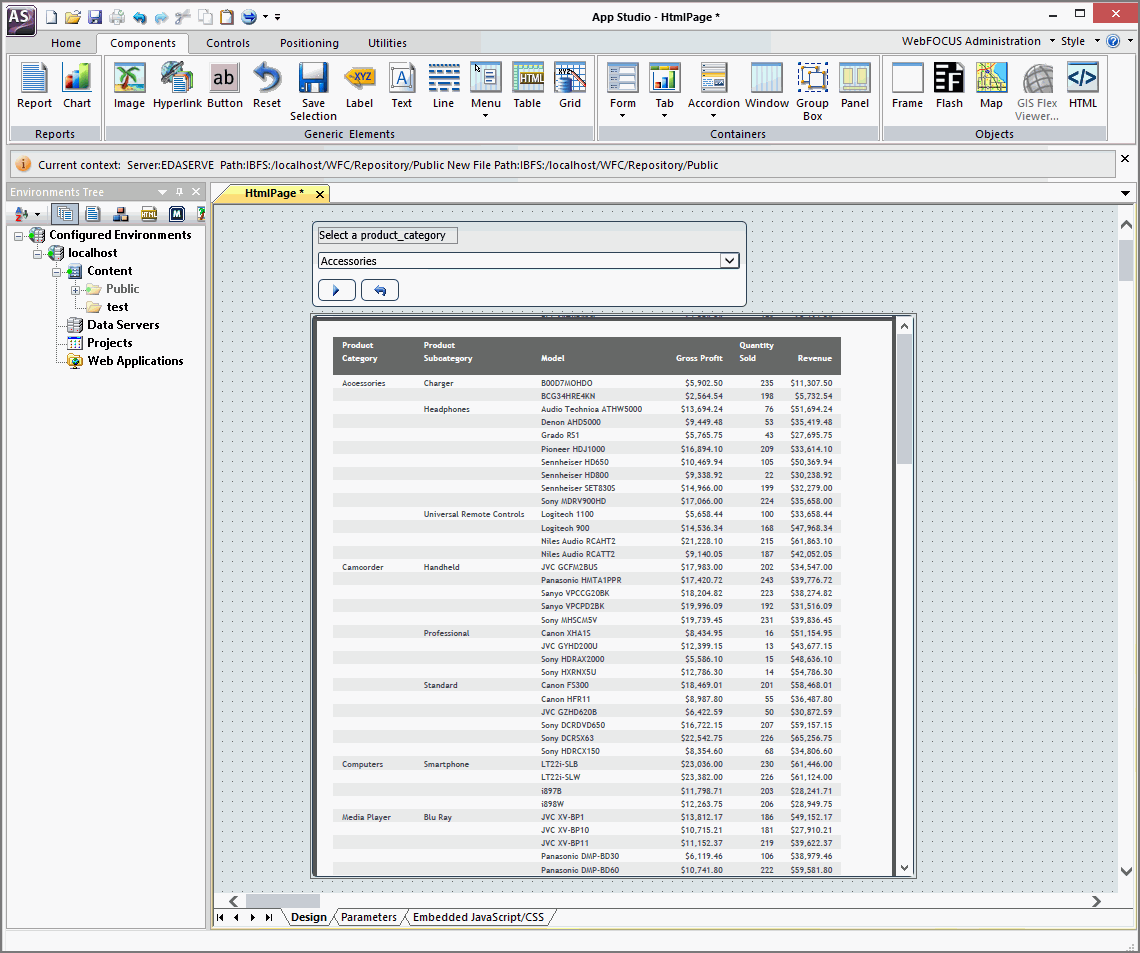
A dialog box for the new parameter appears above the report on the HTML canvas, as shown in the following image.
-
Save the updated HTML page by clicking the Application Menu button,
and then clicking Save, or by clicking the Save icon
on the Quick Access toolbar.
The Save As dialog box opens.
-
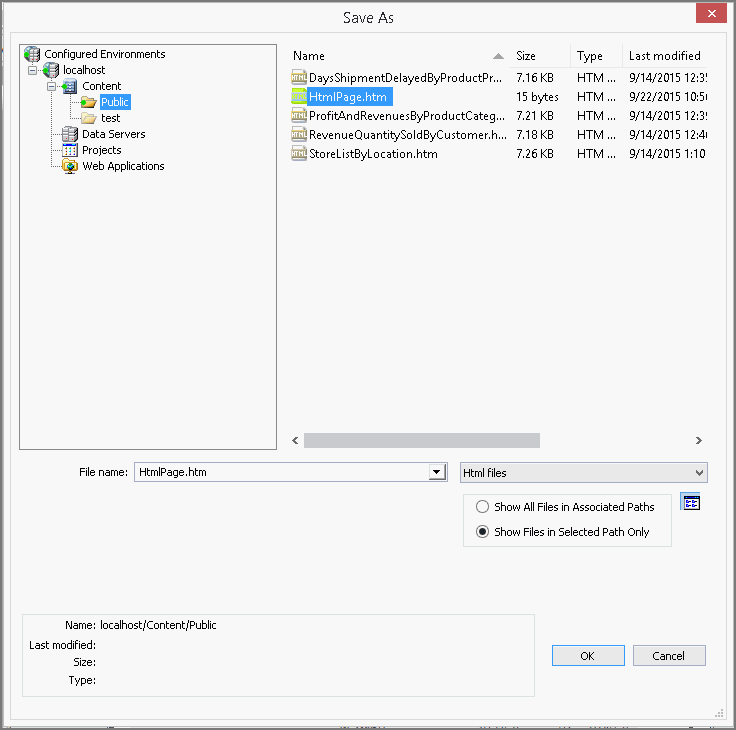
In the Save As dialog box, enter the name of the new
report, now a structured ad hoc form, and click OK,
as shown in the following image.
The name of the new report appears on the HTML canvas.
-
Right-click a report container on the HTML canvas and
click Style.
The Style Composer dialog box opens.
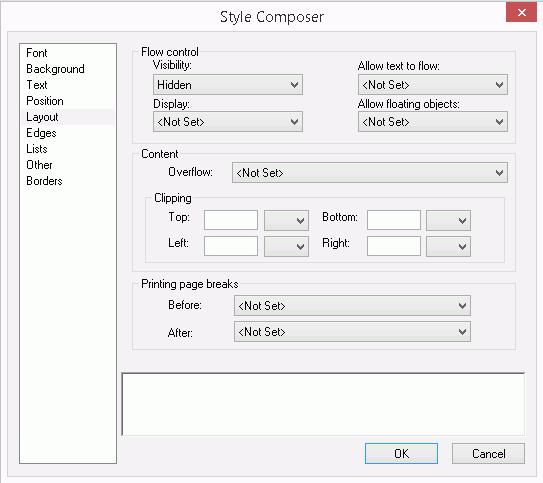
- In the left pane, click Layout.
-
In the Flow control section, under the Visibility drop-down
list, click Hidden.
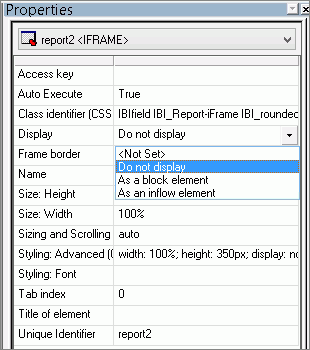
When your selections are complete, the Style Composer dialog box will resemble the following image.
-
Click OK.
The frame is now hidden. You can make it visible by using the Visibility command, on the Utilities tab, in the Miscellaneous group, as shown in the following image.

Note: It is recommended to keep the frame hidden when running an HTML form in Excel through the Quick Data add-in, to avoid displaying a prompt with an empty frame alongside an active Excel workbook.
-
Save, and close the HTML page.
Note: If you want to use an existing procedure with the Quick Data add-in, you must set the format in the procedure to Excel.