- Sign in to WebFOCUS as a developer or an administrator.
- In the Resource tree, under the Content node, create a new folder.
-
Populate
this folder with the content that you intend to make available through
the Easy Selector at run time.
Note: Ensure that the folder only includes file content and no subfolders.
- Publish the folder.
- In the Resource tree, right-click the Portals node, and then click New Portal.
-
Populate
the fields of the New Portal dialog box and click OK.
The Portal Designer opens.
- Right-click the page canvas, and click Page Layout.
-
From the
Choose a Layout menu, set the page layout to One Column, Two Columns,
Three Columns, or Four Columns.
Note: Easy Selector functionality is only available for columnar layouts. It is not available for the Single Area and Fluid Canvas layouts. In addition, the Easy Selector feature is not available for use with the Responsive container.
-
With the
page canvas selected, in the Properties panel, clear the Lock
Page check box and select the Prevent Layout Change check
box, as shown in the following image.
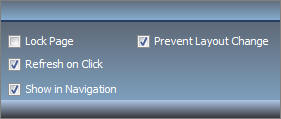
This configuration allows users to add new content to a portal at run time, while preventing them from changing the column layout, which is important for the Easy Selector.
-
In the Properties
panel, click Container Defaults.
The Container Defaults dialog box opens. Here you can customize the drop-down menu for the items that are displayed on the page at run time. Click OK to close the Container Defaults dialog box.
- Select a column.
-
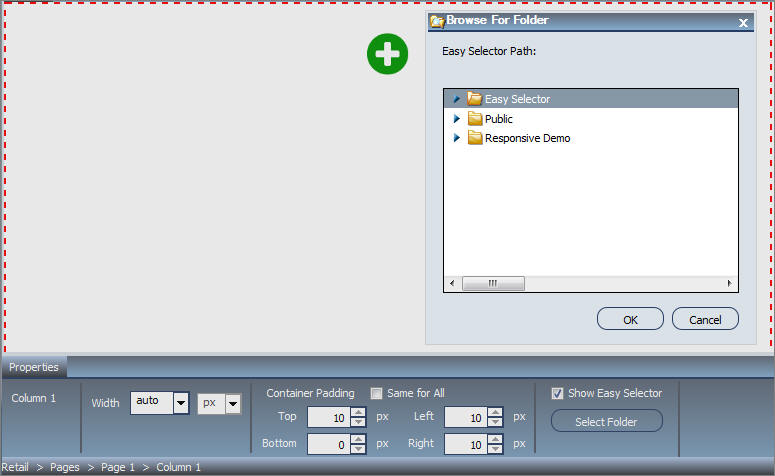
In the Properties
panel, select the Show Easy Selector check
box.
The Browse For Folder dialog box opens and displays the same folder structure as the Content node in the Resource tree, as shown in the following image.
-
Click the
folder you that want to display inside the Easy Selector at run time,
and then click OK.
Note: You can change the folder location by clicking the Select Folder button and navigating to a different folder. It is not recommended to change the folder location after the end users have begun using the Easy Selector.
-
Repeat steps
11-13 for other columns, if needed.
Note: You can multiselect the columns by holding the Ctrl key.
- Click Save and close the Portal Designer.
-
In the Resource
tree, under the Portals node, right-click your new portal, and click Run.
The portal opens, displaying the Add content button in each column, for which you have enabled the Easy Selector.
-
Click the Add
content button.
The Select Item dialog box opens.
-
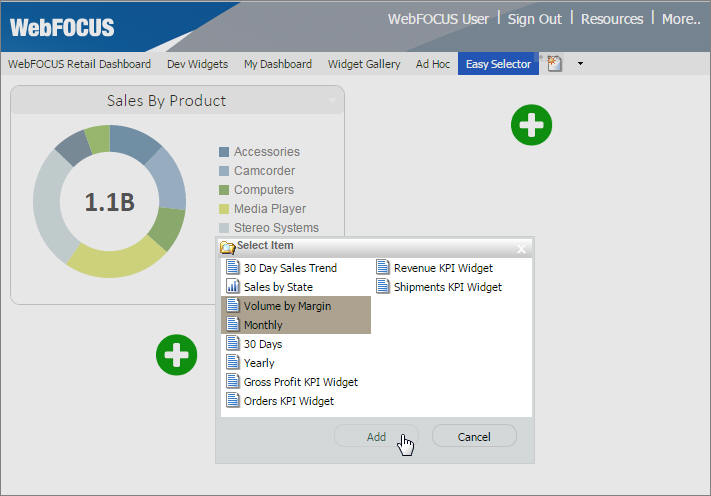
Select an
item from the list and click Add.
The selected item opens and a new Add content button displays in the next column. This allows you to add the remaining items that are available to you. You can also multiselect items inside the Select Item dialog box, as shown in the following image.
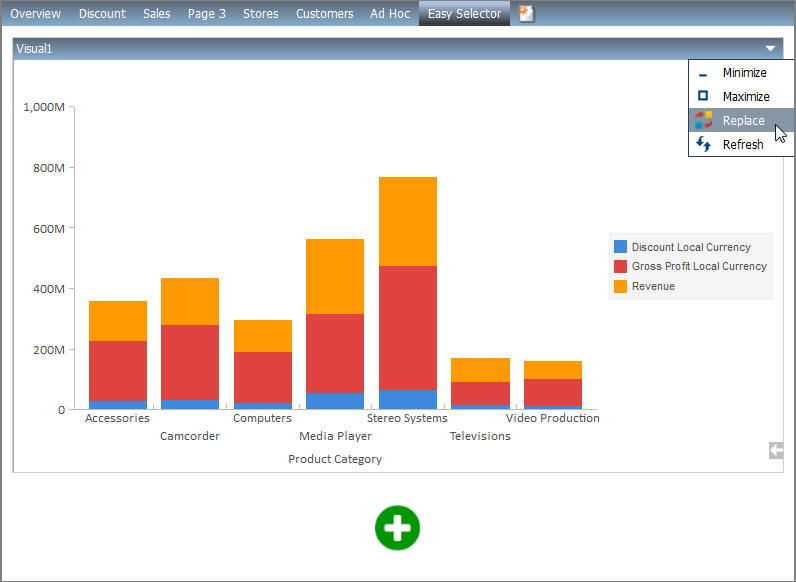
Additionally, you can replace an item on the page with any item from the Select Item dialog box. You can access the Replace menu option by clicking the arrow in the upper-right corner of the container panel, as shown in the following image.
Note: The Add content button disappears and the Replace option becomes inactive after the last item in the Select Item dialog box is added to the page.