- Open the Basic Scheduling tool, as described earlier in this section. For more information, see About the Basic Scheduling Tool.
-
In the Properties
tab, you can edit the name for the schedule in the Title box.
This is a required field and a default name is provided.
-
Type a descriptive
summary in the Summary box.
Note: This is an optional field.
-
Select a
Job Priority Level.
Normal - 3 Job Priority Level is the default.
- Check the Delete this schedule if it is not scheduled to run again check box if you do not want this schedule to be stored in the Repository if it will not run again as specified in the Schedule recurrence settings.
- Leave the Enabled (Scheduled job runs at specified time) check box checked if you want scheduled jobs to run as specified in the recurrence settings.
-
Select the
Recurrences tab and make the following selections.
-
From the Settings radio button list, select a time interval
that the schedule will use to run the report procedure (FEX).
You can set the interval to Run Once, Minutes, Hourly, Daily, Weekly, Monthly, Yearly, or at Custom intervals.
-
From the Start Schedule options, select the date (from the
drop-down calendar) and time you want the schedule to begin running.
Note: To change the time setting, select either the hour or minutes and use the arrows to increase or decrease the value.
- If applicable to the Run Interval selection, from the End Schedule options, select the date and time you want the schedule to stop running.
-
If applicable to the Run Interval selection, from the Advanced settings,
click the Repeat schedule every: check box
to enable custom intervals.
Note: This option is disabled for the Run Once, Minutes, and Hourly settings options.
-
From the Settings radio button list, select a time interval
that the schedule will use to run the report procedure (FEX).
- Select the Tasks tab. The Path, Procedure, Server Name, and Save Report As fields are populated according to the report procedure (FEX) you selected to schedule. For a description of the Task tab, see About Tasks in the Basic Scheduling Tool.
- Select the Distributions tab and specify the information for the distribution method you selected.
-
Select the Notification tab
and specify whether or not you want to send a notification when
the schedule runs and under what conditions to send it. The notification
options are:
- Never. ReportCaster will not send a notification of the schedule status under any circumstances. This is the default value.
- Always. Send a notification each time the schedule runs.
- On Error. Only send a notification when there is an error running the schedule.
For more information, see Notification Options in the Basic Scheduling Tool.
- In the Log Reports tab, you can view log and manage log reports for the schedule.
-
To save
the schedule, click Save & Close on the ribbon.
Note: You can optionally click Save on the toolbar to remain in the scheduling tool.
The Save dialog box appears, as shown in the following image.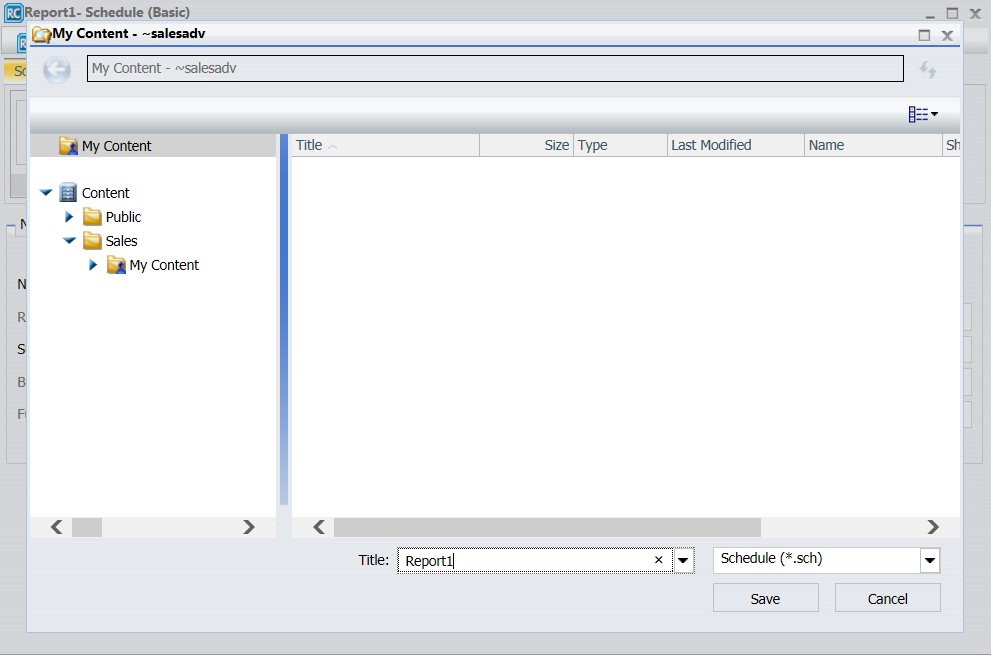
-
Select the
folder that will contain the schedule.
Note:
- You must be authorized to create content in this folder.
- The default location for saving a schedule is dependent upon your privileges. If you can create content in the folder where the scheduling tool is launched, the Save dialog will be positioned in that folder. If you are not allowed to create content in that folder, the Save dialog will be positioned in the My Content folder located under that folder. If a My Content folder is not available, the Save dialog will be positioned in the first writable folder found.
- Enter a name for the schedule and click Save.