Designing and Enabling the New Custom Sign-in Page
How to: |
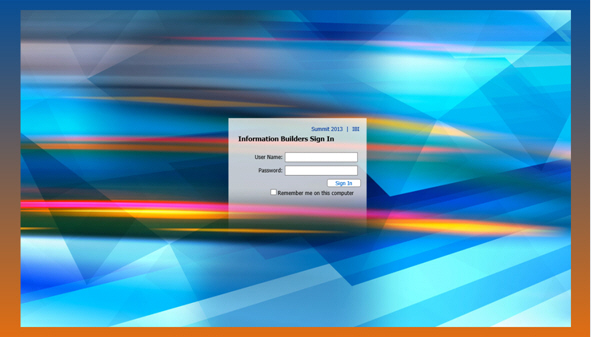
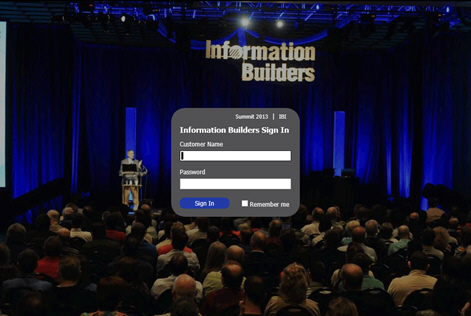
The packaged custom sign in page, as shown in the following image, is made up of a background image that contains a dialog box for the sign in credentials.
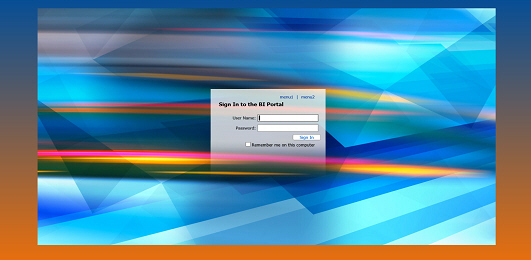
The background image is centered in a div class, providing some space around the image. To design your page, see How to Design the Page.
Procedure: How to Design the Page
- Decide on whether you will use a background image, a color (solid or gradient), or both.
-
Create a mockup in image editing software that can handle
layered PNG files or PSD files, such as Adobe® Fireworks® or Adobe®
Photoshop®, respectively. The Open Source Software GIMP can be used
to edit the .psd file.
- Open the provided sample multi-layer image.
- Replace the background image in the Custom Background layer with your image or colors.
-
Set the alpha transparency to the desired percentage.
Note: Not all images will require you to set the alpha transparency. Generally, the value will be between 50-75%.
- If necessary, resize the canvas to fit your image.
- Customize the form, as described in How to Customize the Form.
- Export your image as a .gif or .png to preserve transparency.
- Place your image in \ibi\WebFOCUS81\config\web_resource\signin\images.
Procedure: How to Customize the Form
-
For the form background:
- Change the background color of the Form Area Background object in the Form Layer to suit your color scheme.
- Position the form background as desired. Depending on the text you edit in the next step, you may need to resize this box.
-
For the form elements:
- Determine whether or not the Remember Me feature is used in your installation. If so, turn on the Remember element in the Form Layer.
- Change the text, as needed in the Form Layer.
- Style and position all form elements in the Form Layer.
-
For the error message:
- Turn on the error message sublayer.
- Style and position the error message background and text.
- Turn off the Form Layer, as these items will be generated at run time.
Procedure: How to Enable the New Custom Sign-in Page
The last step is to enable the new page that you have created. Use the following steps to complete this task.
- Sign in to WebFOCUS with an administrative account.
- Launch the WebFOCUS Administration Console.
- Click Configuration, and then click Application Settings.
- Click Security.
-
Set IBI_Customized_Signin_Page to true, as shown in the
following image.
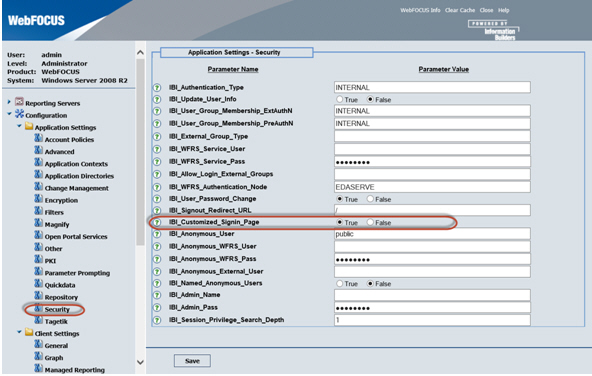
- Click Save.
- Sign out of WebFOCUS.