
The StyleSheet File Selector enables you to reference or embed an external style sheet, use the default WebFOCUS StyleSheet, or apply no styling to your report. You may also save and include multiple style sheet. The StyleSheet File Selector is accessible from the Style tab of the Report Options dialog box.
The StyleSheet File Selector provides the following capabilities:
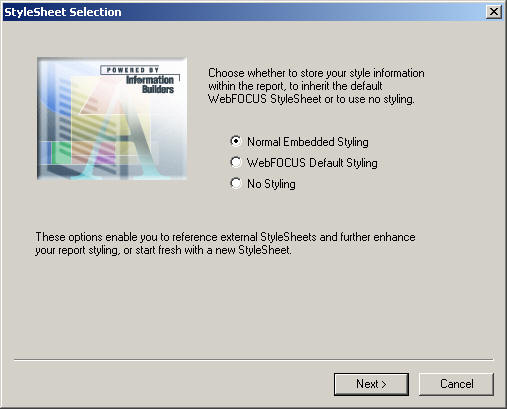
To open the StyleSheet File Selector, click Style File Selection from the Report Options Style tab. The StyleSheet Selection dialog box appears as shown in the image below.
Note: The StyleSheet File Selector opens to the Include StyleSheet File section, since every procedure has existing embedded styling by default. You may click Change Options and choose to embed or reference an external StyleSheet, use the WebFOCUS default StyleSheet, or turn off all report styling, as described in the procedures below.
Since every procedure has existing styling, the Include StyleSheet File section opens by default.
When a StyleSheet is included, part of the styling is embedded to the report. You may include StyleSheets up to an INCLUDE depth of three in your report, with the last selected StyleSheet having precedence.
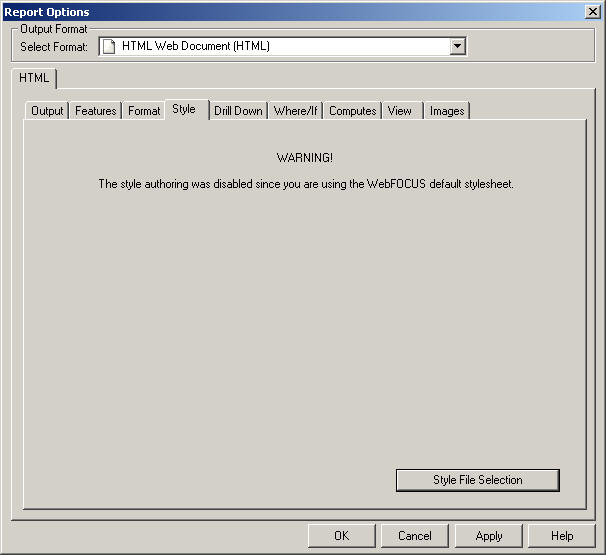
The Report Options dialog box opens at the Style tab.
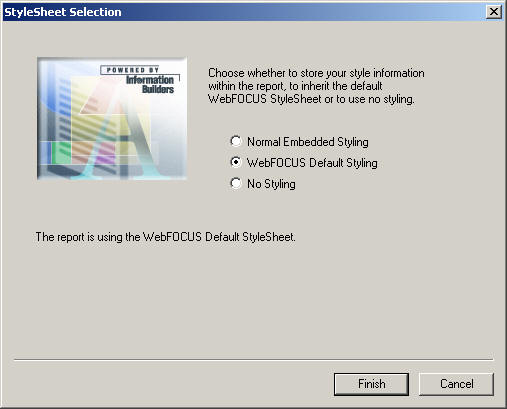
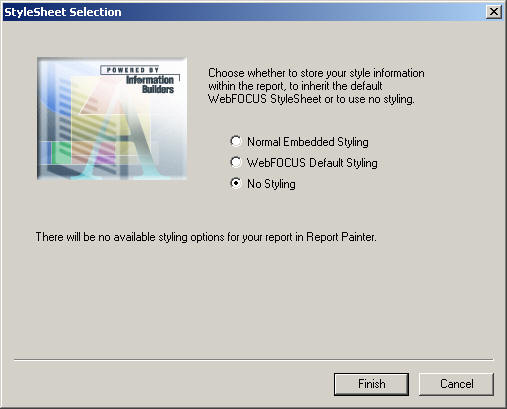
The StyleSheet Selection dialog box opens.

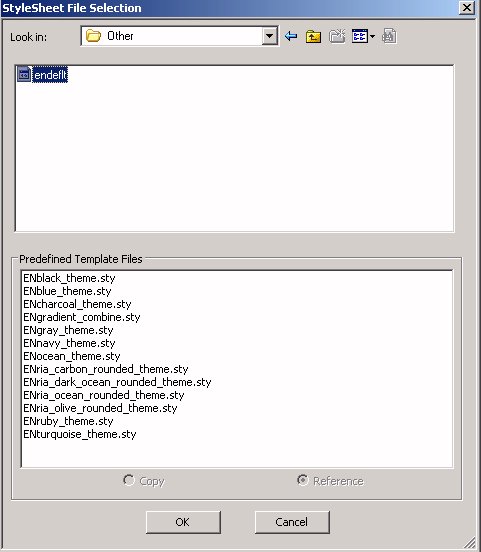
The StyleSheet File Selection dialog box appears.
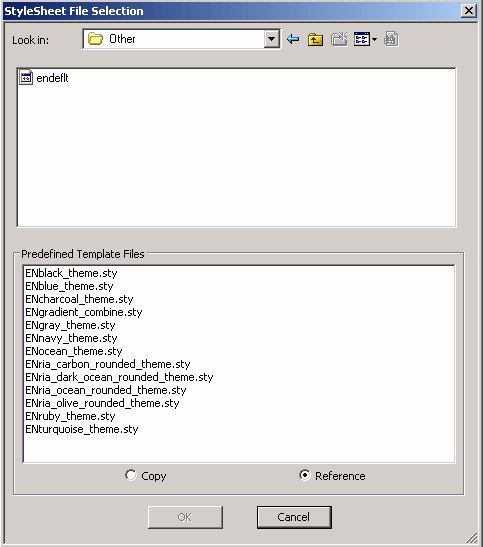
Note: The top half of the StyleSheet File Selection dialog box shows all the StyleSheets that are available from your local path. You may browse to change the location. The bottom half of the StyleSheet File Selection dialog box shows a list of the additional StyleSheets templates that are delivered with Developer Studio, as shown in the following image.
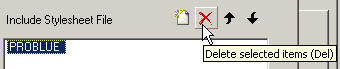
The selected StyleSheet is added to the Include StyleSheet File section.
Note: The last selected StyleSheet has precedence in the report. You may use the arrows to reorder the arrangement of StyleSheets.
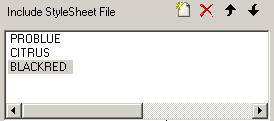
For example, the image below shows that the BLACKRED StyleSheet was the last included, so that StyleSheet will take precedence in the report.
The following syntax will be added to the procedure for the included StyleSheets.
ON TABLE SET STYLE *
     INCLUDE = problue,
$
     INCLUDE = citrus,
$
     INCLUDE = blackred,
$
...
Note: For details about how reports inherit StyleSheet attributes, see WebFOCUS StyleSheet Attribute Inheritance in the Creating Reports With WebFOCUS Language manual.
The selected StyleSheet is added to the list of StyleSheets that are included in the report, as shown in the following image.
In addition to including StyleSheets to your report, you may apply an external Cascading Style Sheet to your report. An external Cascading Style Sheet (CSS) is an extension to HTML that enables you to specify formatting for an HTML document. To link the CSS to the report, use the External Cascading Style Sheet URL field in the StyleSheet File Selector.
Note: An external Cascading Style Sheet is only applicable when using the HTML report output format.
The Report Options dialog box opens at the Style tab.
The StyleSheet Selection dialog box opens.
Note: The external CSS (Cascading StyleSheet) file should be saved in an alias on the web server.
Note: A CSS file is separate from a StyleSheet file and can exist on its own.
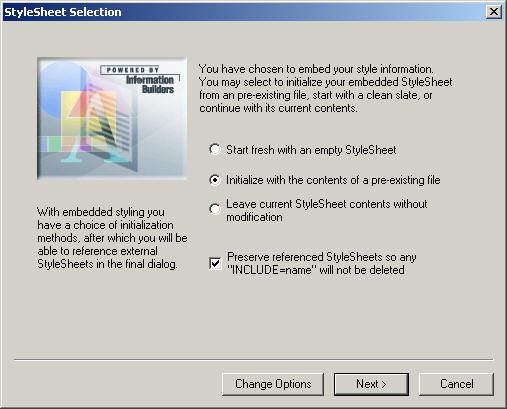
Embedding a StyleSheet stores your style information within the report, from which you can read an existing file as a starting point, start with a empty style, or leave the current StyleSheet contents without any modifications.
The Report Options dialog box opens at the Style tab.
The StyleSheet Selection dialog box opens.
Note: Preserve referenced StyleSheets so any “INCLUDE=name” will not be deleted is selected by default. When a StyleSheet is included, a reference of the StyleSheet is added to the report syntax as INCLUDE=name. This reference is added to the existing style information already in the TABLE request.
The StyleSheet Selection dialog box appears.
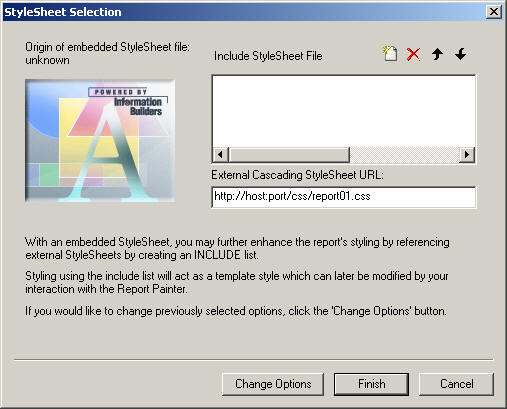
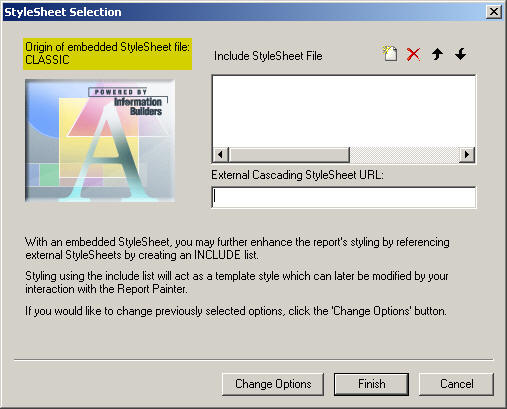
The selected StyleSheet file is shown as the origin embedded StyleSheet file. Optionally, you may include additional StyleSheets or add an External Cascading StyleSheet (CSS). The StyleSheet Selection dialog box is shown in the following image.
The selected StyleSheet code is imported into the procedure and overwrites any existing styling in the report.

Note: Preserve referenced StyleSheets so any INCLUDE=name is selected by default. When a StyleSheet is included, a reference of the StyleSheet is added to the report syntax as INCLUDE=name. This reference is added to the existing style information already in the TABLE request.
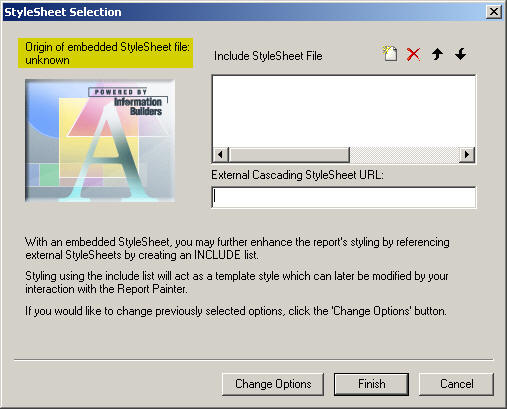
The Include StyleSheet File section, shown in the following image, opens indicating that the origin of the embedded StyleSheet file is unknown.
Tip: You may select StyleSheet files to embed to your currently empty style.
Starting with an empty style clears any styling from the report and initializes a procedure with the WebFOCUS default style code (basic styling that is used when styling is not specified).

Note: Preserve referenced StyleSheets so any INCLUDE=name is selected by default. When a StyleSheet is included, a reference of the StyleSheet is added to the report syntax as INCLUDE=name. This reference is added to the existing style information already in the TABLE request.
The Include StyleSheet File section opens indicating that the origin of the embedded StyleSheet file is unknown.
Tip: You may include StyleSheets to be added to the report.
The WebFOCUS Default Styling section applies the default StyleSheet to your report, with no styling visible in the procedure.
Note: The default WebFOCUS StyleSheet disables any styling options in the report. No further styling options of any kind can be applied to the report.
The Report Options dialog box opens at the Style tab.
The StyleSheet Selection dialog box opens.
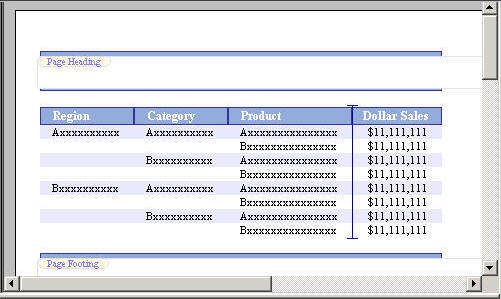
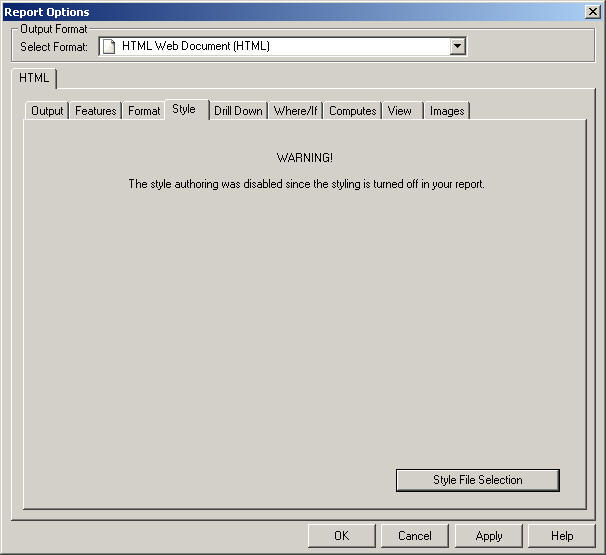
The Style tab shows that styling is disabled since you are using the WebFOCUS default stylesheet, as shown in the following image.
Tip: To remove the default WebFOCUS StyleSheet and enable styling, click Style File Selection to open the StyleSheet File Selector and select the Normal Embedded Styling option.
To reset the default Report Painter styling in the StyleSheet File Selector:
Or
Note: The top half of the StyleSheet File Selection dialog box shows all the style sheets that are available from your local path. You may browse to change the location. The bottom half of the StyleSheet File Selection dialog box shows a list of the additional StyleSheets templates that are delivered with Developer Studio.
You may turn off all report styling in your report from the StyleSheet File Selector.
The Report Options dialog box opens at the Style tab.
The StyleSheet Selection dialog box opens.
Note: This option disables all styling in your report. Any feature that uses styling will be unavailable. For example, Data Visualization, Drill Downs, and so on.
The Style tab shows that styling is turned off in your report, as shown in the following image.
Tip: To turn on styling again, click Style File Selection to open the StyleSheet File Selector and choose a styling option.
After including StyleSheets and applying styling options from Report Painter, you may save the StyleSheet as a new StyleSheet file (.sty).
The Save As dialog box opens.
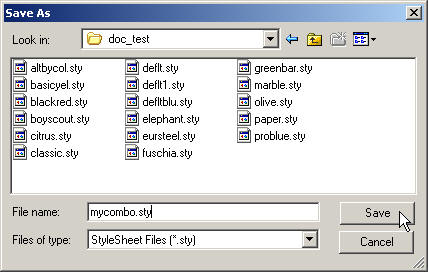
The .sty file is saved in the working directory. You may browse to select a different location.
Tip: The saved StyleSheet is available to be included in other reports from the StyleSheet File Selector, as shown in the example image below.
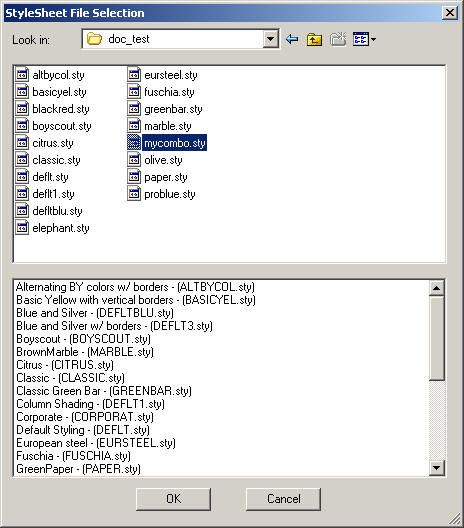
Note: The top half of the StyleSheet File Selection dialog box shows all the StyleSheets that are available from your local path. You may browse to change the location. The bottom half of the StyleSheet File Selection dialog box shows a list of the additional StyleSheets templates that are delivered with Developer Studio.
The following apply when using the StyleSheet File Selector in Report Painter:
If the StyleSheet already exists in the current application, it does not get overwritten.
To refresh an existing StyleSheet, you must copy the new StyleSheet to the working directory or remove the StyleSheet from the procedure, delete it from the working directory, and then add it back to the procedure.
Note: If you go back and select to embed or reference a StyleSheet, or use the WebFOCUS default option, the StyleSheet that was in the report will get overwritten.
ON TABLE SET STYLE OFF
| WebFOCUS |