- Copy your custom icon image files into your application folder.
- Find the "iconSets" section in the original irpcfg.js file.
-
Copy the
entire contents of the "iconSets" section into the irpcfgu.js file.
Important: Copy the entire "iconSets" section to keep the contents consistent. If you copy only part of the "iconSets" section, other procedures and WebFOCUS StyleSheets that refer to one of the predefined icon sets may produce reports, charts, or dashboards with missing icons.
- The example in this topic uses the "default" set of icons as the base set. You can copy and use another icon set as the starting point for your customization. For more information on each icon set, refer to the icon set tables in Icon Set Details.
-
Copy the
entire "default" subsection.
Important: Copy the entire "default" subsection to keep the contents consistent. If you copy only part of the "default" subsection, or part of an individual icon property name or image file name, some icons in the set may not be defined or fully defined. Those icons will not appear in the active report, chart, or dashboard output. A partial icon definition can also cause a JavaScript error at run time.
- Instead of "default", name the subsection "myicons".
- Replace the icon image file names currently in the "myicons" subsection with the names of the custom icon image files that you supplied in step 1.
This example replaces
the existing window resize  icon, named irdrszwin.png, with a custom red version of the
  icon. Currently, the custom red version of the icon is not included
in the product. For this example, a file named irrszwinred.png was
created and placed in the application folder in the \ibi\apps\ folder tree.
icon. Currently, the custom red version of the icon is not included
in the product. For this example, a file named irrszwinred.png was
created and placed in the application folder in the \ibi\apps\ folder tree.
Locate the "resizeIcon" property name in the custom "myicons" subsection of the irpcfgu.js file, and rename the icon image file as follows.
{
"iconSets":{
.
.
.
"myicons":{
.
.
.
"resizeIcon":"irrszwinred.png",
.
.
.
},
.
.
.
}
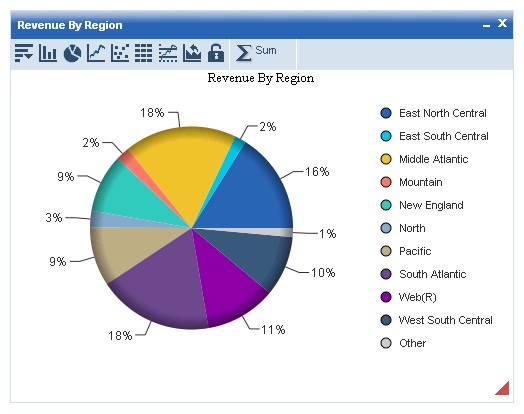
} When you run an active chart, the red window resize icon appears in the lower-right corner of the window, as shown in the following example.
Continue replacing the icon image file names to complete your own custom icon set.