This section explains how to reconfigure the channel
you created earlier to include the indexing process flow, and how
to deploy that channel to start indexing your data.
xAbout Reconfiguring the iWay Channel
This section explains how to reconfigure the original
channel (created in Configuring an iWay Channel), which was used to extract the data source document
structure. We reconfigure the original channel because it contains
and has generated information that is necessary to the indexing
process, such as, the name of the channel. The same channel must
be used because the xml files created earlier contain the name of
the channel, and the xPaths used in the config are connected to
these files.
Basically, reconfiguring the channel allows you to include the
indexing process flow as the new route of the channel and to redirect
the output of the channel to the search engine rather than a directory.
All tasks are preformed in the iWay Service Manager console.
As a reminder, the original channel was configured with the following
elements:
-
Inlet. Contained the data source listener. In our
example, the inlet name and the listener name was the same, RetailDB.
-
Route. Was the default route, move, which moved the document
from the inlet and listener to the outlet without additional processing.
-
Outlet. Was named RetailDB_Outlet and contained a file
emitter (named RetailDB_FileEmitter) that deposited XML files into
the designated directory.
To reconfigure the channel, we will:
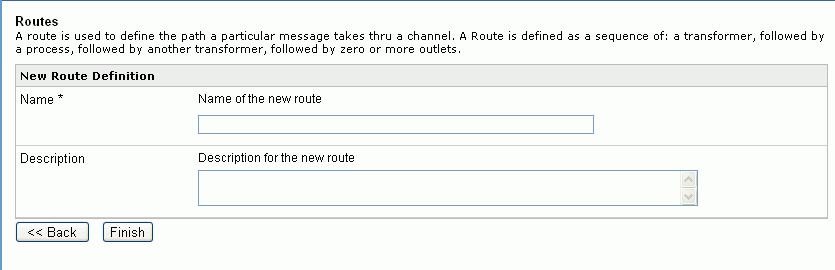
- Create a new route that uses the indexing process flow (named Retail_Route).
- Modify the original channel, as follows:
- Undeploy the
original channel.
- Delete the original route and outlet from the channel.
- Add the new indexing process flow route to the channel.
- Add the iWay Service Manager default outlet (default.outlet).
- Build the new channel.
- Deploy the new channel.
Once the channel is deployed, it is operational and the transaction
indexing process begins.
xModifying the Original Channel
This section explains how to modify the original channel
to incorporate the new route containing the indexing process flow
and to replace the outlet to direct the documents to the search
engine.
x
Procedure: How to Modify the Original Channel
-
At the top of the iWay Service Manager
console, select Registry.
-
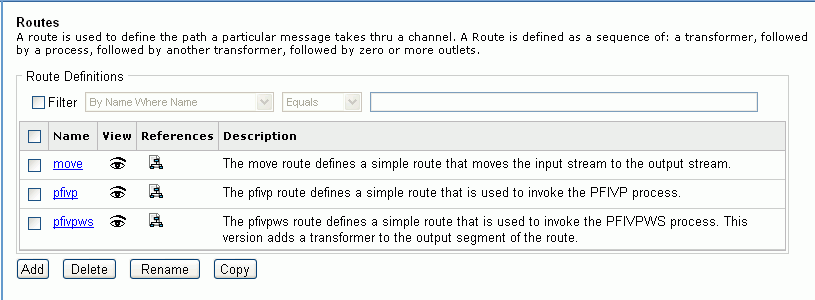
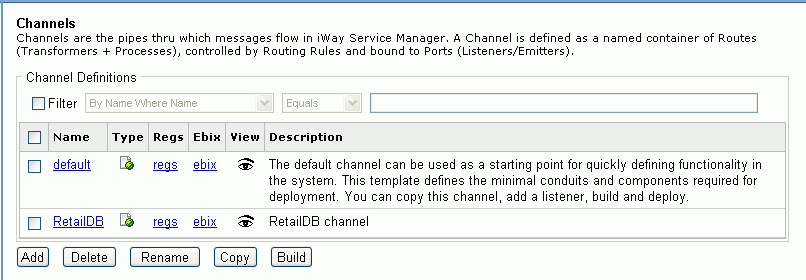
In the left pane, under Conduits, select Channels.
The Channel Definitions pane opens, as shown in the following
image, and lists the channels available in the Registry.
-
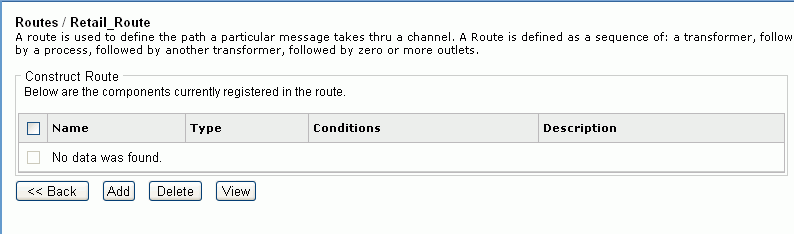
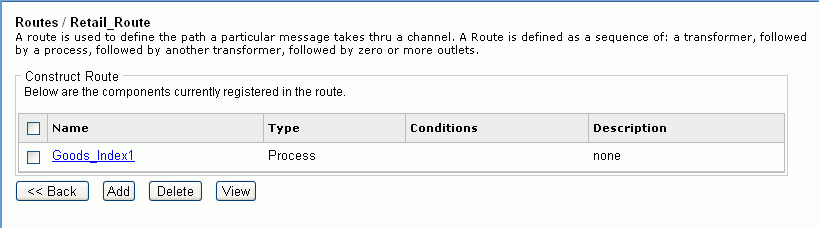
Double-click the original channel name.
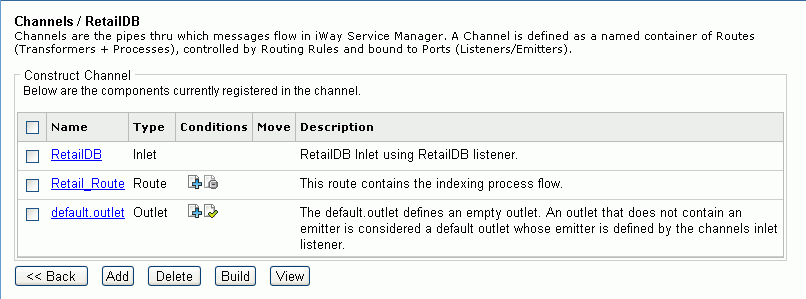
The Channel Construct pane opens, showing the components
(inlet, route, outlet) of the selected channel. This pane with our
example channel, RetailDB, is shown in the following image.
As a reminder, we
want to delete the route and outlet so that we can replace them with
the indexing process flow and the default outlet.
-
Select the route and the outlet (in our example, move and RetailDB_Outlet),
and click Delete.
The route and outlet are removed from the channel.
-
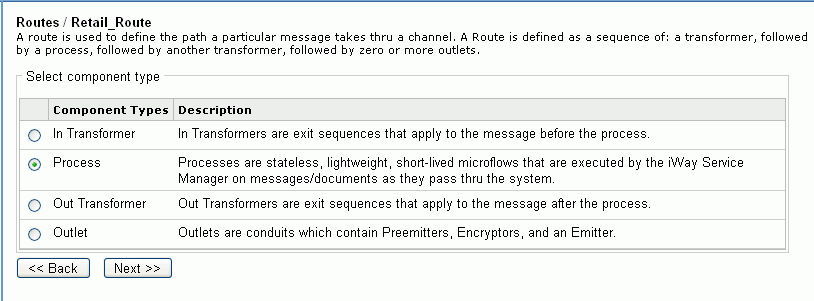
Click Add.
The Select component type pane opens, as shown in the following image.
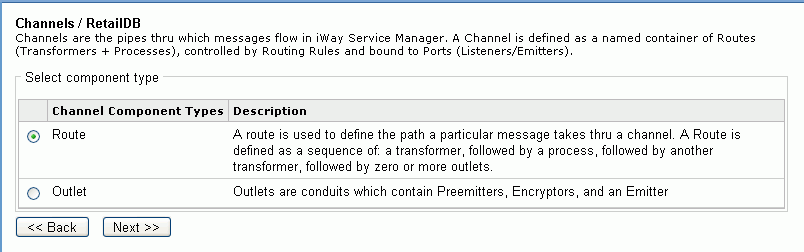
-
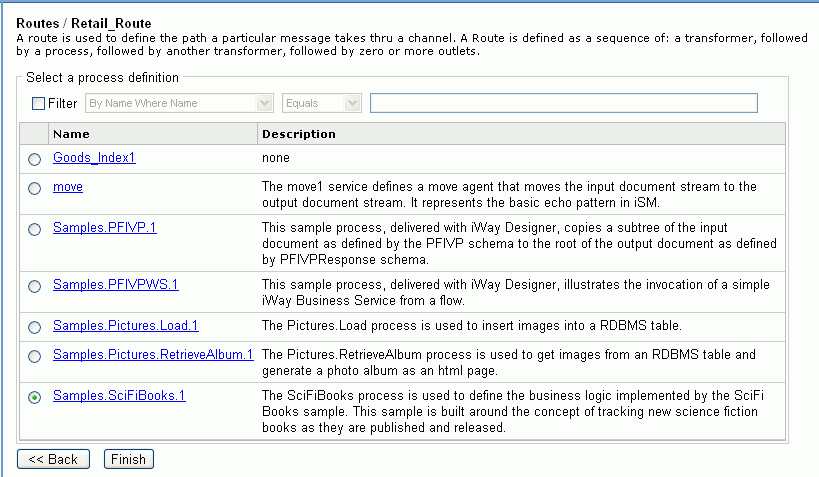
Select Route and click Next.
The select one or more route definitions pane opens, listing
the available routes.
-
Select the route that contains the indexing process flow
(in our example, Retail_Route), and click Finish.
The Construct Channel pane opens showing the new route
as a component.
-
Click Add.
The Select component type pane opens.
-
Select Outlet and click Next.
The select one or more outlet definitions pane opens, listing
the available outlets.
-
Select the default outlet, default.outlet,
and click Finish.
Note: The default outlet is an empty container,
which allows the emitter to be defined by the listener.
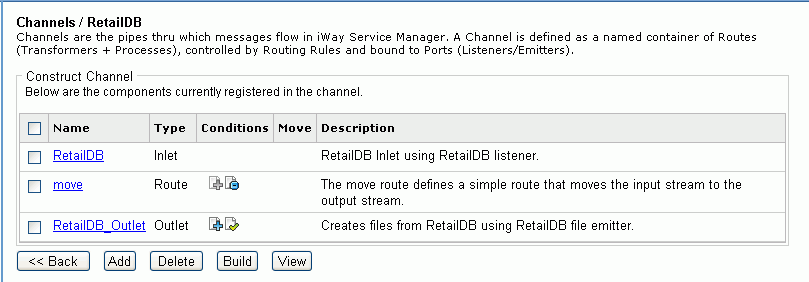
The
Construct Channel pane opens showing the default outlet as a component.
The following image shows the new components of our example channel,
RetailDB.
-
In the route Conditions column, click the right-most
document icon with the minus sign. This sets the default route.
The
original channel has been modified to include the indexing process
flow and to direct the documents moving through the process flow
according to the listener definition.
xBuilding and Deploying the Modified Channel
This section explain how to build the modified channel
and deploy it for use.
x
Procedure: How to Build and Deploy the Modified Channel
-
From the Construct Channels pane for
the modified channel, click Build.
Note: If you are not in the Construct Channels pane,
at the top of the iWay Service Manager console, select Registry,
and in the left pane, under Conduits, select Channels.
Select the modified channel and click Build.
The
build results pane opens, displaying the status of the build. The
following image is an example of this pane.
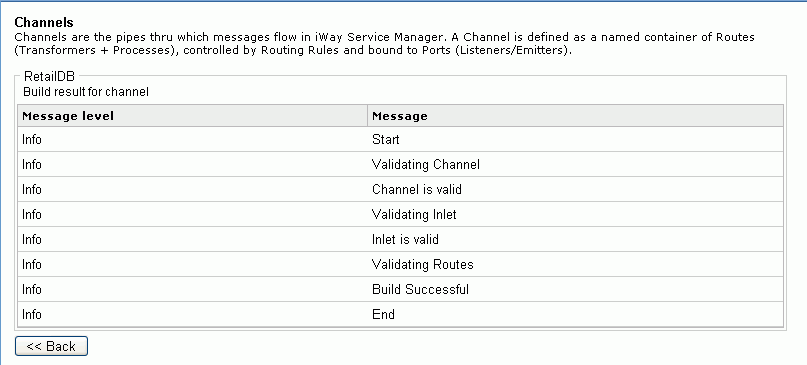
-
Verify that the build was successful. If it was not,
review the components of the channel, modify as needed, and build
again.
-
At the top of the iWay Service Manager console, select Deployments.
The Channel Management pane opens, displaying a list of
deployed channels.
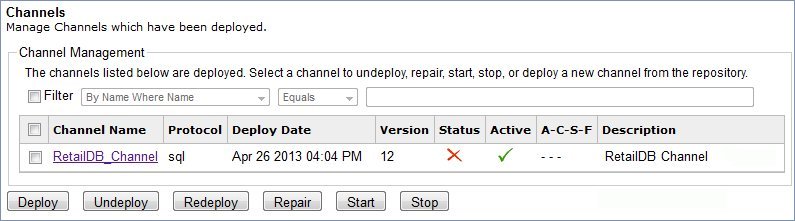
-
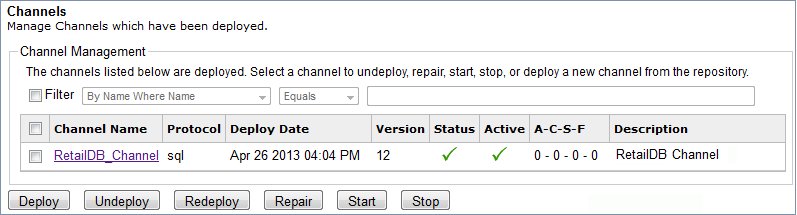
To redeploy the channel, click the check box next to
the channel name and click Redeploy.
The status mark turns to a green check, as shown in the
following image, to indicate the channel is started.
-
Click the red X under the Status
column or select the check box next to the channel name and click Start.
Magnify
is now configured and deployed. This means the listener and indexing process
flow are on alert to feed new and updated information from the data
source to the search engine.
xBacking Up and Importing iWay Workflows
To archive an iWay workflow you must create a package,
which includes an iWay Channel and all of its referenced components,
such as the process flow and transformation.
The archive package is a zip file that can be saved, migrated
and imported into other instances of iWay Service Manager.
x
Procedure: How to Archive an iWay Workflow
-
Navigate to the iWay Service Manager
Console and click Tools.

-
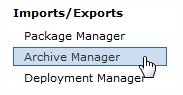
Select Archive Manager under
the Imports/Exports menu.
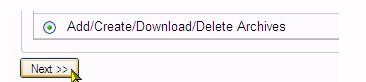
-
Select the Add/Create/Download/Delete Archives radio
button and then click Next.
-
Click Create.
-
Select the iWay objects to backup, such as a channel,
emitter and outlet. For example, the following images illustrate
the various objects that are packaged in the archive:
Channels:

Emitter:

Outlet:

-
Click Next. This includes all
of the iWay components selected in the previous step.
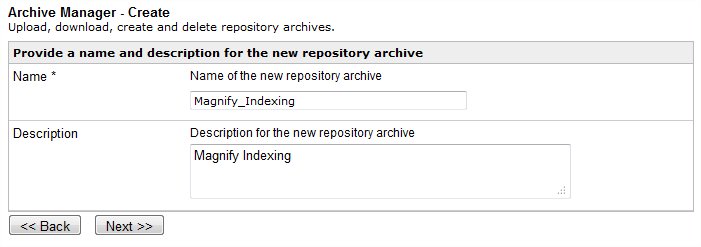
-
Enter a name for the archive
in the Name input box. Optionally, you can
specify a description for the archive.
-
Click Next and then Finish.
-
Select the archive to download.
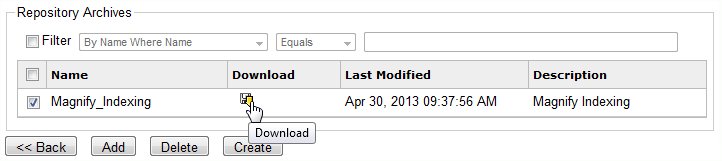
x
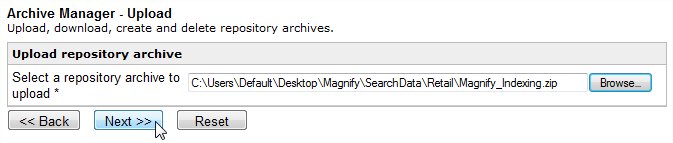
Procedure: How to Import an iWay Archive
-
Navigate to the iWay Service Manager
Console and click Tools.
-
Select Archive Manager under the Imports/Exports menu.
-
Select the Add/Create/Download/Delete Archives radio
button and then click Next.
-
Click Add.
-
Browse to the archive file and click Next.
-
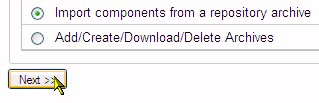
Click Archive Manager.
-
Select the Import components from a repository archive radio
button and click Next.
-
Select the archive previously imported and click Next.

Both the Bulk and Incremental
process flows share the same transformation and can be overwritten.
-
Click Next and then Finish.