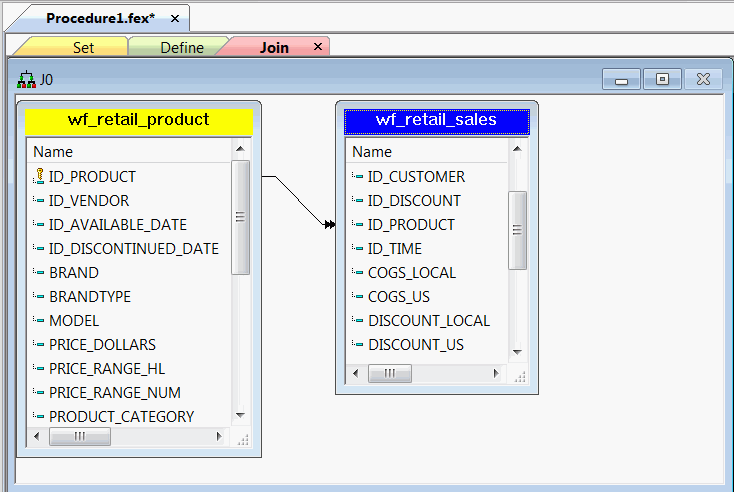
How to: |
After you create a project or application folder, you can begin building your application. In this section, we will create a multi-component procedure that contains Set, Define, Join, and Report components.
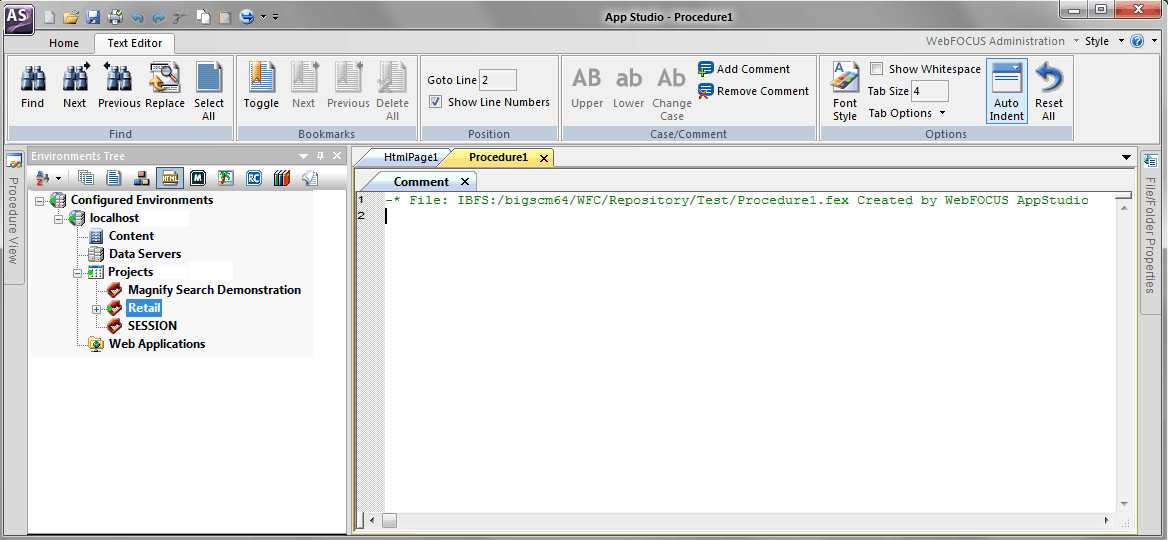
The Proceduren.fex canvas and the Procedure View panel open, as shown in the following image. The Procedure View panel is autohidden, by default.
Note: You can also create the new procedure from the Application menu, or the Quick Access Toolbar. If you choose to create the new procedure from one of these locations, you will need to select the Retail project from the Configured Environments tree to make the options active.
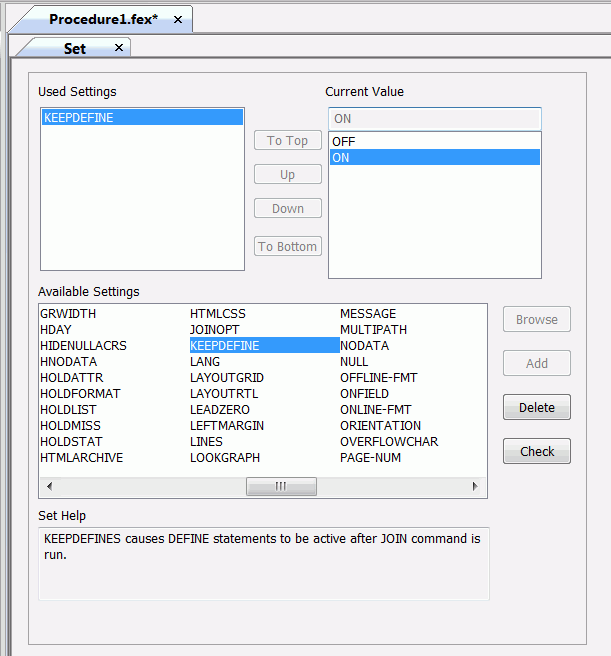
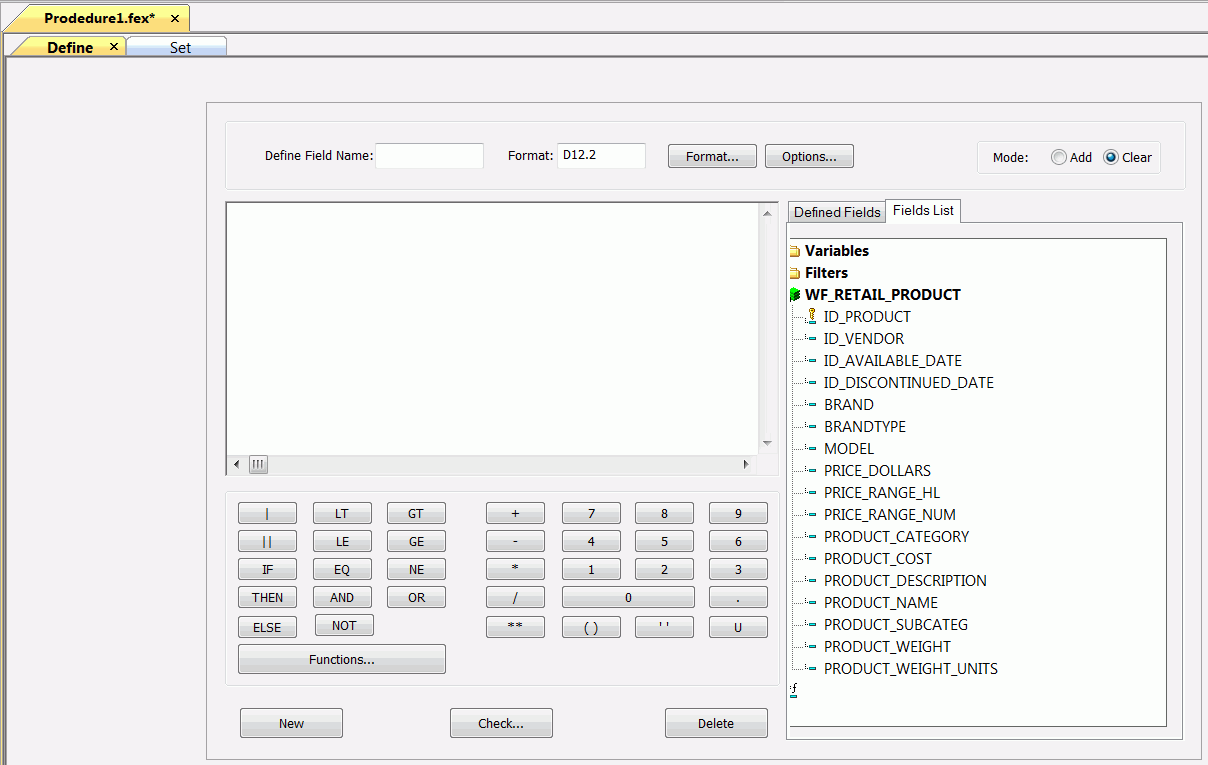
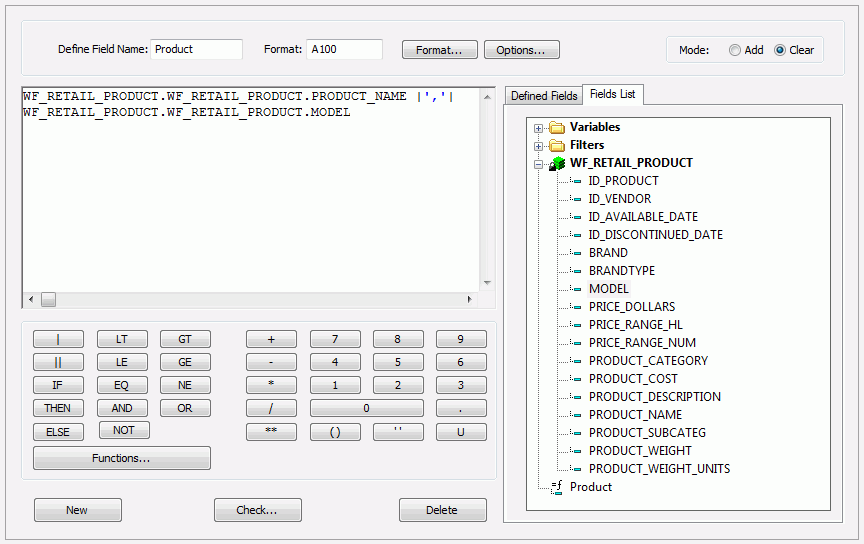
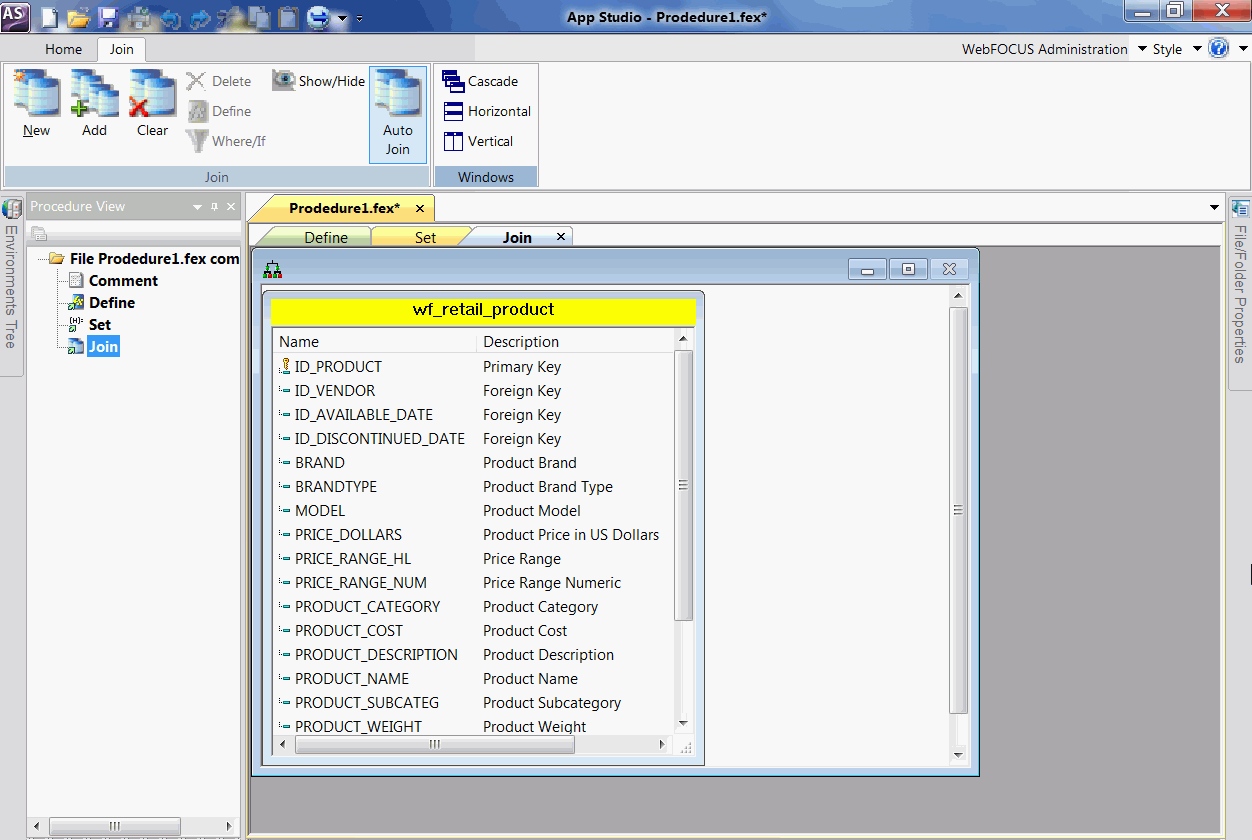
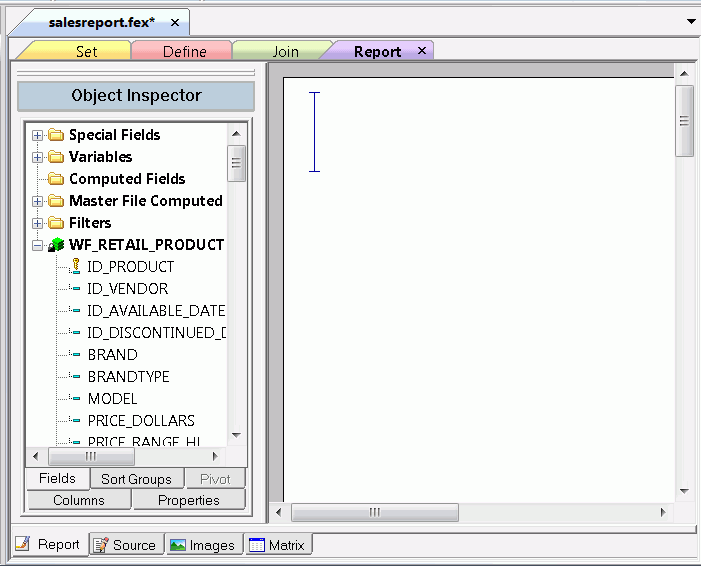
You can now add the Set, Define, Join, and Report components to the procedure.
Since we are creating a Define field within this procedure, and we plan to have a Join, we must first create a Set component that keeps all defined fields across a Join component.
The Set canvas opens within the Proceduren.fex canvas, as shown in the following image.
The KEEPDEFINE setting now appears in the Used Settings area, and OFF and ON options now appear in the Current Value area.
You can check for code errors by clicking Check. This opens the Check dialog box, where you can view the code source and any error notifications. Click OK to exit the Check dialog box.
In the following procedure, you create a single Define field using the wf_retail_product Master File.
The Open File dialog box opens.
The Define canvas opens as a second tab within the procedure, as shown in the following image.
The Format dialog box opens, as shown in the following image.
You can create the expression by typing it directly into the Expression Builder window or by using the Fields List and the number and operator buttons. There is no button for the comma, so use the comma key on your keyboard.
Note: By default, the Fields List displays fields by name. When you double-click the field name in the Fields List, the qualified field name appears in the Expression Builder window.
Notice that Product now appears in the Fields List, as shown in the following image.
In the following procedure, you create a Join. For more information on creating Joins in App Studio, press F1 while in the Join canvas.
The Open File dialog box opens.
The Join canvas opens as a third tab within the procedure, and the Join tab opens on the ribbon, as shown in the following image.
The Open File dialog box opens.
The wf_retail_sales file appears on the canvas joined to the wf_retail_product file by a connector line, as shown in the following image.
The Save As dialog box opens.
The Report Wizard - Select a master file pane opens, as shown in the following image.
The StyleSheet Selection pane opens, as shown in the following image.
The Open File dialog box opens.
When prompted, click Yes to confirm that you want to copy this template.
The Report canvas opens as a fourth tab within the procedure, as shown in the following image.
You can double-click the fields in the Object Inspector or drag them onto the Report canvas to add them to your report.
Next, you will create WHERE clauses with dynamic parameters.
The Expression Builder opens.
The Insert Variable dialog box opens.
The COUNTRY_NAME variable now appears in the page heading.
WebFOCUS |