In this section: How to: |
To create a report, you must add fields to it. Ordinarily, when you add a field to a report, the field name appears as the column title and the field values appear within that column. If you choose to organize data horizontally rather than vertically, the field name appears as a row label rather than as a column title. But, from the point of view of adding fields to a report, the principle is the same. For details, see Sorting Data.
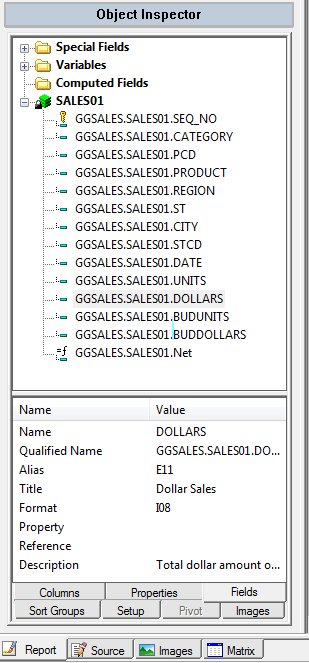
The Fields tab in the Object Inspector lists all field names available for use in your report. This includes fields in the open file, and any joined files, as well as temporary fields and variable fields.
Selecting a field in the Fields tab displays the field properties in the bottom pane of the Object Inspector. You can right-click a field and adjust the amount, type, and order of information that appears in the Fields tab. For example, you can automatically sort the fields and display the format and/or description for each field.
Note: Right-click and click Hide Details section to show or hide details anywhere in the Object Inspector.
You can also create a variable field as a column to control output. For example, in a cost report, the variable might be &COST, which would allow a user to specify RETAIL_COST or DEALER_COST at run time. For details, see How to Create a Variable Field in Your Report.
To add columns to your Report Painter window from the Fields tab in the Object Inspector:
Drag a field or fields from the Fields tab to the Report Painter window.
Note: You can multi-select fields and drag them from the Fields tab to the Report Painter window. You can multi-select by holding control and left clicking or by holding the Shift key and clicking, using the up arrow, or using the down arrow. You are able to multi-select from anywhere that you are able to drag and drop a field.
You can create a temporary field based on existing information in the data source, and then add that field to your report request.
Click the Options button from the Output Format toolbar and click the Computes tab from the Report Options dialog box, where you can create the temporary field.
Tip: You can also select the Compute icon, located on the Setup toolbar.
The temporary field that you create will be listed in the Computed Fields (in the Fields tab in the Object Inspector) so that you can add it to the report as you would any other field.
As you create your temporary field, the fields in the data source you are reporting against are listed in a secondary Fields window that shows field names and descriptions by default. Click the Fields button on the Computes tab to open the secondary Fields list window. To adjust the information that you see in the Fields list window (for example, to display field aliases, along with the field names), right-click in the window and click Show Alias from the pop-up menu.
For details about creating temporary fields in reports, see Creating a Calculated Value With Report Painter.
How to: |
You can copy, cut, paste, drag and drop, and delete columns in reports.
You will see a hand with a finger pointing down at the target location.
The Insert Mode symbol displays at the target location.
To drag a field from the Fields tab in the Object Inspector to the Report Painter window, select the field and drag it to the desired location.
To move a column from one location to another in the Report Painter window, select and drag the column to the new location.
| WebFOCUS |