How to: Reference: |
You can create output files within a report request or after running the request and viewing the report output. Your graphical tools support both options.
-
In Report
Painter, choose Options from the Report menu
and select the Save file option from the
Destination Output result drop-down list.
Note: Ensure that the selected report output format is a SAVE file format. For a list of available formats, see SAVE File Formats.
-
Type
a name for your file in the Name input field or click the ellipsis button
to open the Save File dialog box.
In the Save File dialog box, type a name for your file in the File name input field and select a location for your file using the Save in list box.
- Click OK to close the Report Options dialog box.
You use the Save File dialog box to create SAVE files.
Options in this dialog box include the following:
- File name
-
Is where you enter a file name for your Save file.
- Save in
-
Determines the project name where your file is saved.
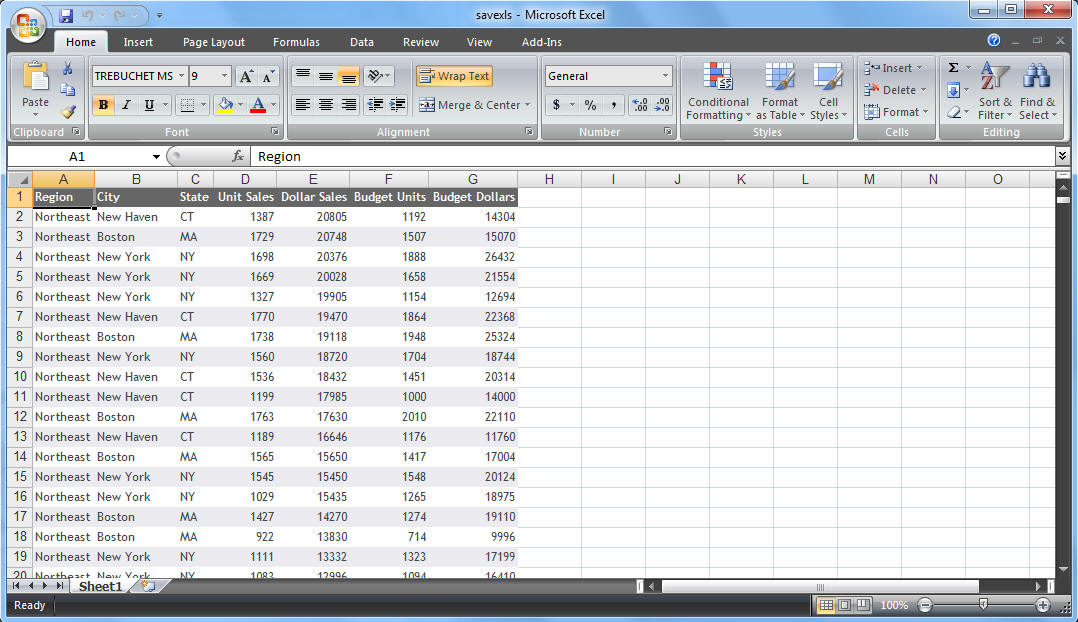
The following Report Painter example saves the report output as an Excel worksheet by first selecting Excel 2007 as the selected output format from the Report Options dialog box, selecting Save file as the Destination Output result, and then saving the Excel worksheet as savexls.xls.
You can open the resulting output file in Microsoft Excel as shown in the following image.
Note: See Saving Reports Using Excel Formats for examples of output saved in new formats.
-
In Report
Painter, choose Options from the Report menu
and select the Temporary file option from
the Destination Output result drop-down list.
Note: All report output formats are available for the Temporary (HOLD) file format. See HOLD File Formats for a list of HOLD file formats.
-
Enter the Temporary file name. The
default file name is HOLD. If you use the default name, each time
you create a HOLD file, the new file overwrites the previous one.
or
Save the report output to a file. Enter up to 66 characters as the Temporary (HOLD) file name or click the ellipsis button to open the Save File dialog box.
Tip: This is recommended to avoid having your file overwritten the next time you create a HOLD file.
When you run the report, the output is saved with an associated Master File.
- Click OK to close the Report Options dialog box.
-
In Report
Painter, choose Output from the Report menu
and select Web browser from the Destination
Output result drop-down list. This is the default option.
Note: Ensure that the selected report output format is a Web browser (PCHOLD) file format. For a list of available formats, see PCHOLD File Formats.
The report output displays in a web browser and adds PCHOLD to the code.