How to: |
The Facebook Wizard provides a step-by-step process to:
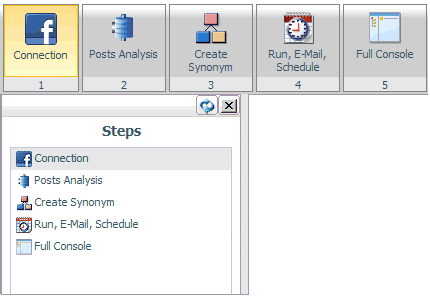
The Facebook Wizard displays these steps on the ribbon and in the navigation pane, as shown in the following image.
The Facebook Wizard is available from the Facebook icon ![]() above
the main menu.
above
the main menu.

The Add Facebook to Configuration pane opens, as shown in the following image.
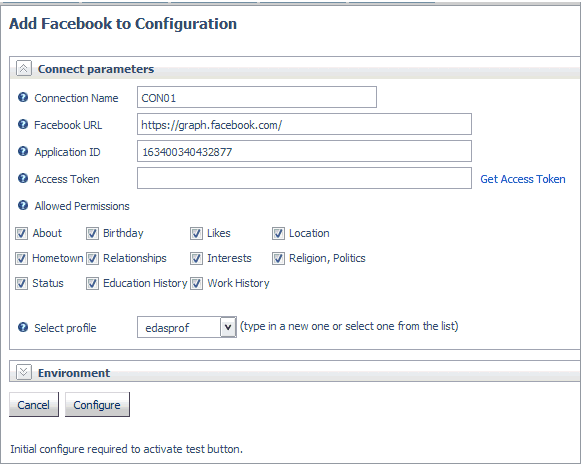
You must be have a Facebook account and must be logged in.
The Access Token will be populated automatically.
A confirmation message is displayed, as shown in the following image.
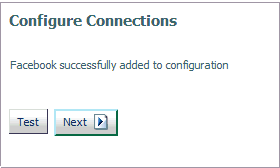
Data from your Facebook profile is displayed.
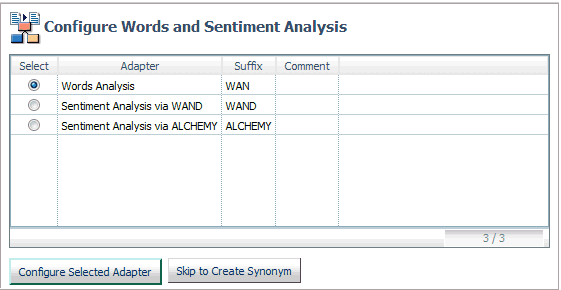
The Configure Words and Sentiment Analysis pane opens, as shown in the following image.
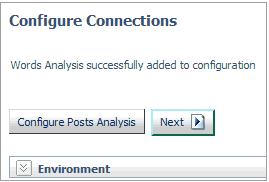
A confirmation message is displayed, as shown in the following image.
Alternately, if you have already configured the adapter, select Skip to Create Synonym to move to that step.
A confirmation message is displayed.
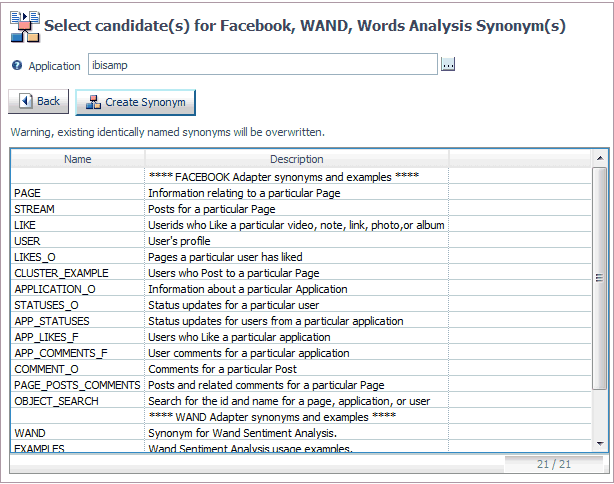
The Select candidate(s) for Facebook pane opens, as shown in the following image.
A confirmation message is displayed.
The Run, E-Mail, Schedule pane opens.
After you create a synonym, the Facebook Wizard moves to the Run, E-Mail, Schedule pane, as shown in the following image.

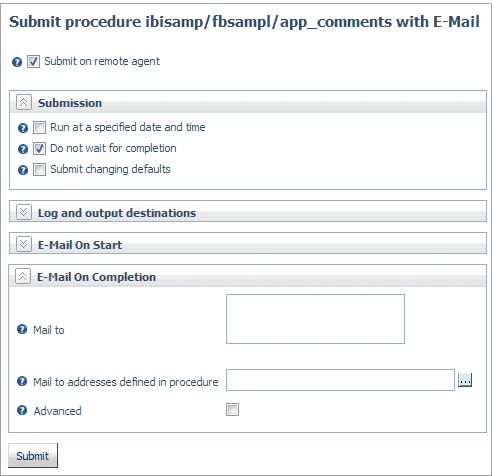
The Submit procedure with E-Mail pane opens, as shown in the following image.
The Manage Schedule and E-Mail for procedure pane opens, as shown in the following image.
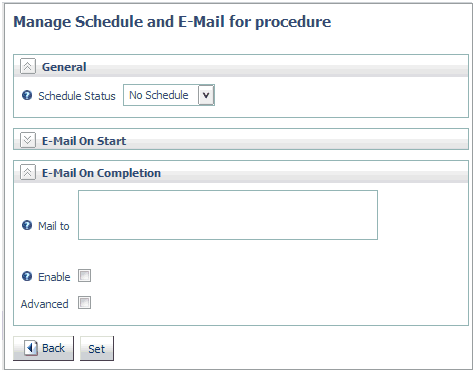
For information on email and scheduling options, see Sending an E-mail Notification for a Procedure and Scheduling a Procedure.
| iWay Software |