How to: |
The Rpart Rule Export functionality allows you to create and store unique versions of scoring data for a selected database on a local drive or directory. The basic functionality involves choosing a database, creating a model, and then scoring the data based on the values generated and stored for that modeling scenario.
Note:
- In each step of this process, click the Execute button in order to apply your changes. When you select the Tree model type, you must then execute it so that the model loads with the Rpart model builder. When you score the data, the model will be ready for the selected database and will produce the scoring results based on these prior functions.
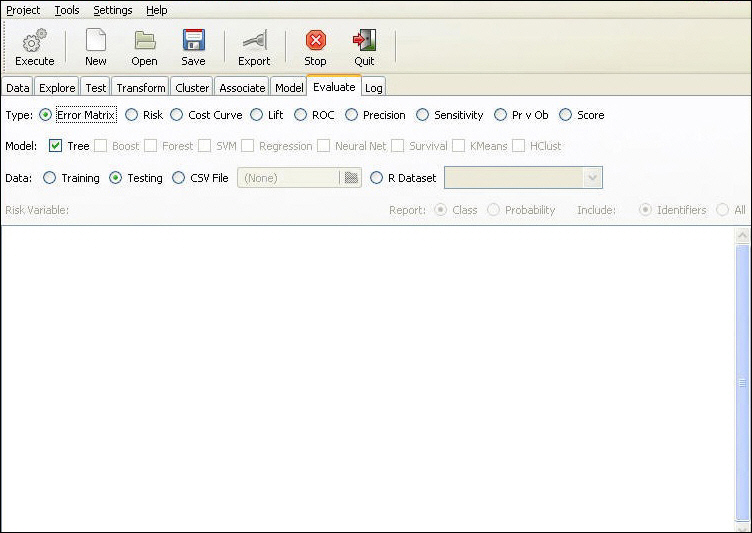
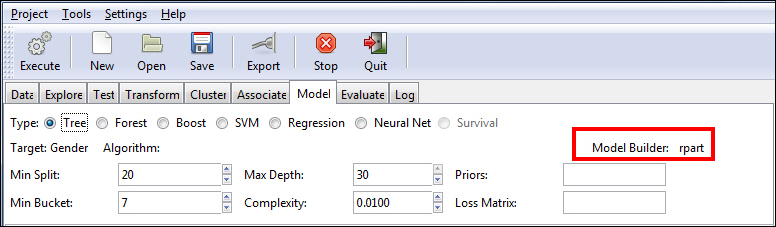
- The Tree model type must be selected during modeling. The Tree model type uses rpart as its model builder, as shown in the following image.
From the Model tab, you can model the scenario, clicking Execute after you make a selection. You can then export the rules. For more information, see How to Execute the Rpart Rule Export.
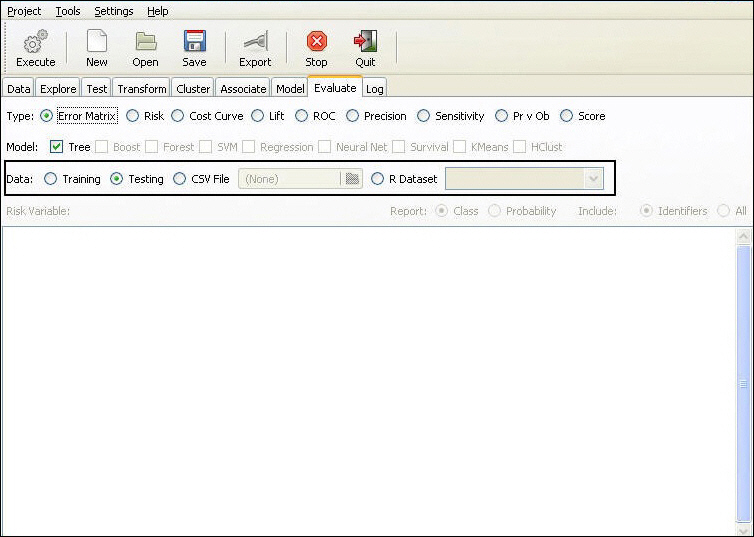
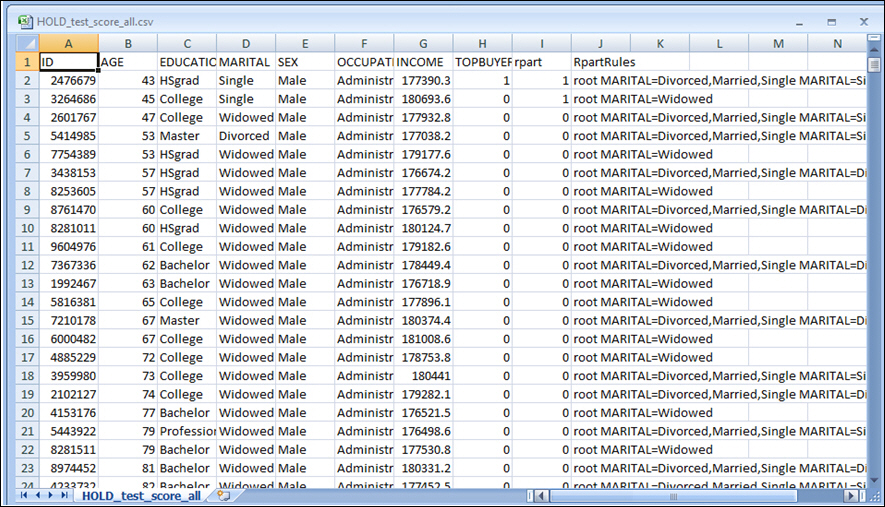
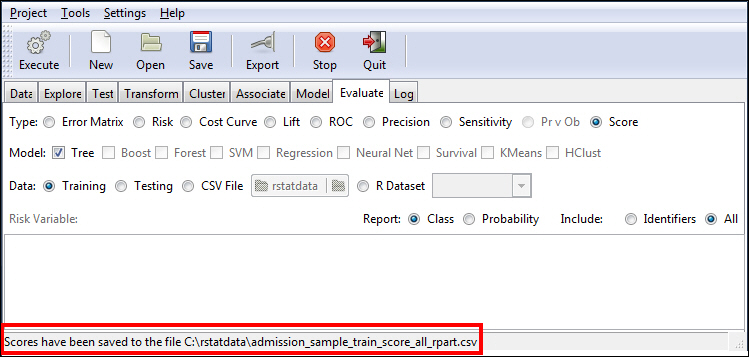
From the Evaluate tab, if the Score option is selected, RStat appends the rules after the data set within the resulting .csv file. The data specific to this functionality is identified with a column heading of Rpart, allowing you to locate the newly generated Rpart data easily. This is illustrated in the following image.
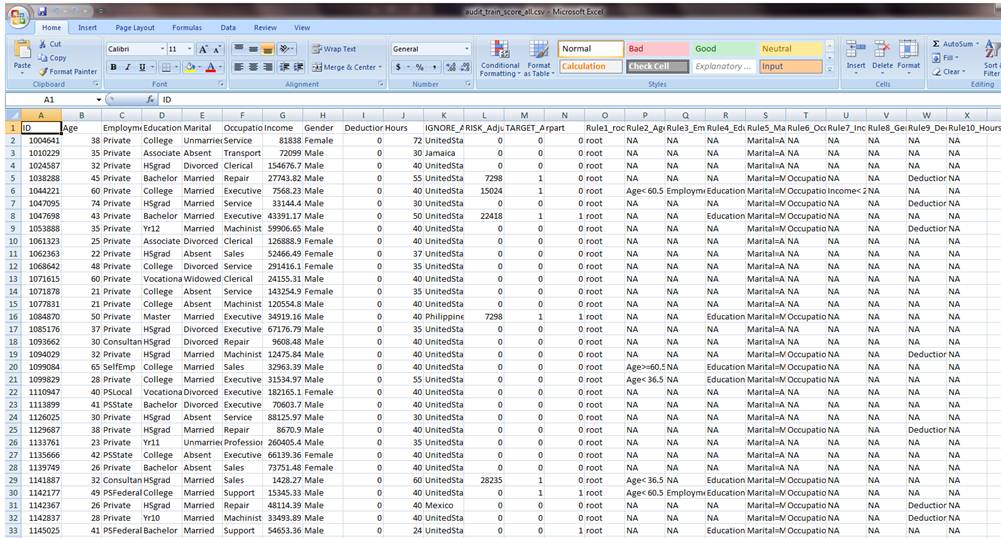
RStat has a unique method for naming the files associated with the Rpart Rule Export functionality. The file name for the output of the scoring routine is derived from the original database file name. RStat appends _train_score_all to the file name. For example, if the originating database is database.csv, the resulting filename is:
database_train_score_all.csv
Alternatively, you can provide your own file name or append information to the default file name assigned. For example, you may run the same scenario on different dates. You might use a date convention (for example, _mmddyyyy) to archive your files. In general, this file naming convention ensures that the original name of the database is preserved while marking the new output file as one that contains scoring data.
You can store these files locally using the default generated naming conventions (or that which you specify) for future analysis. For example, you can use WebFOCUS to create reports, graphs or other BI-related tasks. Specifically, you can use the following resources:
- Creating Reports with WebFOCUS Language
- Creating Reports with Graphical Tools
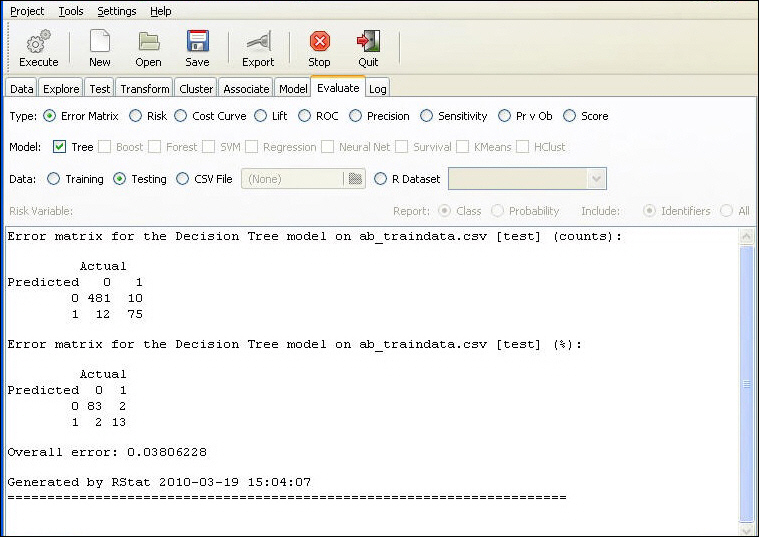
Note: After scoring and saving the resulting data, RStat displays the path and file name of the file that you saved when the application returns to the Evaluate tab, as shown in the following image.
- Open RStat.
-
Click the
folder adjacent to the Filename field and select a database file.
Note: The Rpart Rule Export does not support a sampling or testing data set. In order to execute Rpart rules, you must clear the Sample check box on the Data tab. This converts the data into training data from which rules can be extracted.
- Click Open to confirm the database selection and return to the RStat interface.
- Click Execute.
- Click the Model Tab and for Type, select Tree.
- Click Execute.
-
Click the
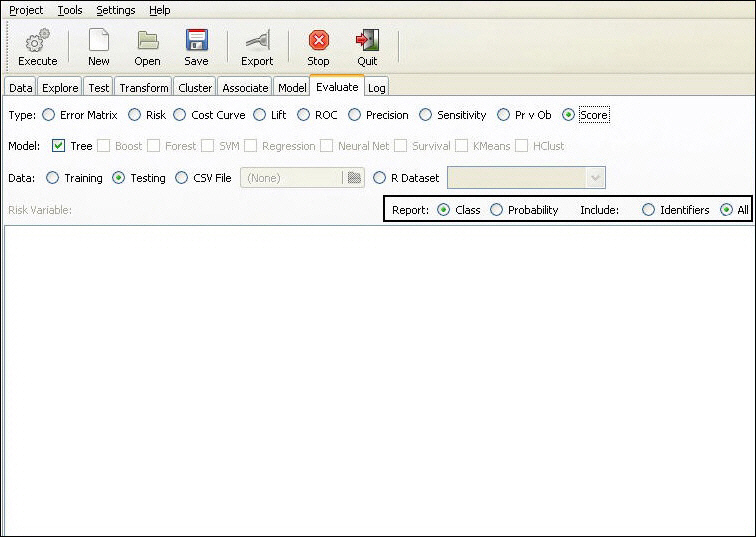
Evaluate tab and for Type, click Score.
Note: Clear the check boxes for the Neural Net and SVM models, if necessary.
- For Data, select Training.
- For Include, select All.
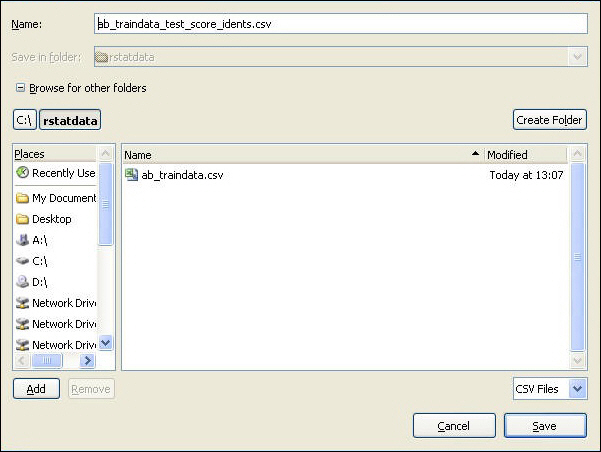
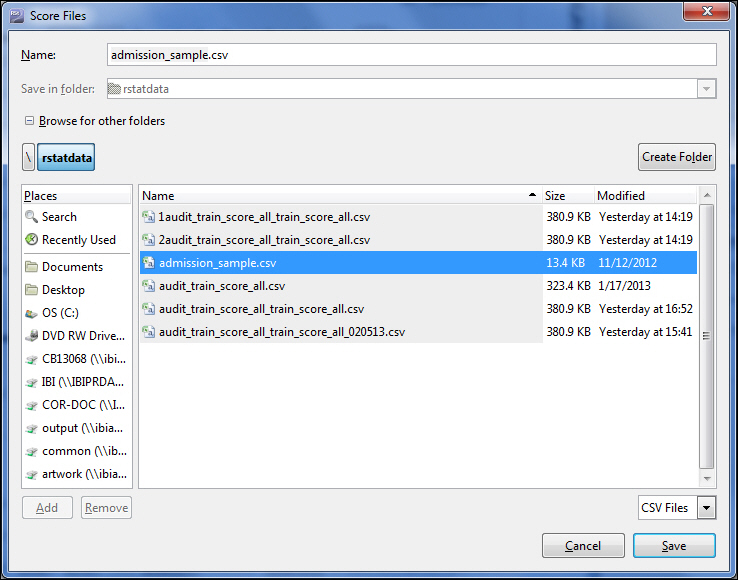
- Click Execute to score the Rpart data and save it to a local file, as shown in the following image.
Note:
- On the Evaluate tab, the Execute and Export buttons produce the same results.
- You can save the output file to the default directory or optionally, create a new folder for archiving purposes. You can also rename the file as required.