Procedure: How to Modify Directory Paths
-
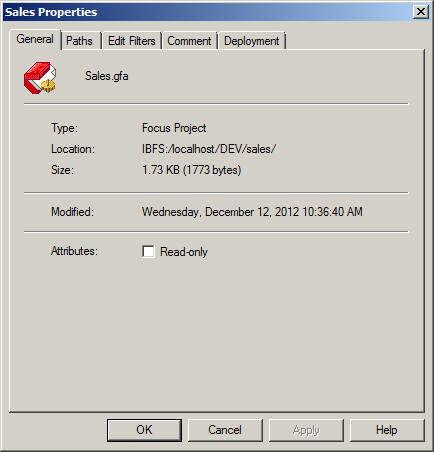
Right-click
a project and select Properties.
The properties dialog box opens.
-
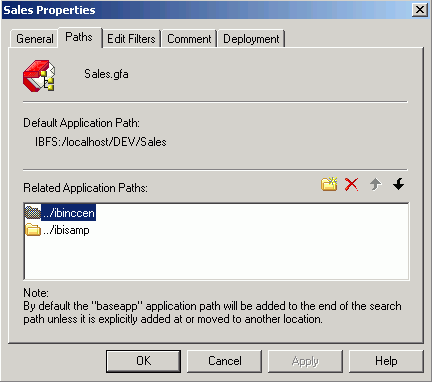
Click
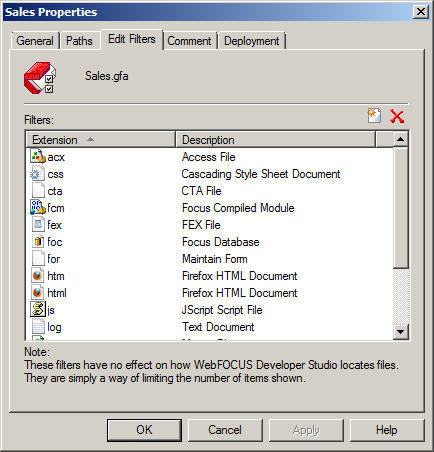
the Paths tab, as shown in the following image.
Make the following modifications to the directory paths:
- To add a new
directory path, click the Add new directory button
 . Select from the available folders
and click OK. The new directory is added
to the Related Directories list.
. Select from the available folders
and click OK. The new directory is added
to the Related Directories list. - To remove a
directory path, highlight it and click the Remove directory button
 .
Click Yes to confirm the deletion.
.
Click Yes to confirm the deletion. - To reposition
a directory path, highlight it and click the Move Directory
Up
 or Move
Directory Down button
or Move
Directory Down button  . These
buttons are inactive for a single directory.
. These
buttons are inactive for a single directory.
- To add a new
directory path, click the Add new directory button
- Complete the dialog box as described in this topic. Click OK to apply changes and close the dialog box, or click Apply to temporarily apply changes and keep the dialog box open. Click Close to apply the temporary changes.