Using the Resource Wizard
The Resource Wizard helps you add resources, such as image files, HTML files, Java applets, and ActiveX controls to your project. Resources are non-native Maintain project components that you can use in the forms you design.
x
Reference: Resource Wizard: Specify Path for Image
Use the dialog box shown below to specify a path to an image.
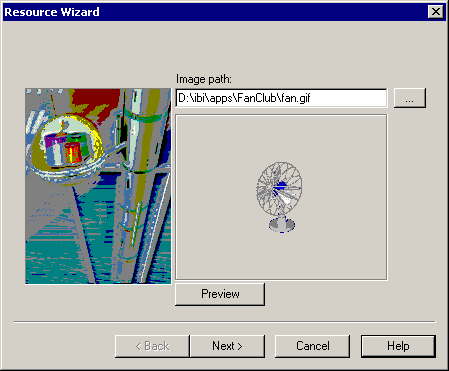
This dialog box contains the following options:
-
Image path
-
Displays the location of your image file by its full path and file name. If you wish, you can type a path and file name here.
-

-
Opens the Open dialog box, where you can search for your image file.
-
Preview
-
Enables you to view an image whose path you just typed.
x
Reference: Resource Wizard: Specify Path for HTML File
Use the dialog box shown below to specify a path to an HTML file.
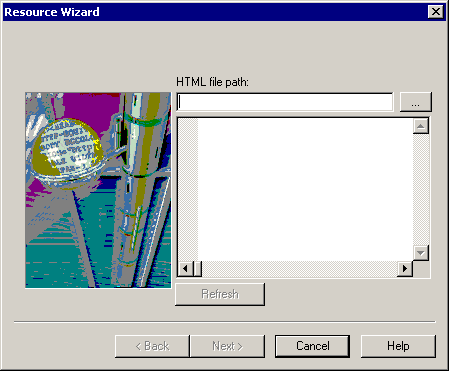
This dialog box contains the following options:
-
HTML file path
-
Displays the location of your HTML file by its full path and file name. If you wish, you can type a path and file name here.
-

-
Opens the Open dialog box, where you can search for your HTML file.
-
Refresh
-
Enables you to view an HTML file whose path you just typed.
x
Reference: Resource Wizard: Specify Path for Java Applet
Use the Resource Wizard dialog box to specify a path to a Java applet, as shown in the following image.
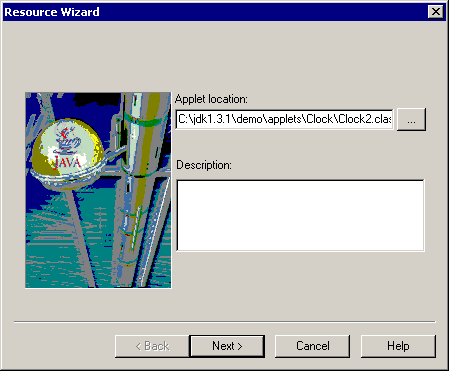
This dialog box contains the following options:
-
Applet location
-
Displays the location of your Java applet by its full path and file name. If you wish, you can type a path and file name here.
Note: If your Java applet involves using other Java classes, you must either package the applet with these classes, or inform your end users to include the location of these classes in their CLASSPATH. For more information, see the documentation for Internet Explorer.
-

-
Opens the Open dialog box, where you can search for your Java applet.
-
Description
-
Enter a description of your Java applet.
x
Reference: Resource Wizard: Define Parameters for Java Applet
Java applets often have parameters for which you can specify values, thus affecting the behavior of the Java applet in your application. Usually, you can find out the names and default values of these parameters in a text file that accompanies your Java applet.
After you know the names of your Java applet parameters, you can define them in this dialog box. You only need to define the parameters you want to use in your application.
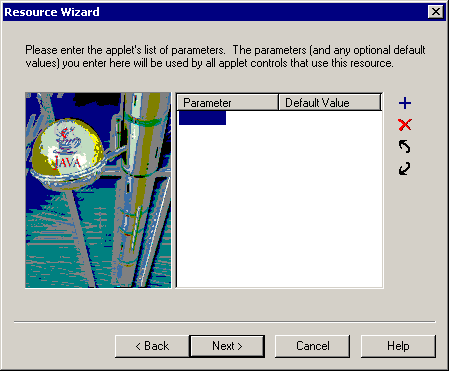
This dialog box contains the following options:
-

-
Opens the Enter a Parameter dialog box, where you can define parameters and their default values.
-

-
Deletes the selected parameter.
-

-
Moves a selected parameter up in the list of parameters.
-

-
Moves a selected parameter down in the list of parameters.
x
Reference: Resource Wizard: Specify ActiveX Controls
The Resource Wizard searches through all of the registered ActiveX controls on your computer and displays them in the Insert ActiveX Control dialog box. When you select an ActiveX control from the list in the Insert ActiveX Control dialog box, it appears on the screen by default. If the ActiveX control you want does not appear on the list, you must download it to your computer.
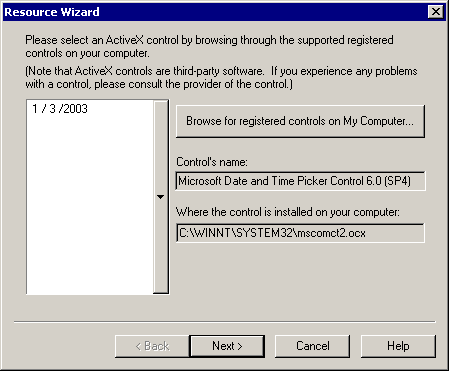
This dialog box contains the following options:
-
Browse for registered controls on My Computer
-
Opens the Insert ActiveX Control dialog box so that you can insert an ActiveX control to use in your application.
-
Control's name
-
Displays the name of the ActiveX control selected from the Insert ActiveX Control dialog box.
-
Where the control is installed on your computer
-
Displays where the ActiveX control resides on your computer.
x
Reference: Open Dialog Box
Use the Open dialog box to browse for a file to add to your project. This dialog box is very similar to a standard Windows Open dialog box, but with one important difference. it enables you to browse through any WebFOCUS or web servers you can access.
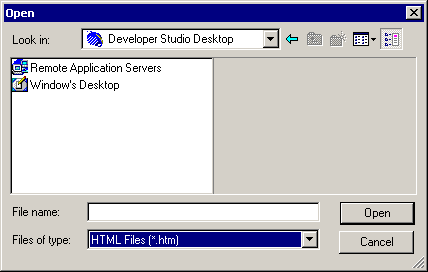
This dialog box contains the following options:
-
Look in
-
Contains the directory where you are browsing for files. If you look in the Developer Studio Desktop, you can switch from looking through the Windows file system to looking through your remote application servers.
-
Remote Application Servers
-
Double-click here to browse through any WebFOCUS Servers or web servers you can access if you are looking in the Developer Studio Desktop.
-
Windows Desktop
-
Double-click here to browse through the files on your computer if you are looking in the Developer Studio Desktop.
x
Reference: Resource Wizard: Specify a Unique Name
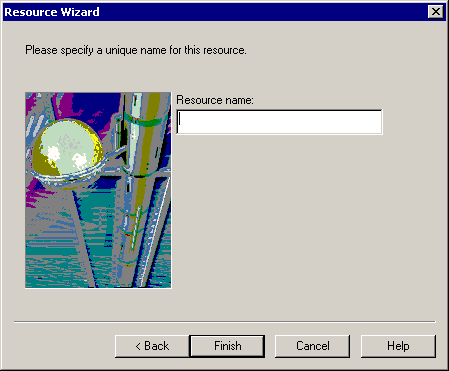
When you add a resource to your project, you must specify a unique name for your resource file. WebFOCUS Maintain refers to this name when deploying your project. This prevents you from overwriting resource files with the same name from other projects.
Resource names must begin with a letter and can include a combination of letters, numbers, and underscores. Names can consist of a maximum of 66 characters.
x
Reference: Copy Resource Dialog Box
This dialog box appears when you are adding an existing file, such as an HTML file, image, or Java applet, as a resource to your project, using the Resource Wizard. This dialog box tells you that it is creating a copy of the resource in your project directory. At deployment time, WebFOCUS Maintain ensures that the resource gets deployed to the proper location. Select the Don't show this again option if you do not need WebFOCUS Maintain to display this dialog box.
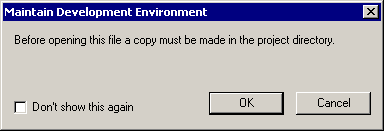
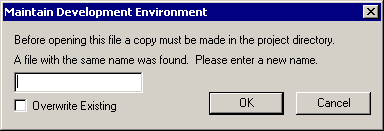
This dialog box also warns you if you are overwriting a resource with the same name. You can either rename the resource or overwrite the existing one.
