How to: |
WebFOCUS Visual Discovery Workbench Analyst Edition (AE) provides a standalone installation. This installation is independent to WebFOCUS Developer Studio, WebFOCUS Client, and the WebFOCUS Reporting Server installations.
- Download or unzip the WebFOCUS Visual Discovery Workbench AE folder to a local drive on your system.
-
Double-click the setup.exe file.
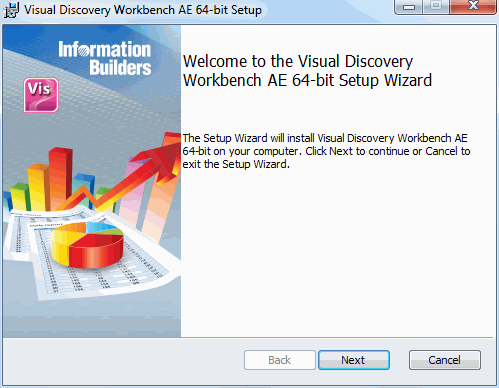
The Welcome to the Visual Discovery Workbench AE Setup Wizard dialog opens, as shown in the following image.
-
Click Next.
The End-User License Agreement dialog box opens, as shown in the following image.
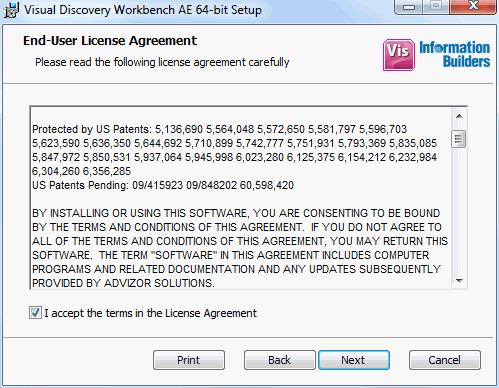
- Review the terms of the License Agreement and select I accept the terms in the License Agreement to continue with the installation.
-
Click Next.
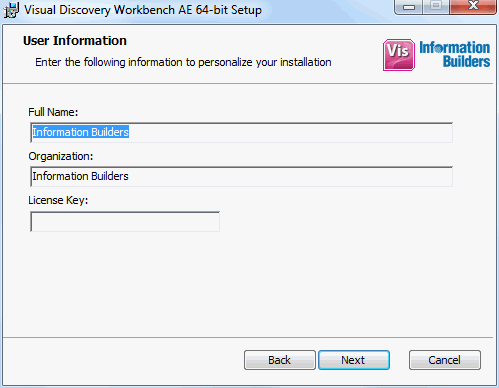
The User Information dialog box opens, as shown in the following image.
-
Perform the following steps:
- Enter your full name.
- Enter the name of the organization where WebFOCUS Visual Discovery Workbench AE is being installed.
- Enter a valid license key for WebFOCUS Visual Discovery Workbench AE.
-
Click Next.
The Destination Folder dialog box opens, as shown in the following image.
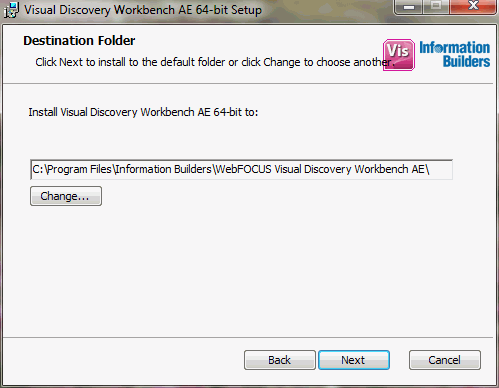
- Accept the default installation path for WebFOCUS Visual Discovery Workbench AE on your system, or click Change to specify a custom location.
-
Click Next.
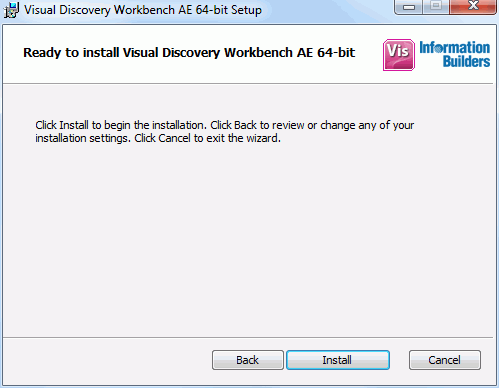
The Ready to install Visual Discovery Workbench AE dialog box opens, as shown in the following image.
-
Click Install.
An installation progress indicator is displayed.
When the installation is finished, the Completed the Visual Discovery Workbench AE Setup Wizard is displayed, as shown in the following image.
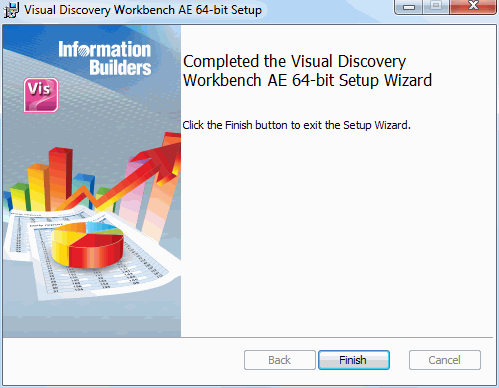
- Click Finish to complete the WebFOCUS Visual Discovery Workbench AE installation.