-
In the
Procedure Viewer, click a component connector (yellow diamond).
The Component Connector toolbar opens.
-
On the
Component Connector toolbar, click Match
 .
.
The Open dialog box appears.
-
Select the first Master File to use in the MATCH logical expression,
as shown in the following image.
-
Click Open.
The Match Wizard opens, as shown in the following image. It uses typical wizard behavior in which you click a series of Next buttons to navigate from one window to the next. You can also use the Match Preview area to navigate the Wizard.
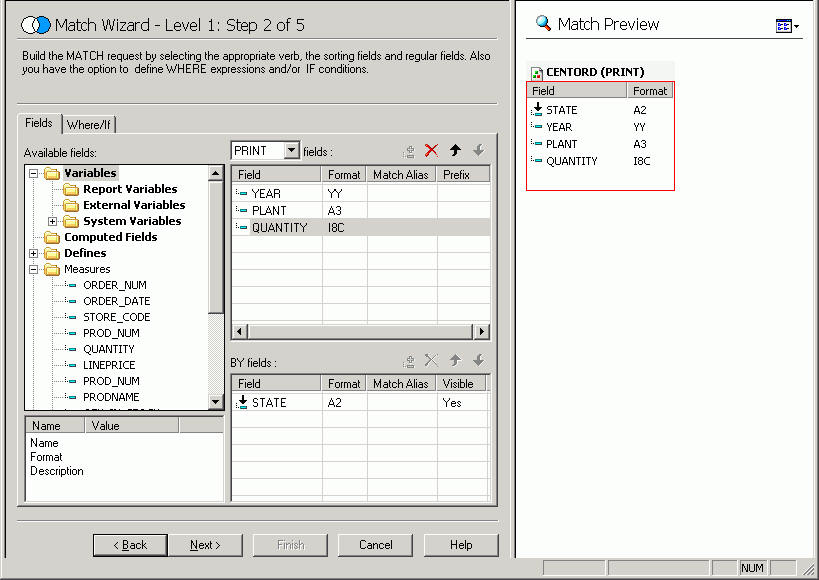
-
From the Available fields list, select the fields you want
to use to build the Match request.
You can add a Match Alias (how the field appears in the Hold file field list) and a Prefix Operator for each field.
Note: You can remove fields from this list by clicking the Delete button. If you add more than one field, you can also use the Move Up and Move Down buttons to rearrange the order of the fields.
- Select either PRINT, SUM, or LIST from the drop-down list.
-
To add a field as a BY field, click a field in the Available
Fields list and click the Add field button
in the BY fields list box.
Note: You must have at least one BY field.
- Click the Where/If tab if you want to create a WHERE expression or IF condition. This limits the records that are merged together.
-
Click the Add WHERE expression or Add
IF condition button
 to open the Expression Builder.
Use the Expression Builder to create the Where/If condition.
to open the Expression Builder.
Use the Expression Builder to create the Where/If condition.
-
Click Next.
Step 3 of the wizard opens, as shown in the following image.
-
Click the Browse button to select the
data source you want to merge with the original data source.
The Open dialog box opens.
- Select a Master File and click Open.
-
Click Next.
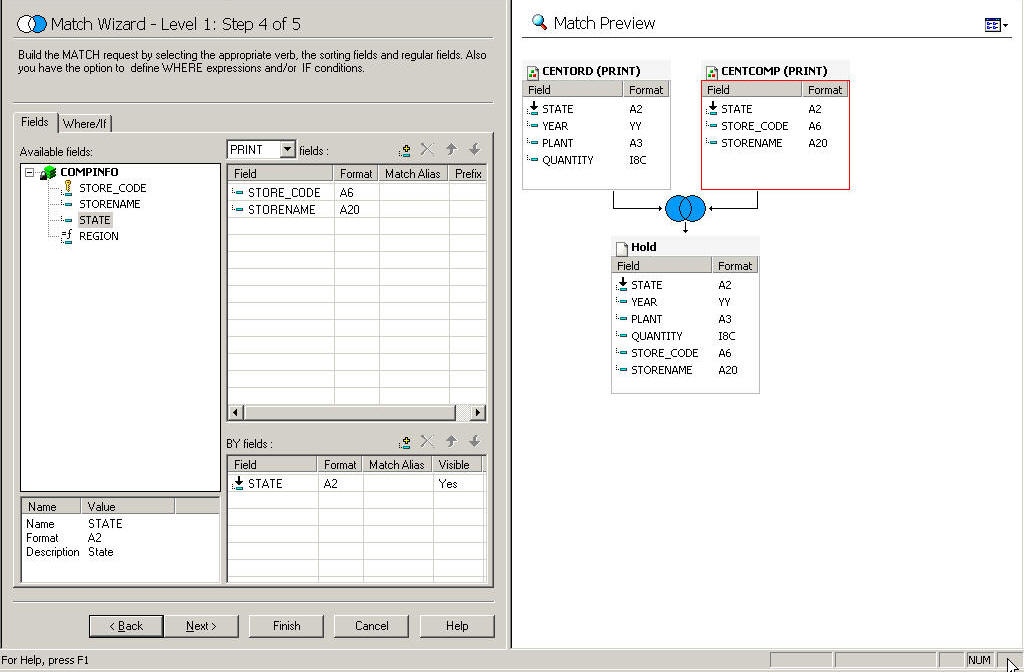
Step 4 of the wizard opens.
-
Add the fields for the second data source, and Where/If criteria,
as in Step 5.
Note: In the following image, the second data source is CENTCOMP and the field added is STATE.
-
Click Next.
Step 5 of the Match wizard opens, as shown in the following image.
- Type a name for the Hold file and select the type of match phrase.
-
Click Finish.
In the following image, the Match Wizard - Summary window opens where you can review the final Match request.
-
If you:
- Have completed
your match request, select the Create a Report, Create
a Graph, or the Neither option
and click Close. Optionally, click the Save
the HOLD file to a permanent location check box. When
you select this option, the HOLD file is saved to the current Project
directory, as shown in this image.
If you select the Create a Report, Create a Graph, or Neither option, Report Painter, InfoAssist, or Procedure Viewer opens, respectively.
- Want to make more changes to the Match request, click Back or use the Match Preview area. See How to Edit a Match Request.
- Have completed
your match request, select the Create a Report, Create
a Graph, or the Neither option
and click Close. Optionally, click the Save
the HOLD file to a permanent location check box. When
you select this option, the HOLD file is saved to the current Project
directory, as shown in this image.