xInstalling the AddressDoctor Engine
The AddressDoctor engine is available from AddressDoctor
or Information Builders. It is supplied as a zip file for Windows.
While it is available in 32-bit and 64-bit versions and you should
use the version that corresponds to your version of Windows, AddressDoctor
recommends using the 64-bit version. AddressDoctor is also available
for the major UNIX platforms.
Unzip, using folder names, the AddressDoctor zip file to a location
of your choice on the system running the DataMigrator server.
Specify the location in the environment variable ADDRESSDOCTOR5_HOME.
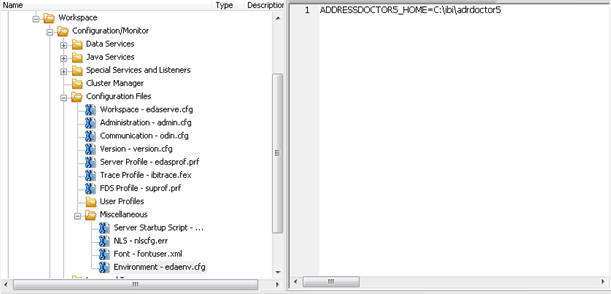
This can be done from the Data Management Console from an Administrator
User ID in the browser. Expand Workspace, Configuration/Monitor,
Configuration Files, Miscellaneous. Double click on environment
- edaenv.cfg to open the file. Enter a line with the location, for
example:
ADDRESSDOCTOR5_HOME=C:\ibi\adrdoctor5
Click the Save button.
Stop the server by right-clicking the server name and selecting Stop Server.
Then start the server normally.
xInstalling the AddressDoctor Country Databases
AddressDoctor country databases are available from AddressDoctor
or Information Builders. They are supplied as zip files.
Unzip the AddressDoctor country databases you have licensed to
a directory of your choice.
xConfiguring AddressDoctor
AddressDoctor is configuration information is stored
in an XML file. A sample configuration file can be found in the
sub-directory \etc\java under where you installed the AddressDoctor
engine with the name setconfig.xml that looks like the illustration
below.
- Copy SetConfig.xml to an application directory on your server
and rename it as config.xml, for example:
c:\ibi\apps\adr\config.xml
- In the Data Management Console Browser window, ensure that the
Clear Filter button is pressed. Click on Config to
open it in the text editor.

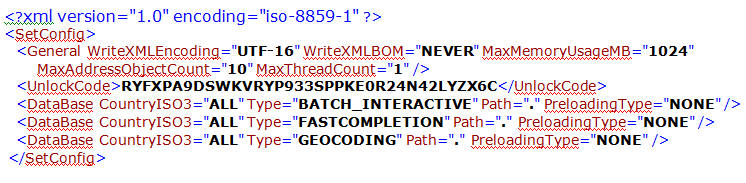
- Replace the value for unlock code with value you were provided.
- For the element with Type BATCH_INTERACTIVE, replace the value
for Path with the directory location where you placed the country
databases.
- Remove the elements with type FASTCOMPLETION and GEOCODOING.
- For BATCH_INTERACTIVE, change the country code for the database
you have installed.
- If you have sufficient memory on your system, change the value
for MaxMemoryUsageMB to 2048.
Note: For testing with small
amounts of input data, leave PreloadingType as NONE. For large data
volumes, change to FULL to load the database into memory. This will
result in faster processing.
- The XML document should now look similar to this.

- Click on the Save button
 to save the configuration file.
