Guided Report Mode is available in the HTML Composer
to help in the creation of a companion page for a Guided Report created in a tool, such as Report Painter.
You can use the HTML Composer to create a streamlined, highly parametrized
report procedure that results in the ability to generate thousands
of reports.
x
Procedure: How to Create a Guided Report Form Using Templates
The
following procedure describes how to operate in Guided Report Mode
while using a predefined template. For more information on templates,
see Using Templates in the HTML Composer.
-
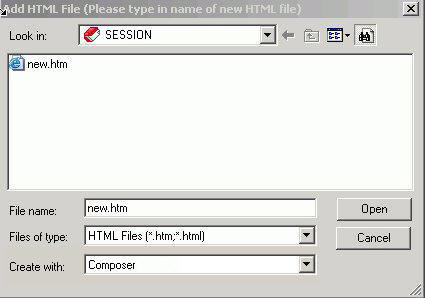
Open the
HTML Composer in Guided Report mode, as outlined in How to Access Guided Report Mode. To create a Guided Report Form using
a template, you cannot cancel the Template Selector. For more information
on creating a Guided Report Form without templates, see How to Create a Guided Report Form Without Templates.
-
You can
import an existing report, invoke Report
Painter to create a report, or reference an existing procedure.
Note: When you embed a report, once the Master File
is selected for the first report, you will not be prompted for the
Master File again when creating subsequent reports. All joins, defines,
WHERES, includes, and stylesheets are copied to the component.
You
cannot invoke Procedure Viewer or Document
Composer from the right-click menu while in Guided Report Mode.
For more information about creating a
Guided Report, see Creating Reports With Report Painter.
-
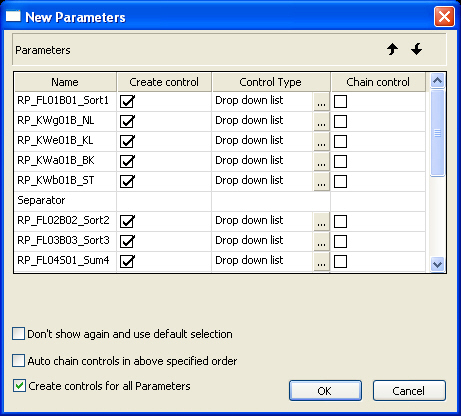
After you
embed or import the report, the New Parameters dialog box appears.
You can chain the controls, select which parameters to create a
control for, and change the Control Type. For more information about
the New Parameters dialog box, see New Parameters Dialog Box. Make the desired changes and select OK.
-
Import an
existing report, invoke Report Painter, or reference
an existing procedure for each additional Report or Chart frame.
Since you picked a Master File for your first report, you
will not be prompted for one again if you embed the report.
The
New Parameters dialog box appears and the parameters for each additional report
are added to the form.
-
You can
reorder the controls, change the number of columns in the form,
and hide elements by changing the display property according to
the rules dictated by templates. For more information on these procedures,
as well as allowed functionality while designing in a template,
see Using Templates in the HTML Composer.
-
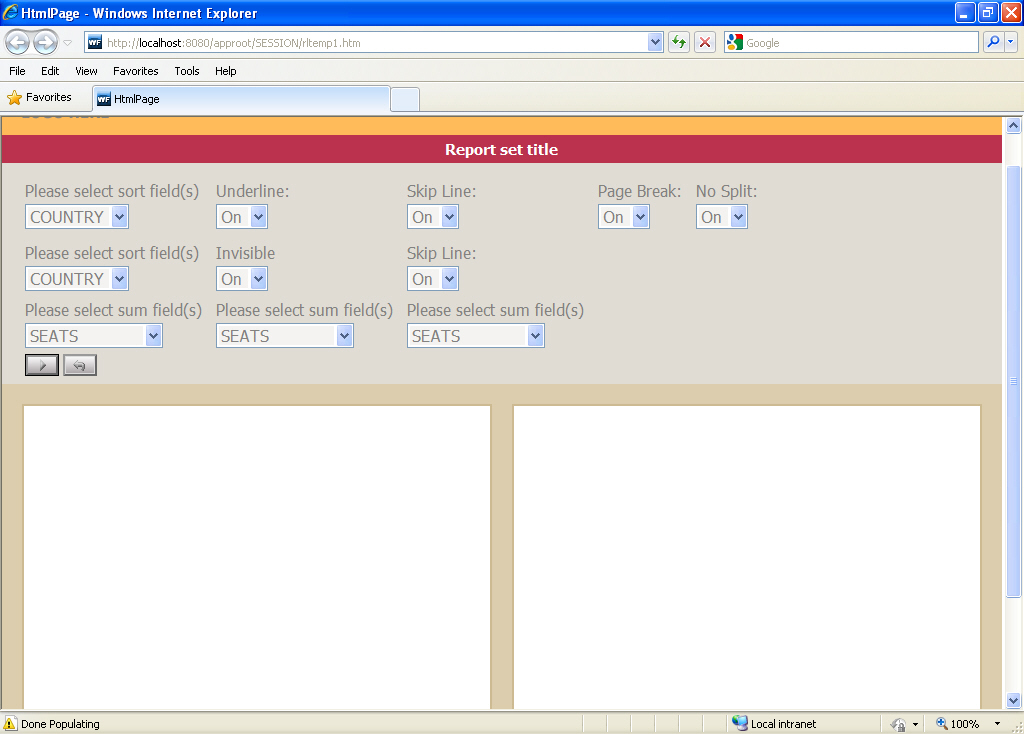
Run the
page.
A page with controls for the Guided Report parameters appears
so you can customize and run different versions of the report dynamically,
as shown in the following image.
x
Reference: New Parameters Dialog Box
When
you import, embed, or reference reports into a Guided Report form,
the New Parameters dialog box opens, as shown in the following image.
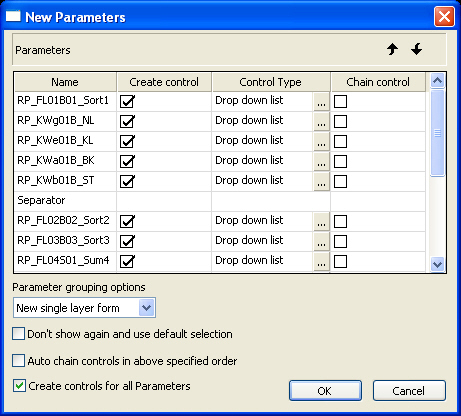
The
main components of the New Parameters Dialog Box are:
-
Parameters Sort Arrows
-
You can reorder the parameters. Moves the selected parameter
in the corresponding direction.
-
Name
-
Displays the name of each parameter that you add to the Guided
Report Form.
-
Create Control
-
Inserts a control onto the form for the corresponding parameter.
By default, all parameters have the Create Control check box selected.
-
Control Type
-
Displays options for control type for each parameter. You
can choose one of ten different control types. The options are as
follows:
- Calendar
- Check box
- Drop down list
- Hidden
- List box
- Radio button
- Text Area
- Text box
- Single source Tree
control
- Multi source Tree
control
-
Chain control
-
Sets the control to be chained in the order they are listed
in the New Parameters dialog box.
-
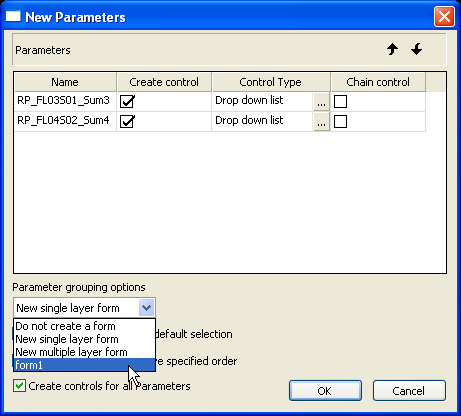
Parameter grouping options
-
Displays the options for where to place the controls for
the parameters to be added to the Guided Report Form. The options
are as follows:
- Do not create a form
- New single layer
form
- New multiple layer
form
The drop-down box also lists the names of any existing
forms and you can select that option to add the new parameter controls
to an existing form.
Note: This option is only available
when creating Guided Report Forms without using templates.
-
Don't show again and use default selection
-
Sets the New Parameters dialog box to off and instead uses
the default selections.
-
Auto chain controls in above specified order
-
Selects the Chain control check box for each parameter.
-
Create controls for all Parameters
-
Selects the Create control check box for each parameter.
Note: After
the options for each fieldname control, a Separator is automatically
added to generate a new line. There is also an extra Separator added
at the bottom of the parameters list that can be used to add additional
spacing as needed.