-
Open WebFOCUS Visual Discovery Workbench Analyst
Edition (AE).
The Getting Started dialog box opens, as shown in the following image.
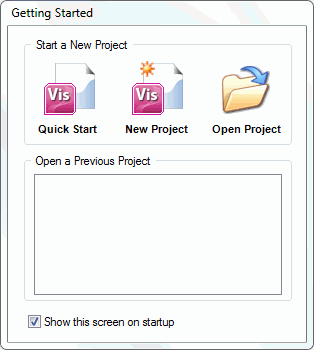
- Click New Project.
-
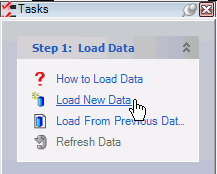
On the Tasks pane, click Load New Data,
as shown in the following image.
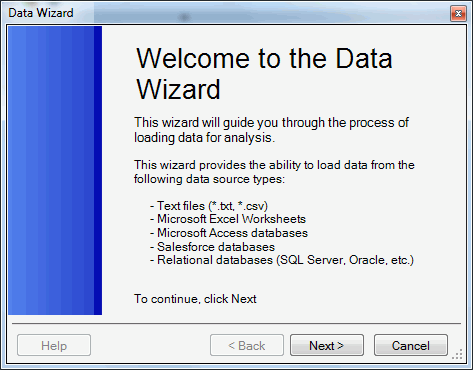
The Data Wizard opens, as shown in the following image.
-
Click Next.
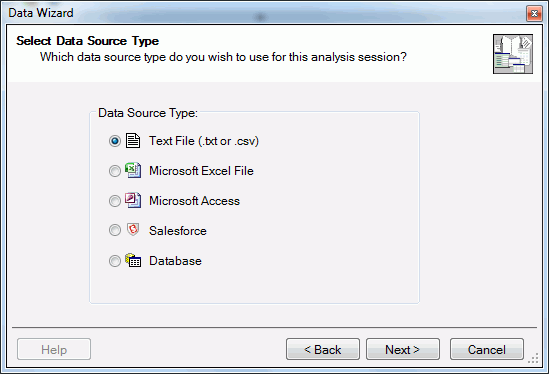
The Select Data Source Type dialog box opens, as shown in the following image.
-
Select Text File and click Next.
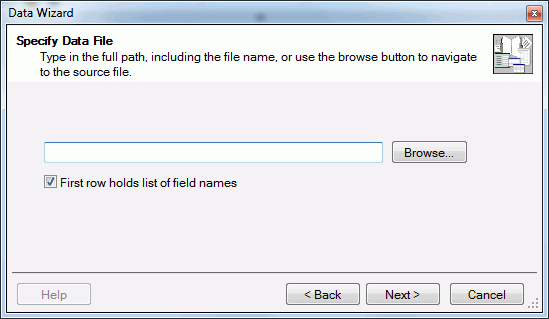
The Specify Data File dialog box opens, as shown in the following image.
-
Click Browse and navigate to the carvisdisae.txt file
created earlier, which is located in the visdisproj folder (located
outside the IBI directory structure).
Note: If the file is stored on another machine, then a network path must be specified.
-
Click Next.
The Configure the Dataset dialog box opens, as shown in the following image.
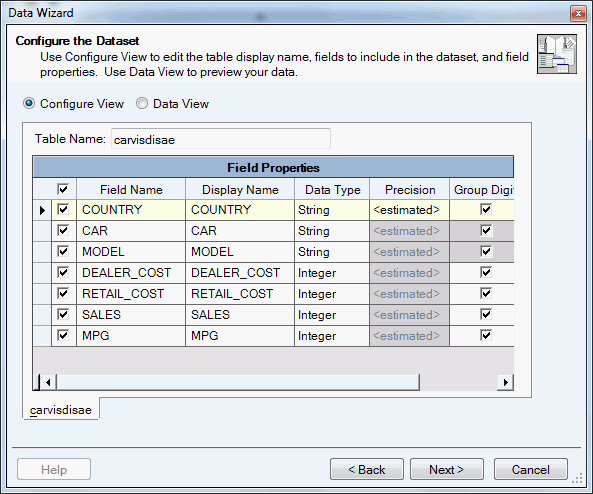
- Select Configure View or Data View, to review the information metadata.
- In the corresponding columns, modify display names, set digit grouping, and designate as currency accordingly.
-
Click Next.
The Dataset Summary dialog box is displayed. Review the summary. You can click Back to make changes in previous dialog boxes, if required.
-
Click Next.
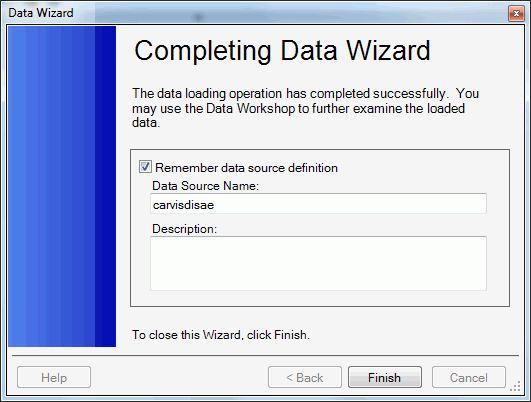
The Completing Data Wizard dialog box is displayed, as shown in the following image.
-
Click Finish.
The project is loaded in WebFOCUS Visual Discovery Workbench AE.
The Workspace area displays a tab with different icons, which represent available components and charts, as shown in the following image.

-
Click on the corresponding icons to add the following components:
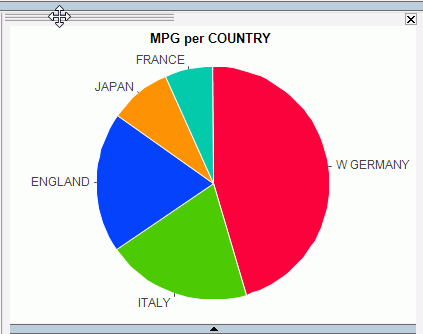
- A new Pie Chart.
- A new Bar Chart.
- A new Data Sheet.
For more information about the available charts that can be added to your project, see Available Charts.
- In the Color Toolbar, change Color by from <none> to the desired field.
-
Arrange the charts according to your preferences and requirements.
To rearrange the charts, click and hold your mouse on the upper-left corner of the chart object, where the three horizontal lines are located. The cursor changes from a pointer to a cross-pointer, as shown in the following image.
- Click and drag the chart to the desired location.
-
Save the Visual Discovery AE project.
Note: Visual Discovery AE projects can be saved as ADV or ADVM file types (.adv or .advm extension). ADVM files are portable, as they will include the data. Nevertheless, it is recommended that these files also be saved outside the IBI directory structure. In addition, WebFOCUS Visual Discovery Workbench AE maintains one backup copy of a project if you save over an existing one. As a result, if an error is encountered during the save process, you can rename the .backup file to .adv and retrieve the previous version.
-
Review the project in the WebFOCUS Visual Discovery Workbench AE.
For example, select a slice in the pie chart to see how the selected slice is represented in other charts.
You are now ready to publish your Visual Discovery AE project.