Use the Modeling View to enhance an existing synonym by adding a segment.
-
From
the Projects or Data Servers area,
open a synonym by double-clicking a Master File from the Master
Files folder.
The Synonym Editor opens.
-
Click
the Modeling View tab.
The Synonym Editor Modeling View tab opens in the workspace.
-
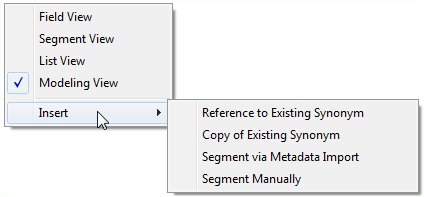
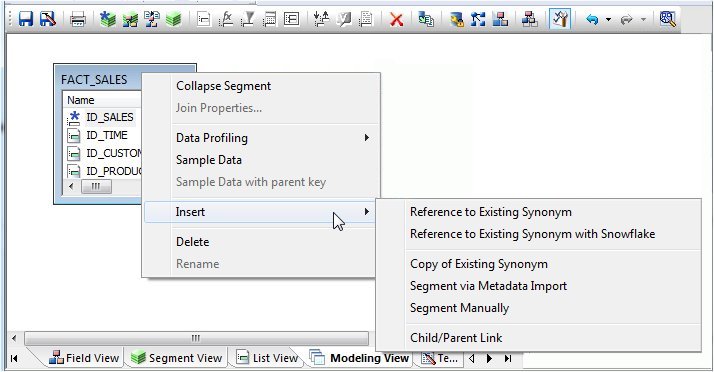
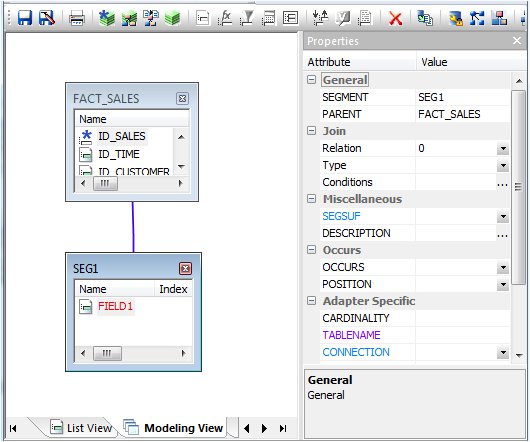
Right-click
a segment in the workspace and select Insert.
The following context menu appears, as shown in the following image.
-
Insert
tables (segments) through one of the methods listed:
To insert a segment from an existing synonym:
-
Select Insert, then Reference
to Existing Synonym.
The Insert Reference to Existing Synonym dialog box opens, as shown in the following image.

-
Select a synonym to be inserted and click Select.
Note: Use this method if you are creating a cluster join with an existing table or synonym.
Tip: Click Save As from the Modeling View File menu if you do not want to modify the original synonym.
To insert a segment from an existing synonym with Snowflake:
-
Select Insert, then Reference
to Existing Synonym with Snowflake.
The procedure is the same as Reference to Existing Synonym, except the selection list will show both candidate synonyms and any synonyms that they reference.
To insert a segment via Metadata Import:
-
Select
Insert, then Segment via Metadata
Import. This enables you to add segments by using the
Create Synonym tool. This tool creates a synonym and includes it
as a segment in the synonym from which the tool was launched.
Note: Use this method if you are creating a cluster join and need to use a synonym that does not exist. This option enables you to create the synonym and continue to create the cluster join.
-
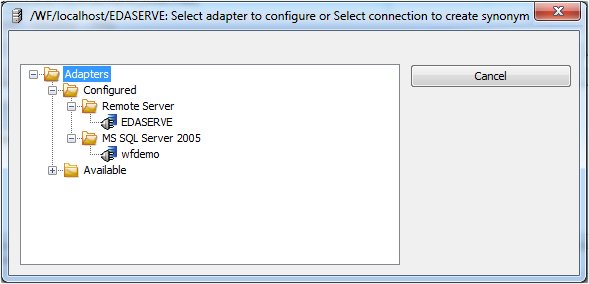
When this option is selected, you are first presented with
the Adapter dialog box where you can select a configured adapter
connection to continue or configure a new adapter, if necessary.
The Adapter dialog box is shown in the following image.
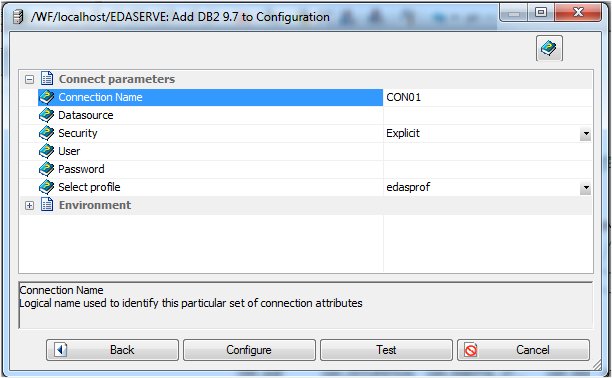
The following image is an example of a screen that appears where you provide information for the connection parameters.
The following image is an example of a screen that enables you to select tables to create synonyms.
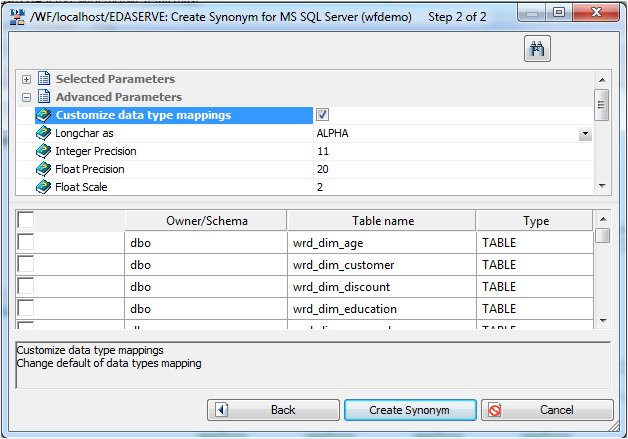
The selected synonyms will be created and added to the Modeling View.
To insert a segment manually:
-
Select Insert, then Segment
Manually. This enables you to assign values to segment
attribute fields in the Synonym Editor.
Note: Use this method if you are coding a new Master File, as you would for a FOCUS data source.
The segment is added in the Modeling View.
-
Select Insert, then Reference
to Existing Synonym.
-
Right-click
a segment and select Join Properties, as
shown in the following image.
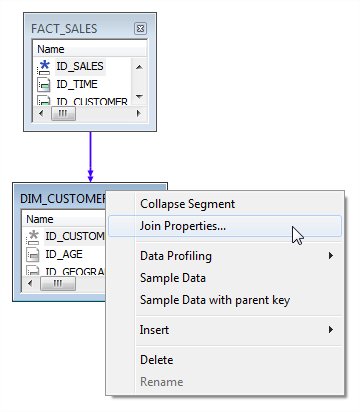
Note: This option is only available when using relational tables.
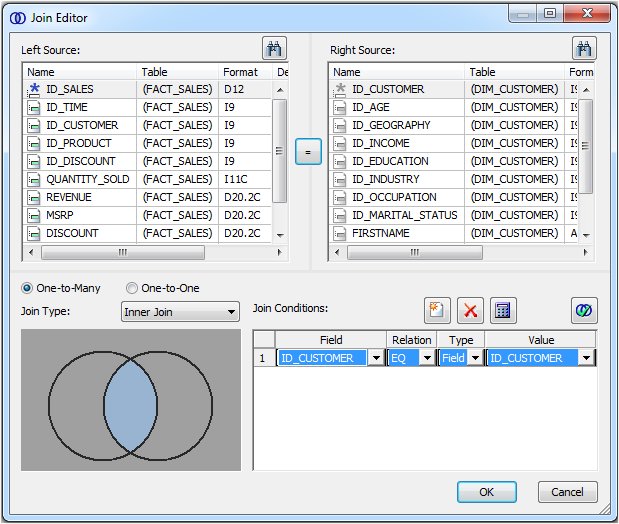
The Join Editor dialog box opens, as shown in the following image.
-
Select a
radio button for One-to-Many (Join All) or One-to-One (Join
Unique).
- One-to-Many. Indicates a multiple-instance join. At run time, each host record can have many matching records in the cross-referenced file.
- One-to-One. Indicates a single-instance join. At run time, each host record has, at most, one matching record in the cross-referenced file.
- Select a Join Type from the drop down menu. The choices are Inner, Left Outer, or Cross Join.
The Join Condition field automatically creates a Join if identical fields exist in both segments.