As an application developer for Century Corporation you have
been assigned the task of creating an income statement that examines
the profit components of the company, including revenues, cost of
goods sold, and expenses.
First, you will create a project called FINANCIAL in the local
projects area of the Developer Studio Explorer. This is where you
access and create files. You will build your financial report within
this project.
- Launch Developer
Studio. The WebFOCUS Reporting Server is activated at the same time.
- Right-click Projects
on localhost in the Explorer and choose New
Project.
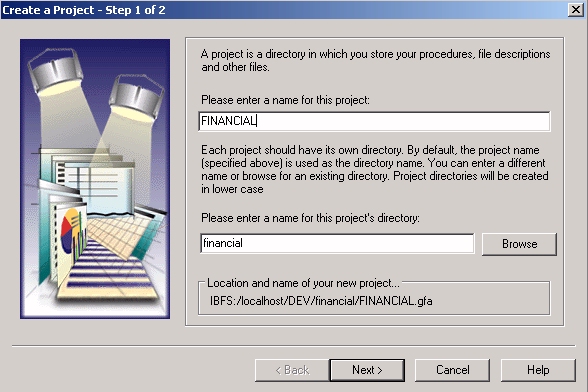
The Create a Project wizard opens
at Step 1.
- Name the project
FINANCIAL and accept the default directory for the new project. Notice
that the project name is registered as FINANCIAL.GFA (Graphical
FOCUS Application).
Note: Projects directories are created
in lowercase.
- Click Next.
The
following message appears:
Directory financial does not exist. Do you want to create it?
- Click Yes to
confirm the creation of the physical directory for the new project.
The
Create a Project wizard opens at Step 2.
- Specify a directory
path to the data source from which the project needs to retrieve information.
- Click Add.
The
Browse For Folder dialog box opens.
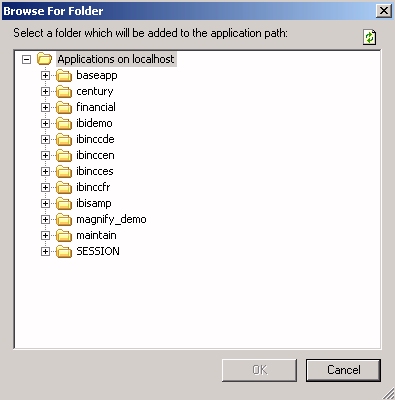
- Choose ibinccen.
This is the directory in which the sample files for the fictional
Century Corporation are stored. You will be using some of these files
to create your income statement.
- Click OK.
The
Projects wizard displays your selection.
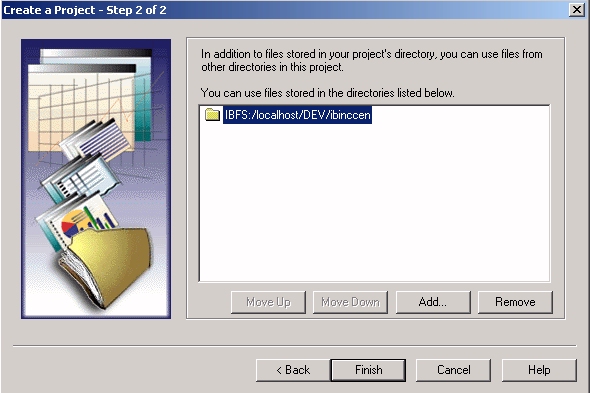
- Click Finish.
Your new project appears in the Explorer tree.
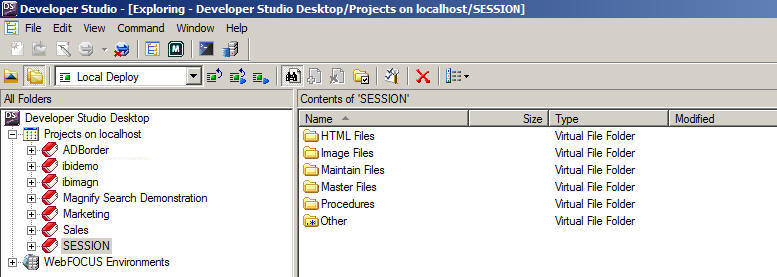
- Click the plus
sign (+) to expand the FINANCIAL folder. You will see several subfolders:
HTML Files, Image Files, Maintain Files, Master Files, Procedures,
and Other.
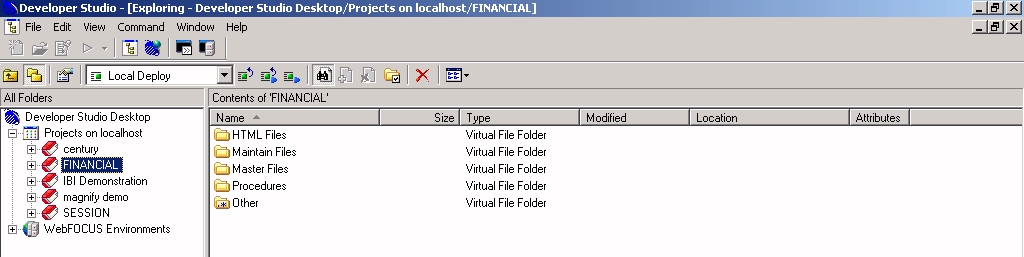
Tip: These are virtual folders,
categorized in this way for your convenience. They are called virtual
folders because they apply a logical structure to the project but
do not actually exist as physical directories. The files listed
in these folders, along with the GFA file of a project, are actually
stored on a WebFOCUS Reporting Server and a Web/Application Server.
Nevertheless, you can identify and access the files associated with
a project from a folder in the local projects development area of Developer
Studio, without concern for where the files really reside.
To complete the tutorial, you will use the Master Files and Procedures folders.
xAdd Master Files to Your Project
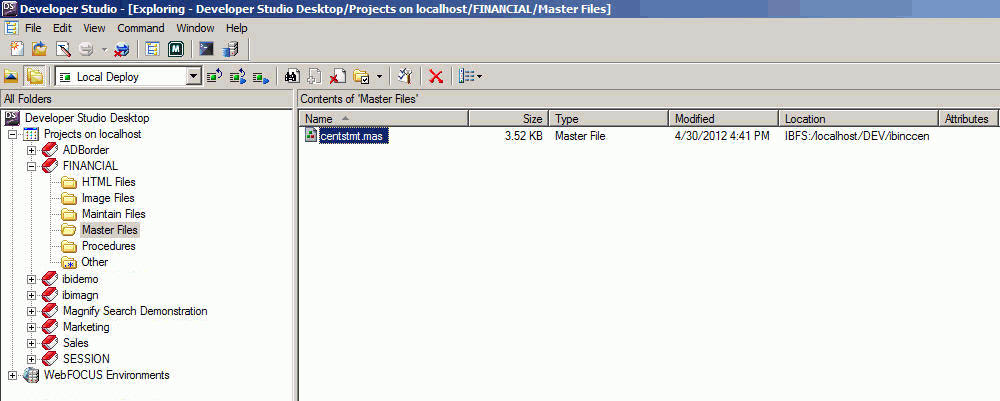
- Expand the Master
Files folder under the FINANCIAL project. You will see a list of
all the Master Files in the path you specified when you created
the project:
ibi\localhost\apps\ibinccen
Notice that the
icons are grayed out. This indicates that the files are available,
but not active for your project. Associate the Master File you will
need for the tutorial with the FINANCIAL project.
- Select CENTSTMT and
click the Add icon on the toolbar (or right-click
and select Add to Project).
The icon for
this Master File is active for your project.
- Click the binoculars
icon to limit the list to the active Master File.
Tip: You can toggle back to the full list at any time.
xData Detour: Where Is the Data?
Detour briefly to see where the corresponding data is
stored.
- Expand WebFOCUS
Environments. The WebFOCUS Environments area of the
Explorer shows the actual files that reside on the WebFOCUS Reporting
Server and the Web/Application Server.
- Double-click localhost under
WebFOCUS Environments. This is the Reporting Server installed on
your local machine.
- Open Data
Servers, followed by EDASERVE,
then Applications.
- Expand the folder
labeled ibinccen (this is the directory you
sited earlier as the location in which the data for your project
is stored).
- Organize the
list by Type. Double-click the Master
Files folder. Scroll down to see the full list of Master Files
available on the path you identified, including the one you added
to the project, CENTSTMT.MAS. Then scroll back up to see the corresponding
data source, CENTSTMT.FOC.
The Master File is visible in the virtual
folder in the local Projects development area, but the data source
file is only visible on the server itself.
When you run a
report later in this exercise, WebFOCUS will identify, locate, and read
the active Master File (.MAS) for the data source (.FOC) named in
the request. It will then interpret the contents of the data source
based on the information in the Master File. You do not have to
make the data source files active.
Notice that the ibinccen
folder also contains some sample procedures in the Procedures folder
(.FEX files). You will not be using these procedures. (They
have been created for use in demos and other exercises.) For this
tutorial you will create your own financial reporting procedure.
- Close WebFOCUS
Environments since you will create the procedure in the local projects
development area.