To enable a buffer using selected features from the layer:
-
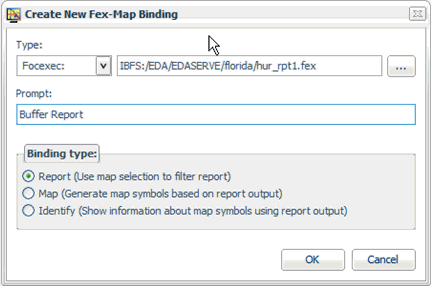
Create a
FOCEXEC using the ESRI Configuration Utility.

-
Select Report in
the Binding type area and click OK.
-
Click the Inbound
Layers tab and add a new inbound layer.
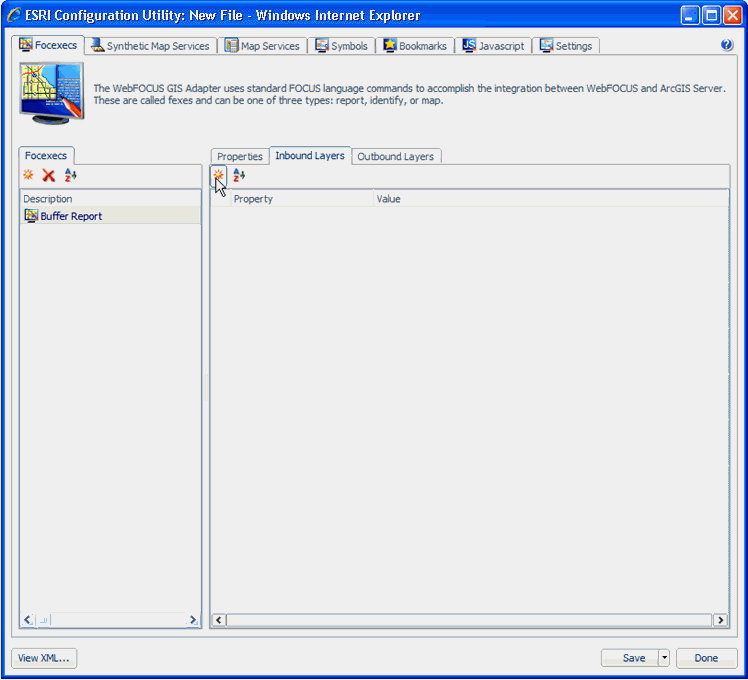
For more information on creating inbound layers, see Configuring Inbound Layers.
-
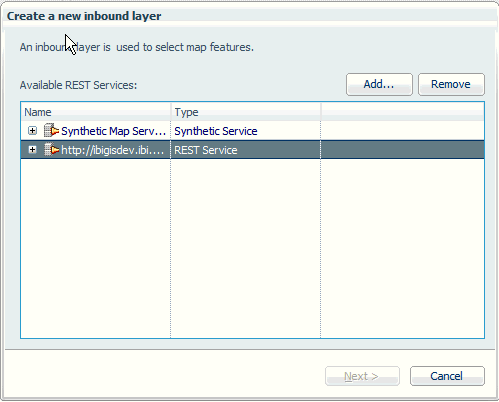
In the Create
a new inbound layer dialog box, select a REST endpoint.
-
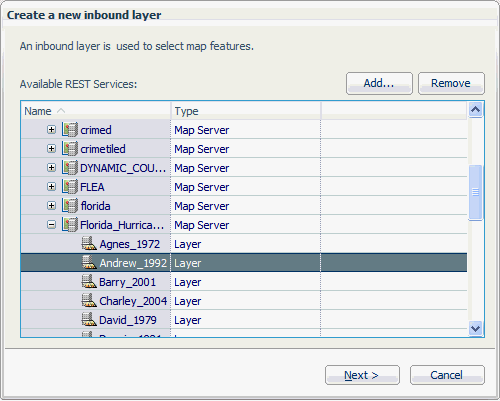
Expand the
REST endpoint and navigate to the map service. Expand the map service
and select the map layer that you want to buffer, then click Next.
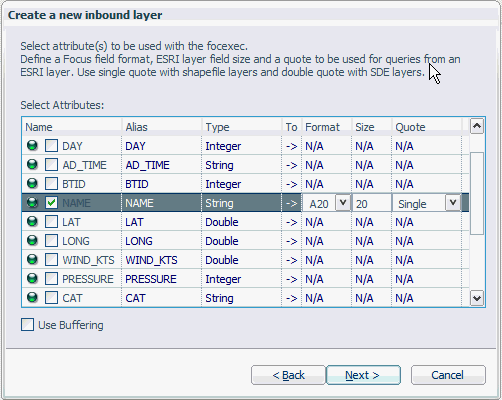
The Select Attributes pane opens, which is populated with all of the attribute names from the layer that was selected.
-
Select the
required attribute(s) and click Next.
The following pane opens, which allows you to select the report column for selecting values from a FOCUS database.
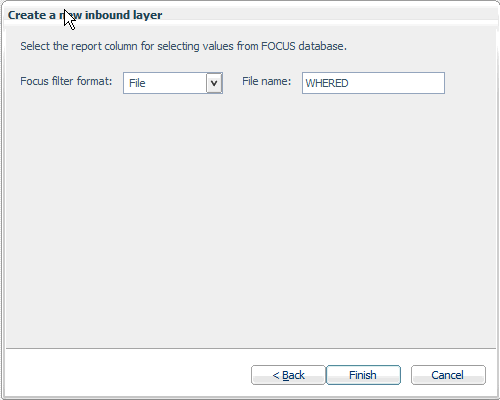
- Choose the filter type (File, String Amper, or Numeric Amper) from the Focus filter format drop-down list and specify a file name that is used to name the filter variable.
- Click Finish.
- Add this layer again as another inbound layer, by repeating steps 3, 4, and 5.
-
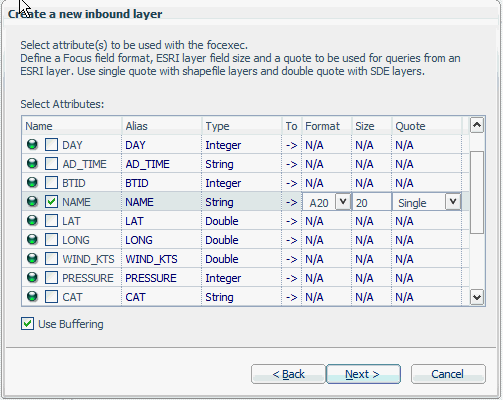
Select the
required attribute(s) and the Use Buffering check
box in the Select Attributes area, and click Next.
The following pane opens, which allows you to select the report column for selecting values from a FOCUS database.
-
Choose the
filter type (File, String Amper, or Numeric Amper) from the Focus
filter format drop-down list and specify a file name that is used
to name the filter variable.
- Click Finish.