-
Select and right-click the project.
Select New from the
context menu, and click Virtual Folder.
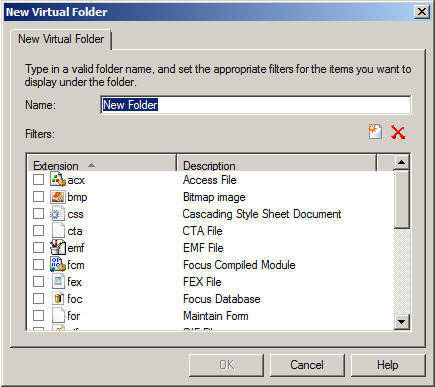
The New Virtual Folder dialog box opens, as shown in the following image.
-
In the
Name field, enter a name for the new virtual folder.
Customize the list of file types that will be displayed in the folder. File types (filters) already defined in the project are shown in the list box. Click the check box next to a file type in this list to add it to the new folder.
To add a file type not shown in the list, click the Add new file type filter(s) button
 . The
New Filter dialog box opens, listing the file types registered with
the operating system. The following image shows the New Filter dialog
box.
. The
New Filter dialog box opens, listing the file types registered with
the operating system. The following image shows the New Filter dialog
box.
-
Scroll
through the list and select one or more file types. Click OK when
you are done.
The selected file type is added to the list.
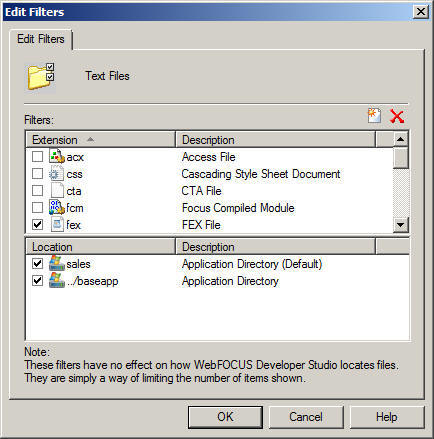
To remove a file type from the list, select it and click the Remove file type filter(s) button
 . Confirm
the deletion as prompted.
. Confirm
the deletion as prompted.Click OK on the New Virtual Folder dialog box to close it and return to the Explorer.
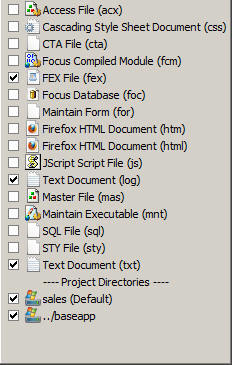
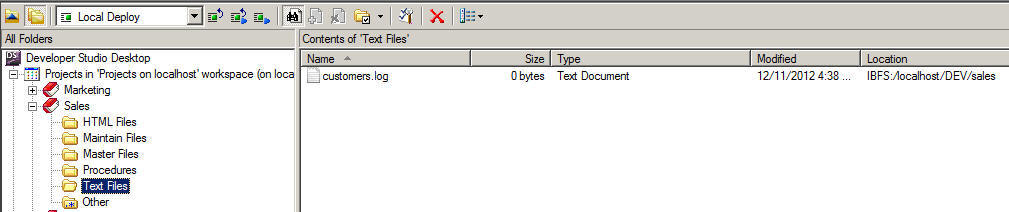
The sample window in the following image shows a new folder named Text Files, which includes .log files used by the project named Sales.
Tip: You
can also customize file types and directories visible in a project
from a drop-down list. To access the drop-down list, click the down
arrow next to the Filters button ![]() on the Explorer toolbar. The
drop-down list is shown in the following image.
on the Explorer toolbar. The
drop-down list is shown in the following image.