|
|
|
Procedure: How to Create the Internal Tables
- Start the Web Console of the server on which Resource Management will be configured.
- Verify that the data adapter is configured to the database
where the Resource Management repository was created. If the data
adapter is not configured, you must do so now before continuing.
Note: The same Connection Name used when configuring the data adapter is required.
- Configure Resource Management.
- Click the Resource Management link in the toolbar.
- Click Configure in the ribbon or right-click Resource Management in the navigation pane and select Configure.
- Enter the license key from the packing slip and click Continue.
Note: For more information, see Configuring Resource Management.
- Select DDL Only from the Create Repository drop-down menu.
- Enter the necessary information required to configure
the repositories, as shown in the following image.
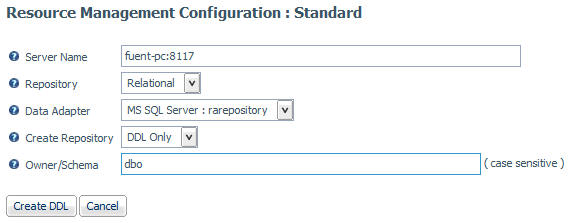
For Data Adapter and Owner/Schema, you must use the same values you used when configuring the adapter.
- Click Create DDL.
- Edit the file as needed for use at your site:
- Add any additional site-specific requirements. Consult the appropriate RDBMS manuals for additional information.
- Using a command shell, or another product, execute the modified DDL to create the Resource management repository tables.
- Configure Resource Management.
- Click the Resource Management link on the toolbar.
- Click Configure in the ribbon or right-click Resource Management in the navigation pane and select Configure.
- Enter the license key from the packing slip and click Continue.
Note: For more information, see Configuring Resource Management
- Select No from the Create Repository drop-down menu.
- Enter the same information that you used in step 5, as
shown in the following image.
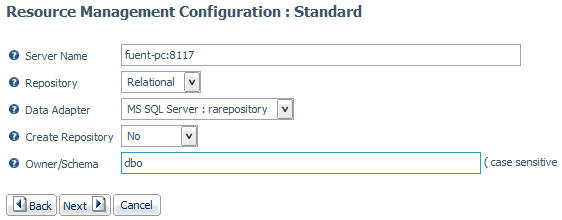
- Click Next.
The Resource Management Configuration - Initial Properties window opens. For more information, see How to Configure Resource Management Using a FOCUS or Relational Repository.
- Click Configure.