- New Report. Allows you to create a new report, chart, document, or dashboard, using the full version of InfoAssist. Proceed to step 3.
- Existing Report. Allows you to choose from the existing reports in the tree. Proceed to step 5.
InfoAssist opens, and you can create the report that will be run when the Alert test is triggered (true).
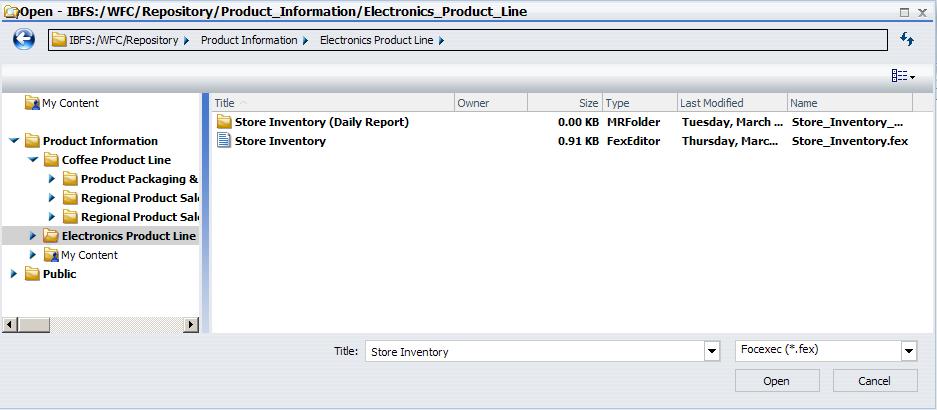
The Open dialog box closes and the selected report appears under the Result node.
The Alert result is automatically run if the Alert test report is triggered (true). If you are authorized to schedule reports for distribution, you can optionally schedule the Alert.
Note: As you use Alert Assist to create reports, you may see messages that state Report Saved. Your changes to the report have been saved, but they are not written to the WebFOCUS Repository until the Alert is saved. If you exit Alert Assist before you click Save in the Alert Assist menu, the Alert is not saved.