The Getting Started window opens.
The Open window opens.
The InfoAssist main window opens a logical view by default which does not expose the hierarchy of a salesforce method. To switch views, click View and then select Structured, as shown in the following image.

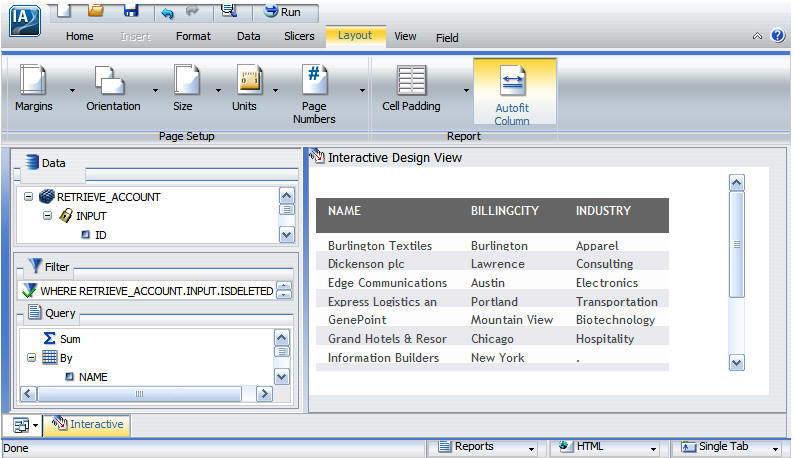
A hierarchal view of Data opens, with three different areas in view, as shown in the image below. The first area shows the name of the synonym selected and the fields that correspond with that synonym. The next area, labeled Filter, is initially empty and will contain selection criteria. The last area, labeled Query, shows icons for Sum, which will contain any fields to be displayed, while By and Across will show sort fields if any.
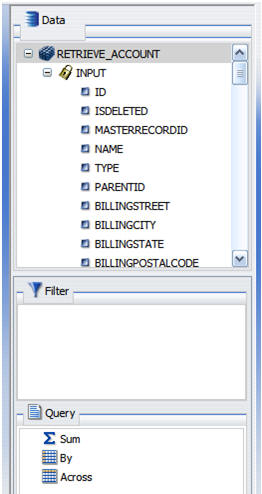
The list of fields is structured the same as the synonym to reflect the salesforce method. Those under INPUT are input parameters to the method, while those under INSTANCE are the output parameters.
The filter dialog box for ISDELETED opens.
This filter will tell the method to retrieve all the rows for the selected object that have not been deleted. That is all the active rows.
As the column names are added, the report is displayed, as shown in the following image.