To load data to Salesforce using a filter:
- Create a synonym for a service that writes data, for example,
create_account following the steps for creating a synonym, as described
in Chapter 3.
- Create a new data flow. Right-click an application directory
and select New, then Flow.
- Drag the synonym retrieve_account from
the browser to the left side of the flow.
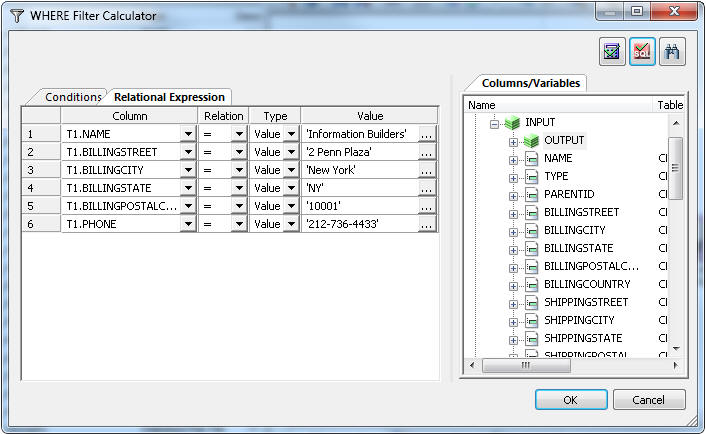
- Right-click the SQL object and select WHERE filter.
- Under Columns/Variables, double click NAME to
add it to the list on the left. From the relation drop-down menu,
select the equal sign. Leave Type as Value. Under Value, enter the
company name 'Information Builders', as shown
in the following image.
- Repeat step 5 for each of the columns.
- Click OK.
- Right-click the SQL object and select Column Selection.
- Right-click Name under Available Columns.
If Segment and Field View is not selected, select it now.
- Scroll down to the OUTPUT segment, as shown in the following
image.
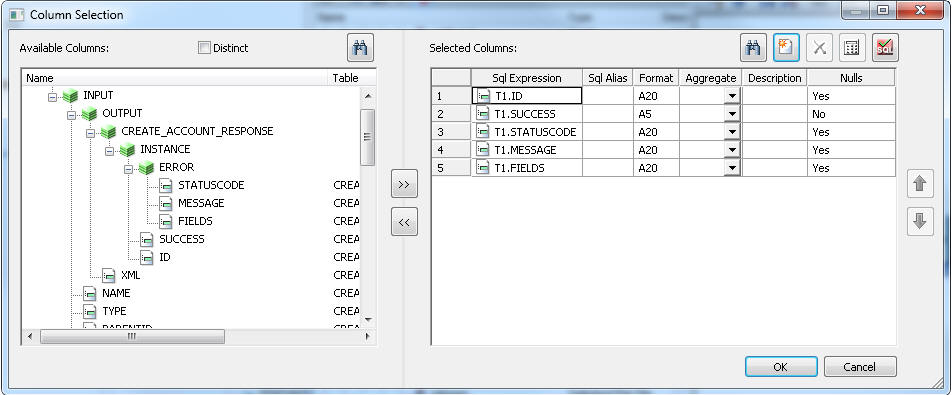
- Select the ID and SUCCESS fields.
Then under ERROR, select the STATUSCODE, MESSAGE,
and FIELDS fields. Click OK to
close the column selection.
- Right-click the right side of the data flow. Select Add
Target and New.
- Right-click the target and select Properties.
Select an adapter for delimited flat file or a database that you
have configured.
- Click the Process Flow tab. Right-click
the line connecting Start to Data Flow and select Delete.
- In the browser, click the procedure setallon and
drag it into the process flow between Start and Data Flow. Then,
right-click Start, drag to setallon and release.
Right-click setallon, drag to Data Flow and
release.
- Click the Run button and select Submit to
run the flow.